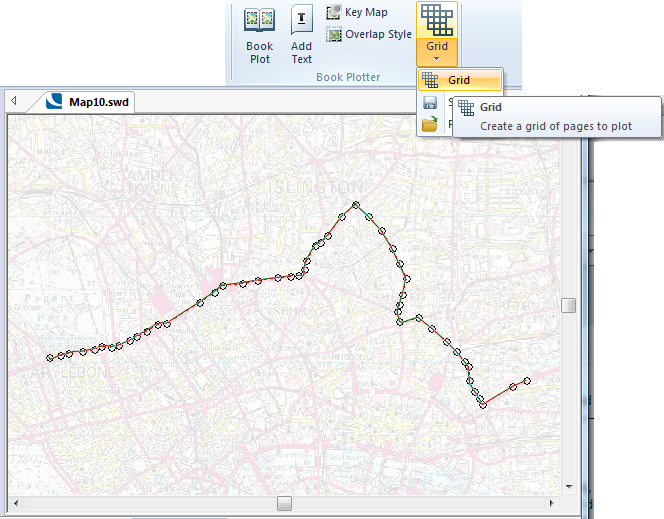
Select Grid > Grid from the Applications tab Book Plotter group.
The User-Defined Grid dialog is displayed:
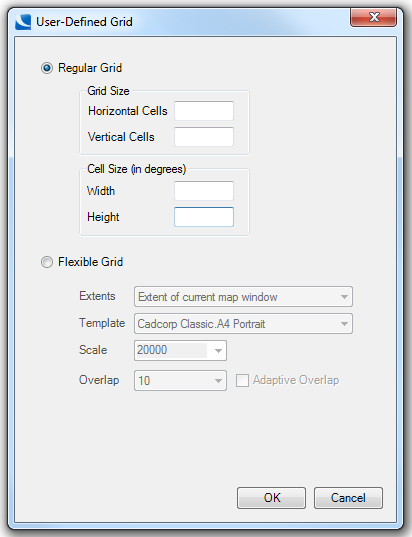
This dialog gives the option of choosing a Regular Grid or a Flexible Grid:

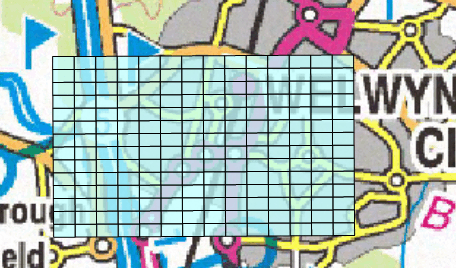
If you create a simple rectangular matrix sufficiently large to cover the full extent of mapping to be plotted, for example, to encompass an area of mapping measuring 3.2km x 2km, you might create a grid of 14 horizontal cells by 14 vertical cells, with a cell size of 250m x 150m. This would create a grid measuring 3.5km x 2.1km.
When you click OK you will see the grid outline attached to your mouse pointer by its top left corner. Move the grid to the required position and click to position the top left corner of the grid. Press the Enter key to fix the grid true to the horizontal and vertical axes.
The Cell Size will be in degrees for WGS 84 but for OSGB 1936, Irish Transverse Mercator, etc. it will be in metres. The dialog will change depending on the CRS used.
Note: You will notice that after the first click you are able to rotate the grid and fix it in a rotated position with a second click. The current version of Book Plotter does not support rotated grids, therefore this action should be avoided.
When you confirm the placement of the grid, you will see it created on your map as a matrix of shaded rectangles. If there is no editable overlay on which to create the grid a new internal overlay titled User defined grid will be created. Each rectangular cell holds attributes indicating its position within the grid. Appendix details these attributes.
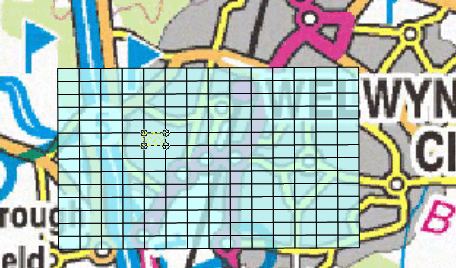
It is sometimes easier to define the grid larger than the area to be plotted so you are sure to encompass all the map features. You can then remove any unwanted cells by selecting then and clicking Cut [Edit-Clipboard] or by pressing Delete.
A number of cells can be deleted by holding down Shift while clicking each cell to be deleted, or dragging to select the cells, and then clicking Cut [Edit-Clipboard] or Delete.
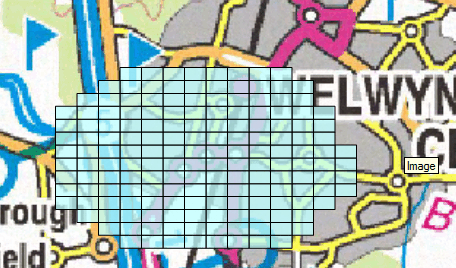
It now remains to delete the unwanted cells from the grid. To delete individual cells, click on the cell and press Delete.
To delete all the cells which do not overlap a polygonal area, you can use the Find [Home-Selection] tool.
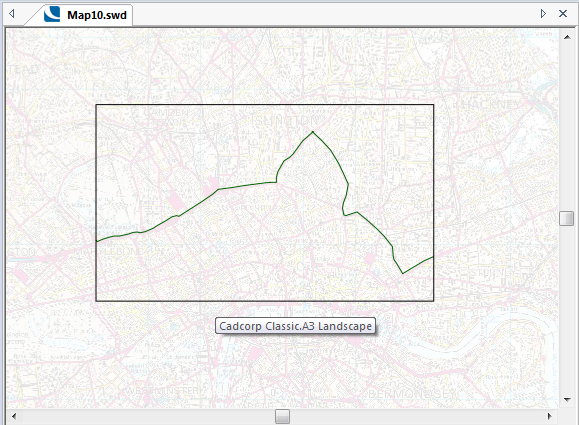
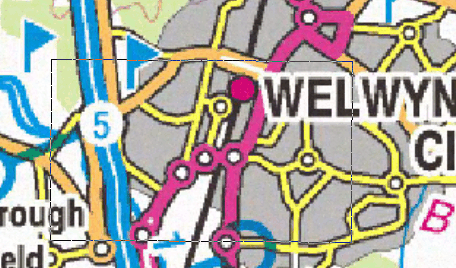
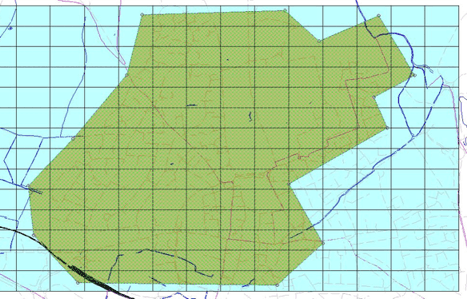
First display and select the irregular area of interest as shown below:
Select Find [Home-Selection] to display the Find dialog:
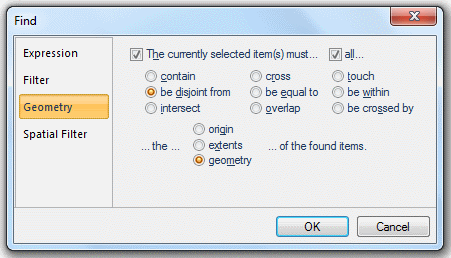
Select the Geometry tab and select the be disjoint from option.
Click OK to select all the grid cells which do not overlap the polygon.
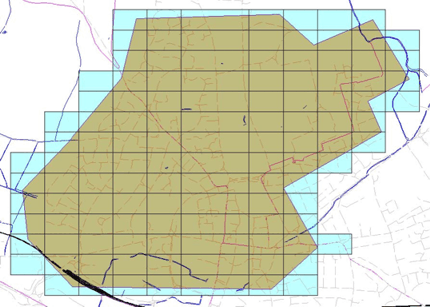
Note: You may need to set the status of other overlays to Hittable or Visible to prevent other map features from being selected. Press the keyboard Delete key to remove the cells:
Select Grid > Grid:
The User-Defined Grid dialog will be displayed:
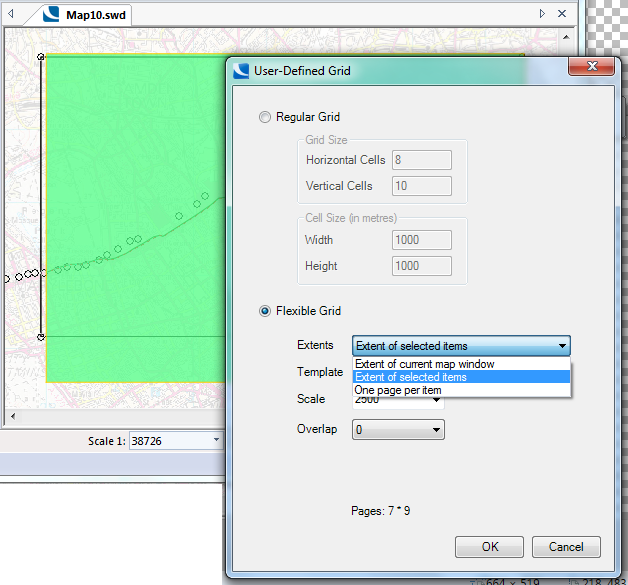
Select the Flexible Grid radio button and choose the parameters as follows:
Extents
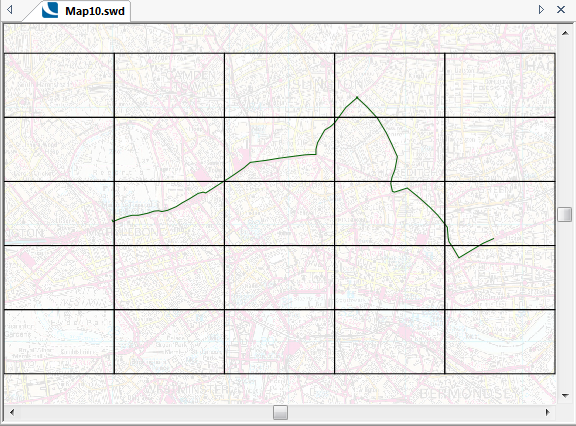
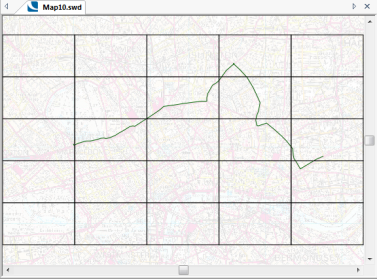
Extent of current map window
When the other parameters on this dialog are chosen and the OK button is clicked a grid will be created over the extents of the current map window:
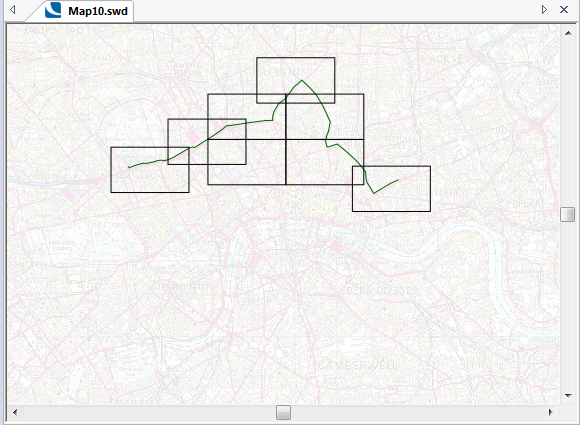
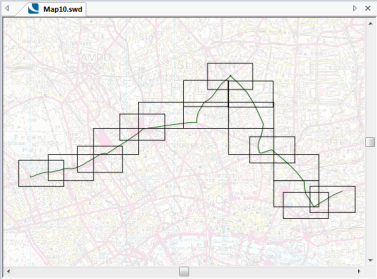
The grid cells can then be moved around in SIS so that they no longer form a grid, for example:
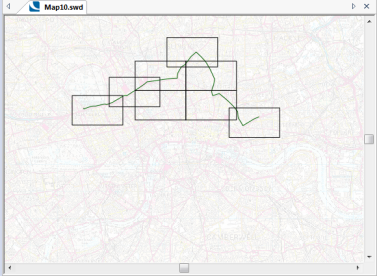
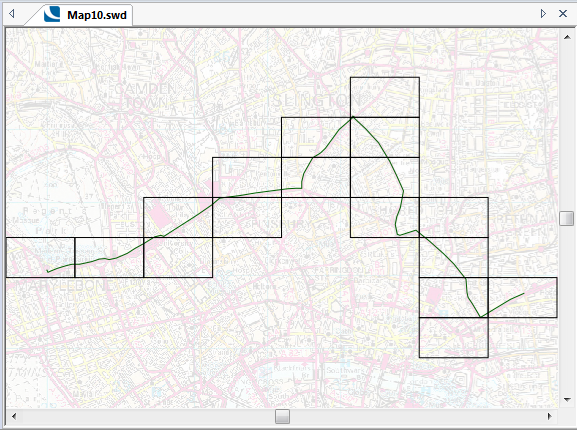
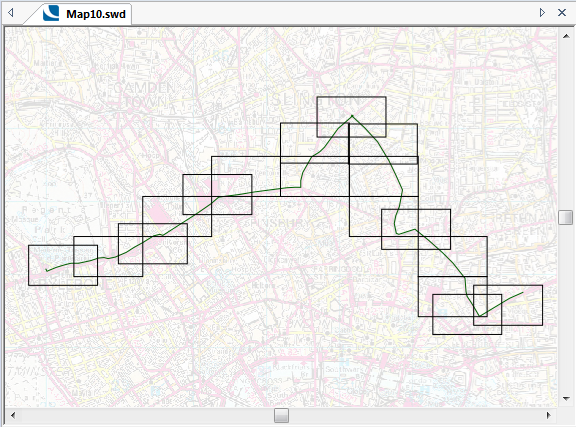
When the other parameters on this dialog are chosen and the OK button is clicked a grid will be created over the extents of the currently selected item(s):
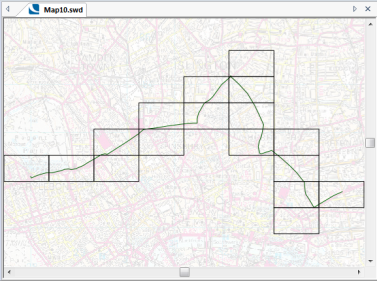
The grid cells can then be moved around in SIS so that they no longer form a grid, for example:
When the other parameters on this dialog are chosen and the OK button is clicked a one page grid will be created over the extents of the currently selected item(s):
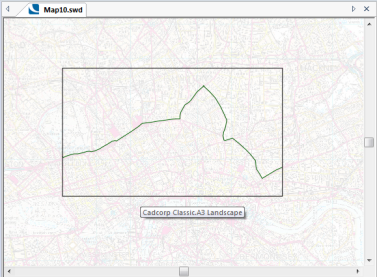
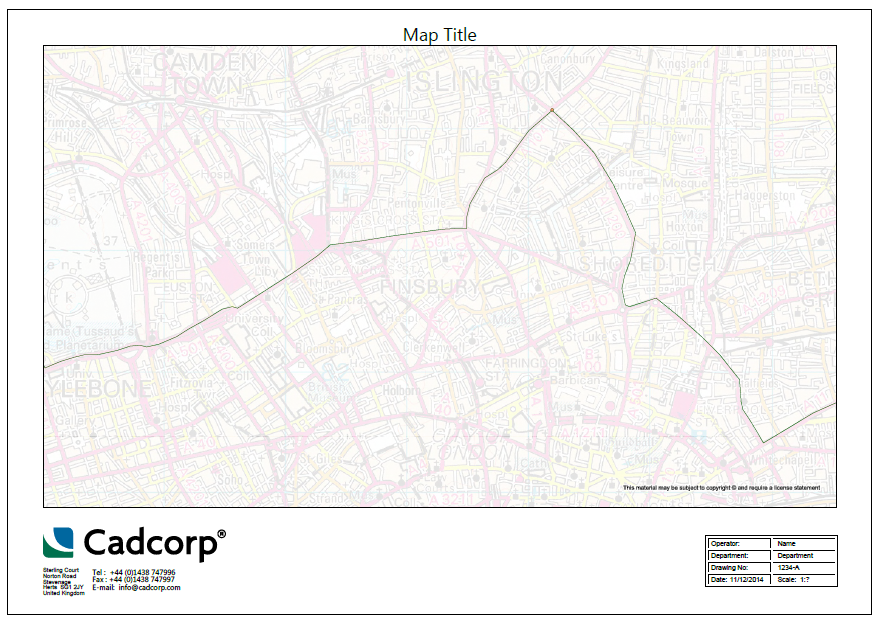
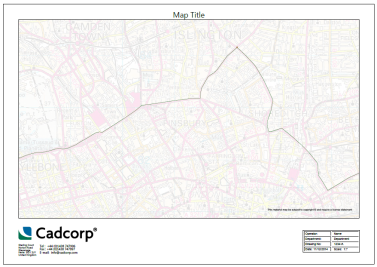
The plot is output on a single page:
Template
Choose the template to use for the plot. See About Print Templates
Scale
Choose the scale to use for the plot. See What is Scale?
Overlap
Choose the size of the Overlap from the drop-down list.
Send comments on this topic.
Click to return to www.cadcorp.com
© Copyright 2000-2017 Computer Aided Development Corporation Limited (Cadcorp).