It is likely that you will want to use your own page referencing system, such as an alphanumeric system where columns are lettered from A, and rows are numbered from the bottom row as 1. You will notice that every cell in the grid has an empty attribute, BookCellRef, into which you can enter the label for each cell. Cell labelling is then saved in the grid file.
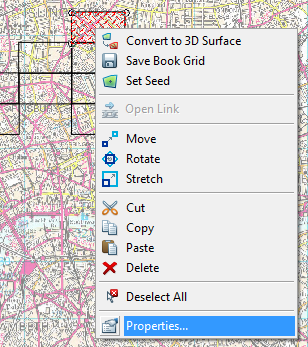
To label a cell display the grid, select a cell and select Properties from the local menu:
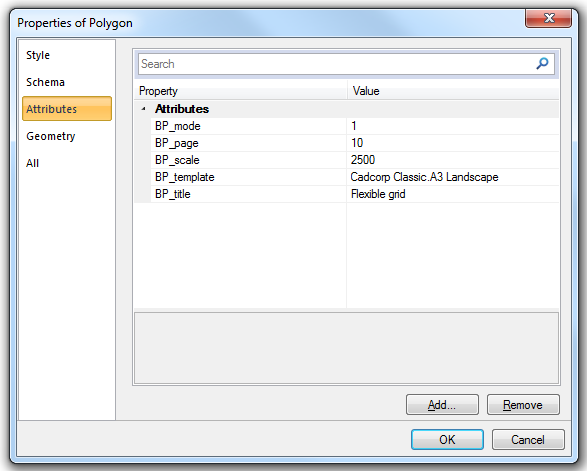
The Properties of Polygon dialog will be displayed, select the Attributes tab:
Enter the text for the selected cell in the BookCellRef field.
Repeat for other cells as required.
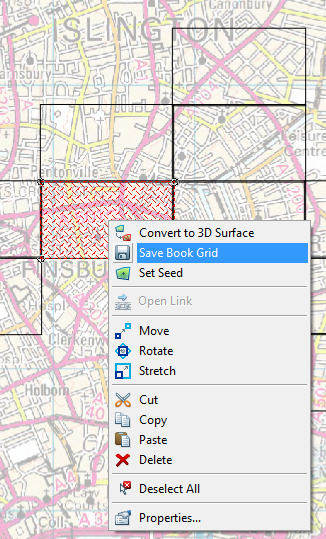
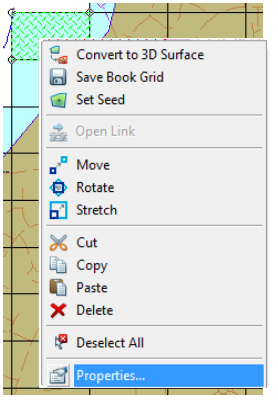
Having created your grid and entered text in the BookCellRef field of the required cells, click the right mouse button on any grid cell and select Save Book Grid.
You will be prompted for a filename (.txt) for the grid. Remember the folder in which you save the grid, and click Save.
You are now ready to use this saved grid in Book Plotter. The graphics of the custom grid can be deleted if you choose, as the grid file has stored its details.
The saved grid file may be edited (shown in red) using Notepad to add a label for each cell, for example:
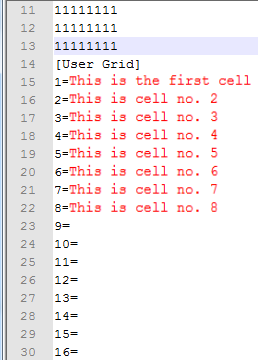
In the above example the text shown in lines 15 onward will be applied to the BookCellRef attribute for each cell when the grid is recalled into SIS by the Recall Grid command.