Well Known Text (WKT) is an OGC regulated format for expressing a geometry. It is a quick and easy way to create and manipulate features using text strings. This topic explains how you can extract a WKT string from an exisiting item, or create items in SIS by copying and pasting. WKT strings are also used in the SIS API, most notably for the creation of new features using the CreateItem Method, see the SIS Programming Help.
2D or 3D geometry items can be created by pasting a WKT string into an overlay in the Map Window.
There are two methods of doing this, as follows:
The examples shown specify a Polygon item but the same principle applies to other graphic items; LineString items, Point items and MultiPolygons.
Method 1
Create a WKT string in a text editor, the following is a typical string for a Polygon item:
POLYGON ((459188.712189556 430187.339828062,352378.36736197 430187.339828062,352378.36736197 330497.684655649,459188.712189556 330497.684655649,459188.712189556 430187.339828062))
Copy this string from the editor and paste it into the overlay in the Map Window:
The Polygon, and its position, as defined in the WKT string will be shown in the overlay.
Method 2
This method follows the same principle as Method 1 but the WKT string defining an existing item is copied from the Properties of ..... dialog and, if editing is required, pasted into a text editor. When the WKT String has been modified it can be pasted back into the existing or another overlay.
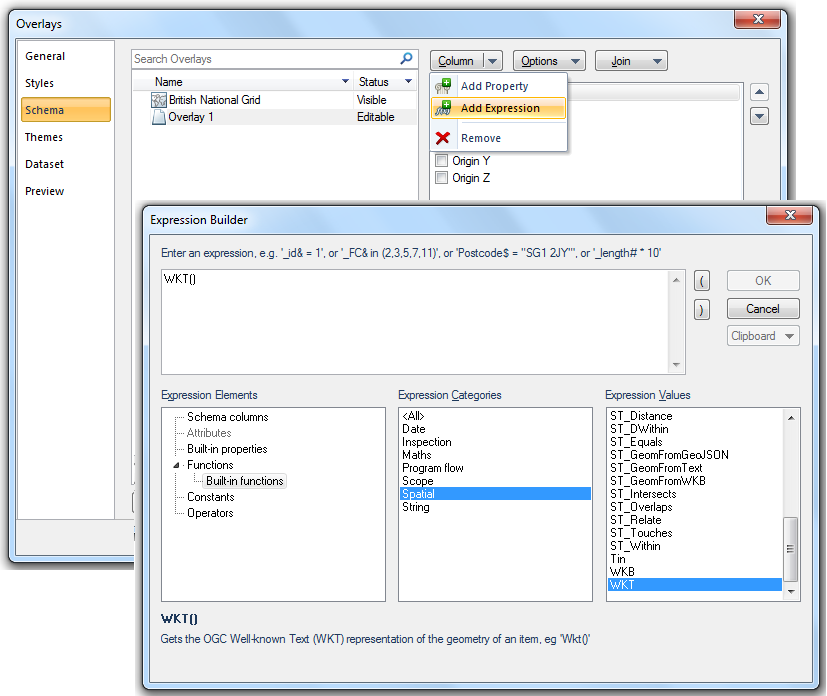
First create the Expression WKT() property in the overlay:
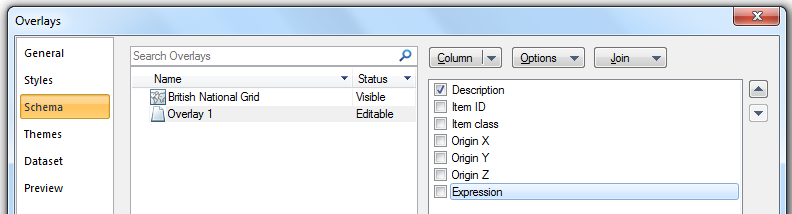
Click OK.
Now select the item, Polygon, LineString, etc., in the Map Window and display the Properties of .... dialog:
Right click on the text string in the Value column for the Expression property and click Copy:
The text is now in the clipboard and can be pasted into a text editor, if it is to be edited, or pasted directly into another overlay.
The following diagram shows the possible effect of copying the WKT describing a Polygon, editing the string, and pasting it back into the same overlay without deleting the original Polygon:

The following are examples of Well Known Text strings for other graphical items:
POINT (558814.066879314 310045.000596585)
LINESTRING (396117.787756757 283925.481897993,490525.686667332 234203.988471757,498078.318580178 192664.512951104)
MULTIPOLYGON (((486431.771419118 206443.252704628,493552.461419118 238486.356704628,453498.582419118 246497.131704628,486431.771419118 206443.252704628)),((493552.461419118 238486.356704628,486431.771419118 206443.252704628,533606.340419118 226915.235704628,493552.461419118 238486.356704628)),((471300.306419118 292781.614704628,453498.582419118 246497.131704628,493552.461419118 238486.356704628,471300.306419118 292781.614704628)),((493552.461419118 238486.356704628,507519.108419118 268820.217704628,471300.306419118 292781.614704628,493552.461419118 238486.356704628)),((533606.340419118 226915.235704628,550517.978419118 257178.166704628,507519.108419118 268820.217704628,533606.340419118 226915.235704628)),((507519.108419118 268820.217704628,558814.066419118 310045.000704628,471300.306419118 292781.614704628,507519.108419118 268820.217704628)),((558814.066419118 310045.000704628,507519.108419118 268820.217704628,550517.978419118 257178.166704628,558814.066419118 310045.000704628)),((533606.340419118 226915.235704628,507519.108419118 268820.217704628,493552.461419118 238486.356704628,533606.340419118 226915.235704628)))
Well Known Text can be added to SIS from a table or database by following these instructions:
Display the Overlay Types dialog and go to the Databases tab:
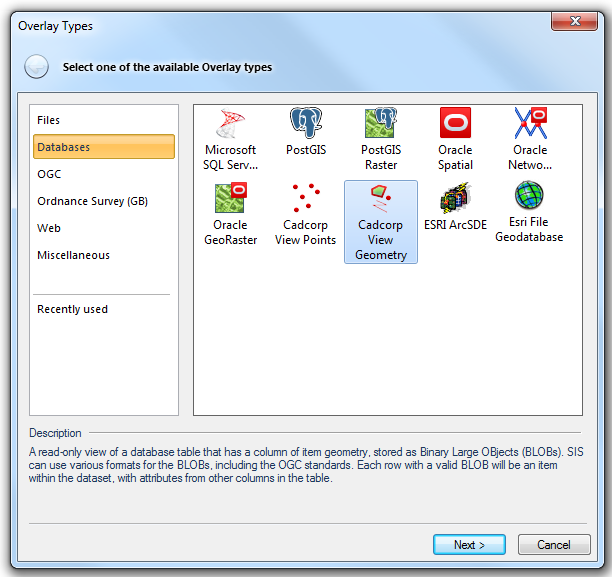
Select Cadcorp View Geometry and click Next.
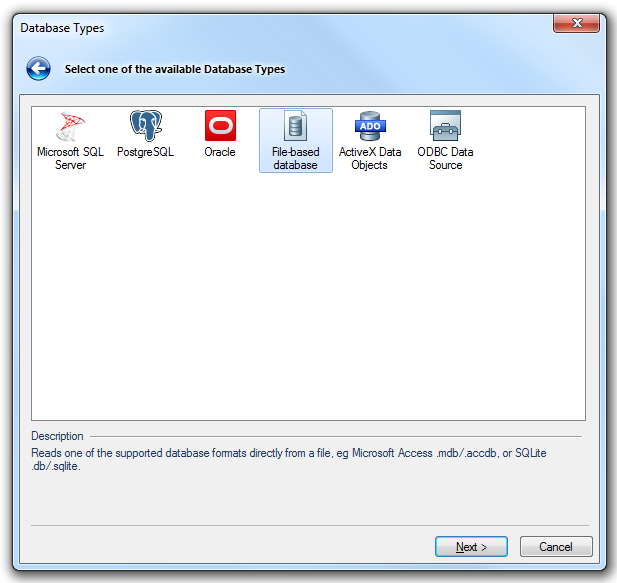
Select File-based database and click Next.
The Recordset dialog will be displayed:
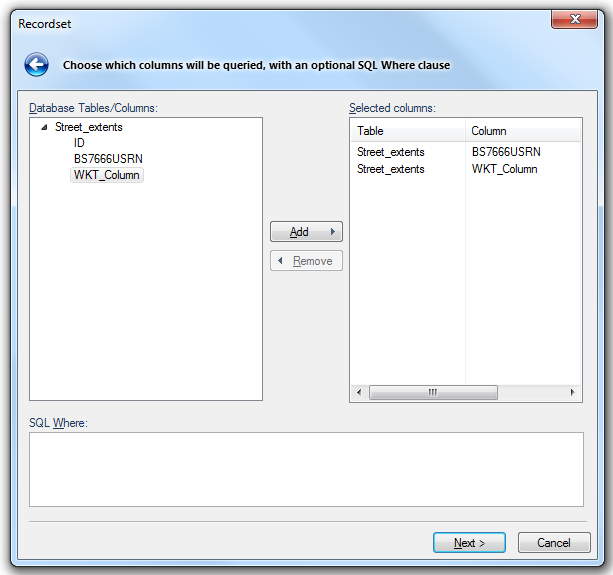
Select the columns to be queried and click Add.
Click Next.
The View Geometry dialog will be displayed:
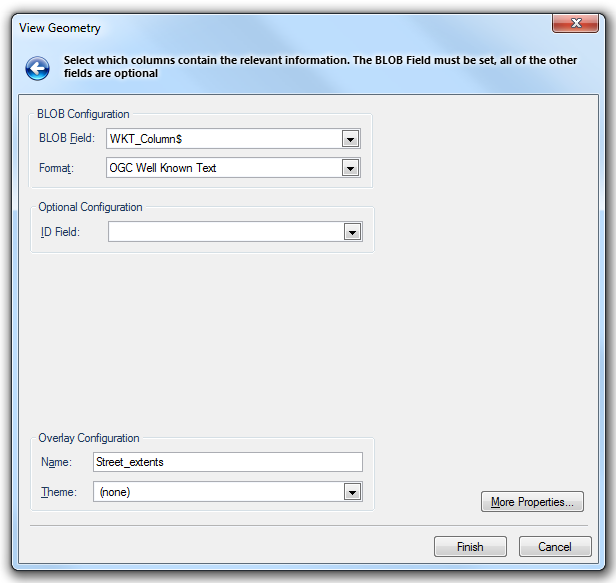
Set BLOB Field to the column of the WKT and set Format to OGC Well Known Text.
Click the More Properties... button.
The View Geometry dialog will be displayed:
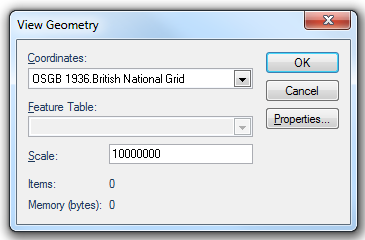
Set the Coordinate Reference System in the Coordinates drop-down box.
Click the Properties... button.
The Cadcorp View Geometry dialog will be displayed:

Set Textual Blobs to True.
Click Close to return to the second View Geometry dialog.
Click OK on the second View Geometry dialog to return to the main View Geometry dialog.
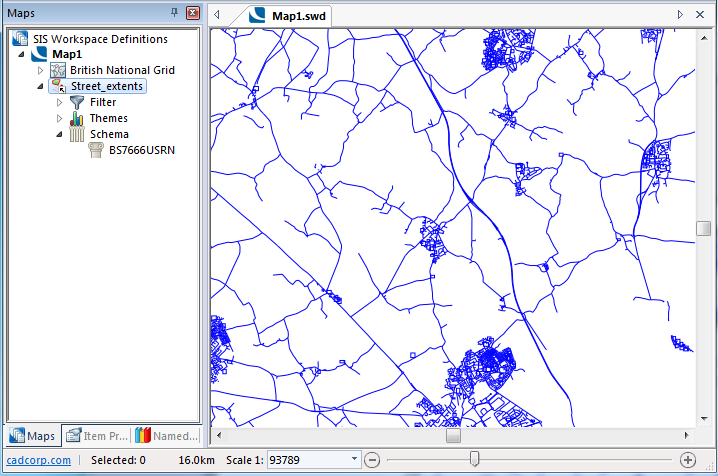
Click Finish.
The Map Window will display the result:
Send comments on this topic.
Click to return to www.cadcorp.com
© Copyright 2000-2017 Computer Aided Development Corporation Limited (Cadcorp).