Examples of user-defined pens
1. Modify an existing pen (Example)
Copy the Purple Pen from the (standard) library to the (temporary) library and rename it to MyNewPen.
Double-click MyNewPen in the Libraries tab: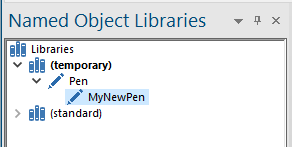
The Edit Pen dialog will be displayed:
Click on the down arrow next to Show advanced settings.
The advanced settings for Symbols and Custom Dash Patterns and Gradient will now be shown. These advanced settings are fully described in their individual pages.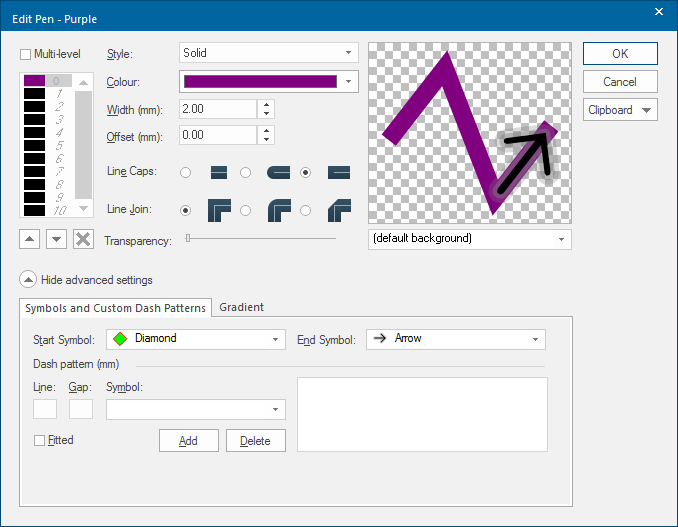
Enter a Start Symboll and an End Symbol from the drop-downs, ie a Diamond and an Arrow respectively.
Click OK.
MyNewPen will now take on the new characteristics: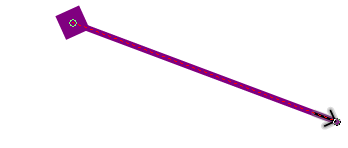
Right click on the LineString and select Properties... from the local menu.
In the Properties of LineString dialog the Pen will be shown as MyNewPen:
To view the JSON for the pen go to Properties of LineString dialog > All.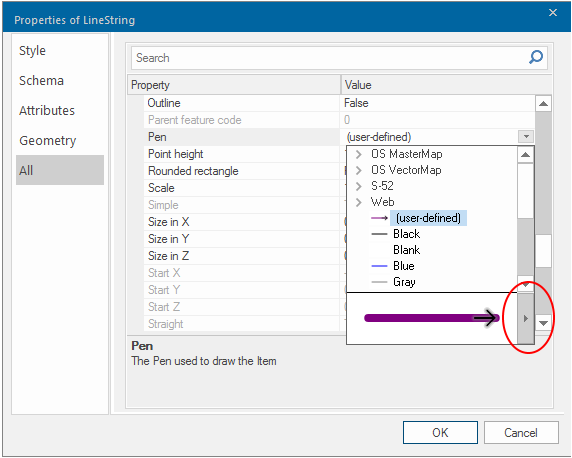
Select the drop-down for the user-defined Pen and click on the right-hand arrow, ringed above.
The Edit Pen dialog will be displayed.
Select Copy as JSON from the Clipboard drop-down: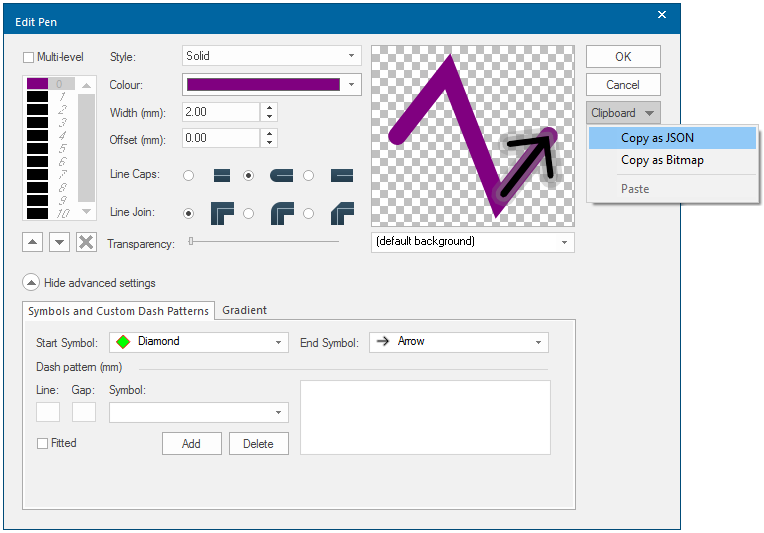
Paste the copied JSON in to Notepad or similar ASCII editor.
The JSON can now be viewed.
If required the JSON can be edited and pasted back into SIS Desktop 9 using the Clipboard > Paste option.
2. Creating a Pen from within the Map Window (Example)
Right-click on a LineString item in the Map Window and select Properties... from the local menu to display the Properties of LineString dialog: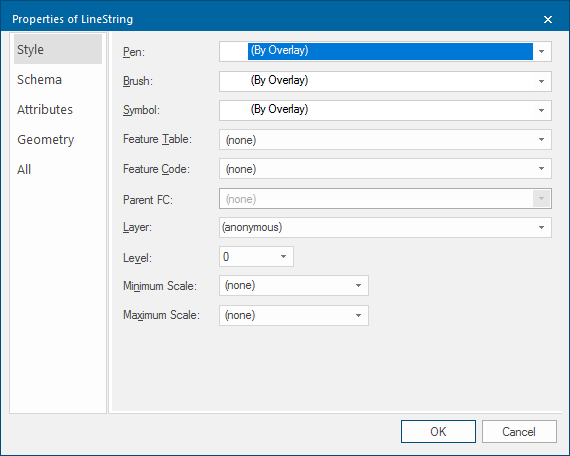
Select the down arrow at the right-hand side of the Pen box and click the Blue pen: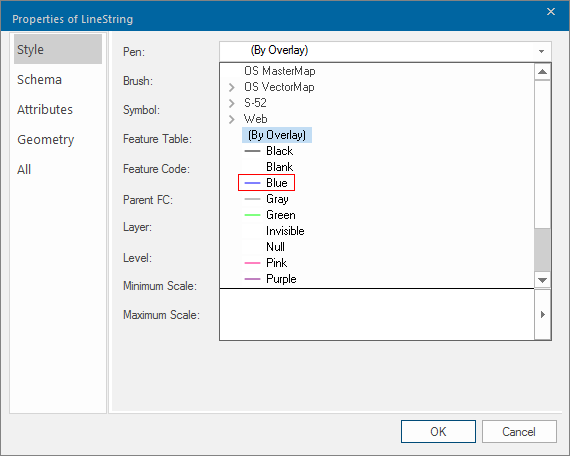
The Properties of LineString dialog will now be shown with Blue selected:
Display the Pen drop-down list and click on the right-arrow at the bottom: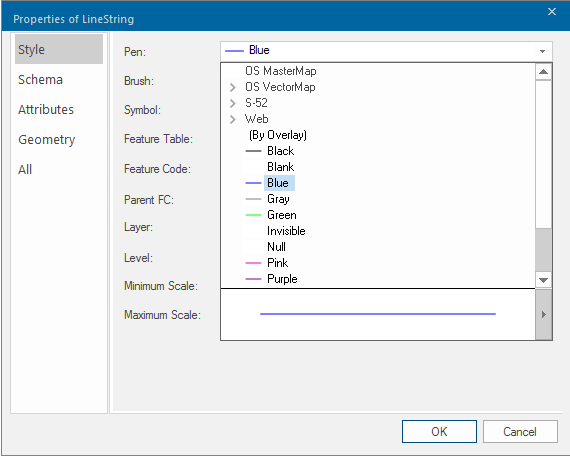
The Edit Pen dialog will now be displayed:
Any change to the Pen will cause the named entry previously shown in the Item Properties of LineString dialog, All tab, Style, Pen-Value to be replaced with (user defined).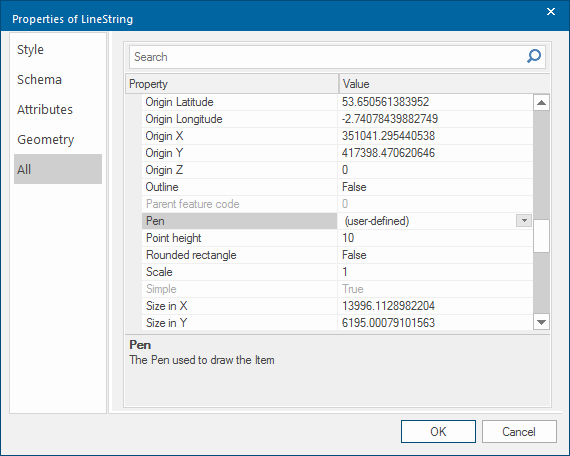
You cannot save the new Pen using this method. To save the pen, create a new Pen and copy the code for this Pen to it using the Copy/Paste facility on the Edit Pen dialog.
3. More examples of user-defined Pens
Select a pen in the Properties of LineString dialog Style tab, click the drop-down arrow and click the right-hand arrow at the bottom of the drop-down list: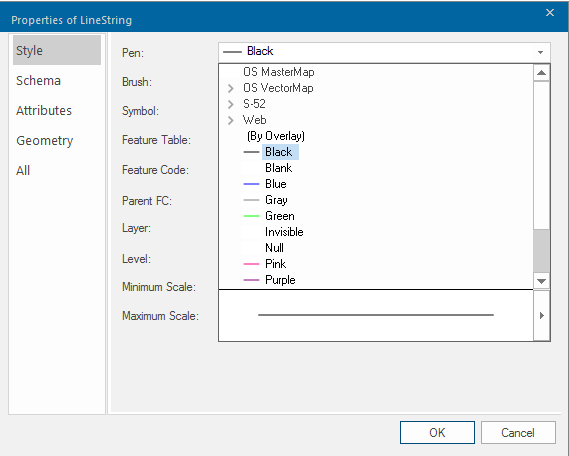
The Edit Pen dialog will be displayed: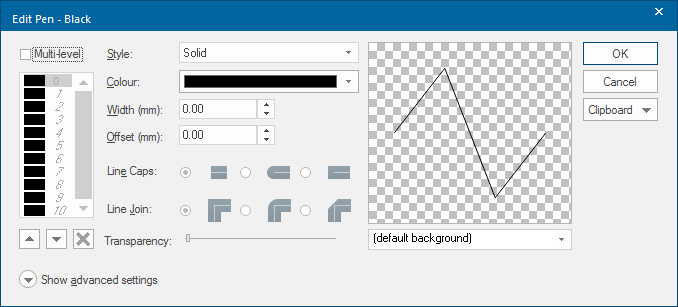
Make changes to this Pen to create the required pen settings, for example: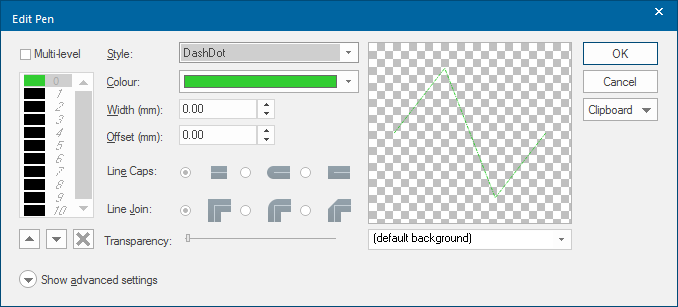
Change Style to DashDot
Change Colour to green.
Click OK.
In the Properties of LineString dialog Style tab, the Pen will now be shown as (user-defined):
The JSON of this newly created user-defined Pen can be obtained as follows: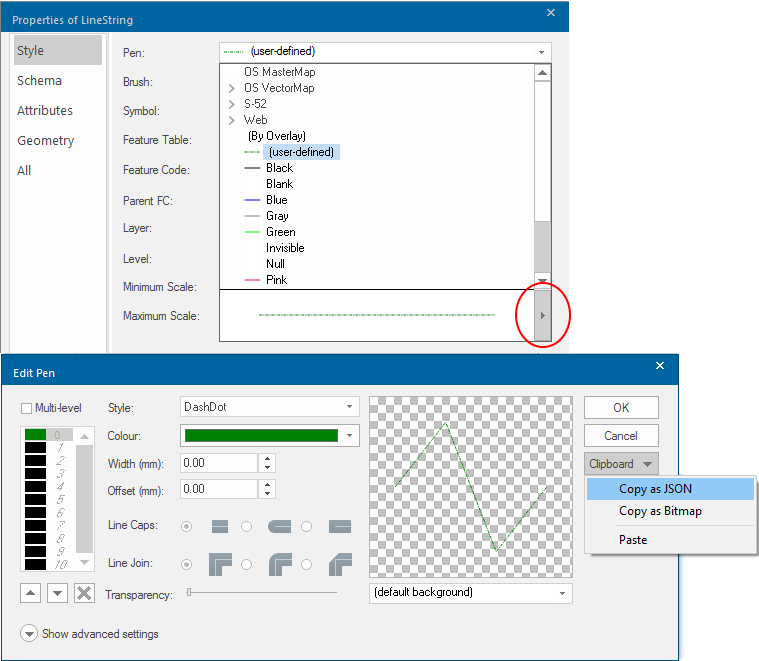
Paste the copied JSON in to Notepad or similar ASCII editor.
In this example the JSON string is:
In this example the JSON string is:
{"Pen":{"Style":"DashDot","Colour":{"RGBA":[0,160,0,0]}}}
This is only an example and changing other Pen definitions, for example style, thickness and a different shade of green, could produce code changes similar to:
{"Pen":{"Style":"Dot","Colour":{"RGBA":[0,224,0,0]},"Width":200}}
From Cadcorp SIS 7.0 onwards Pens (and Brushes) are specified in JSON (JavaScript Object Notation). JSON for Pens and Brushes is fully explained on the user-defined Pens page.
Example 1:

JSON: {"Pen":{"Style":"DashDot",
"Colour":{"R":0,"G":255,"B":0},"Width":200,"RoundCaps":true}}
The above JSON would appear as follows when formatted in a JSON viewer:
Example 2:
![]()
JSON: {"Pen":{"Style":"Dash","Colour":{"R":0,"G":0,"B":255,"A":183},
"Width":100,"RoundCaps":true}}
The above JSON would appear as follows when formatted in a JSON viewer:
Example 3:
![]()
JSON: {"Pen":{"Colour":{"R":255,"G":0,"B":0},"Width":150,"RoundCaps":true,"Patterns":
{"Fitted":true,"Repeats":[{"Line":5000,"Gap":2500,"Symbol":"Chevron"}]}}}
The above JSON would appear as follows when formatted in a JSON viewer: