North Point - Print Templates
This is a special kind of Point item on a print template that aligns its Symbol with the grid North direction; if the Map Frame angle changes the North Point item automatically rotates.
The North Point is linked to a map frame and a Symbol in a Named Object Library.
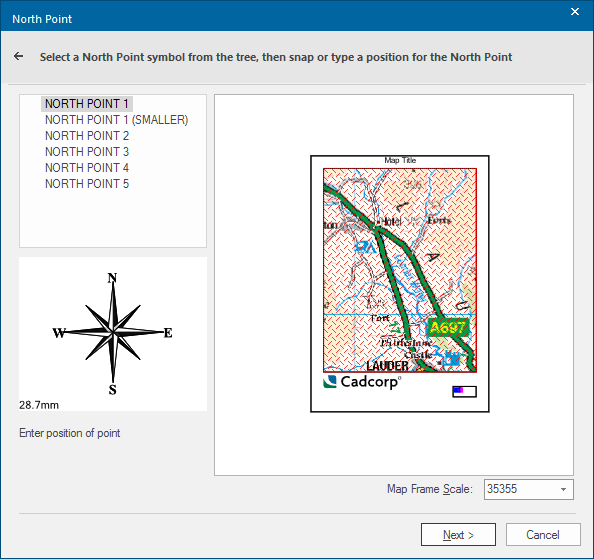
- Select the North Point required from the tree structure. You will see a preview displayed in the lower box along with dimensions.

- Click anywhere on the template where you would like it placed.
- If you make a mistake in placing the North Point, click Back to go back a stage then Next to return to this option afresh.
Create North Point
To add a north point to a previously created template, use the Map Frame's local command Create North Point..
Note: Before you begin, use the Toggle ‘*’ Objects command on the Libraries Control Bar's default local menu to ensure the *NP folder is visible.
- Set up an SWD with the Paper projection.
- Draw your north point. Remember to think about the size of the point in relation to the map on which it will be placed.

a customised north point
- Finally save the north point image into the north point folder, select all the parts of the north point and choose Symbol [Create > Miscellaneous].
- Click on the point for the symbol centre and when prompted for a folder and name, use the *NP folder and assign a new name to the north point.
- The north point appears in the Print Wizard options.
- Remember to save this in a named library if you wish to re-use it.