Rubber Sheeting
Raster data usually originates from scanned paper maps or photographs. This means it suffers distortion when aligned with current geographical positions.
SIS Desktop provides tools to correct this distortion using known survey or control points. This process is widely known as rubber-sheeting because you “stretch” a map like rubber to its correct geographical position.
In SIS Desktop 9 rubber-sheeting has a new home- it is now available from inside the Process tools.
Example of Rubber sheeting using Imported File
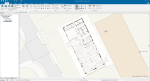
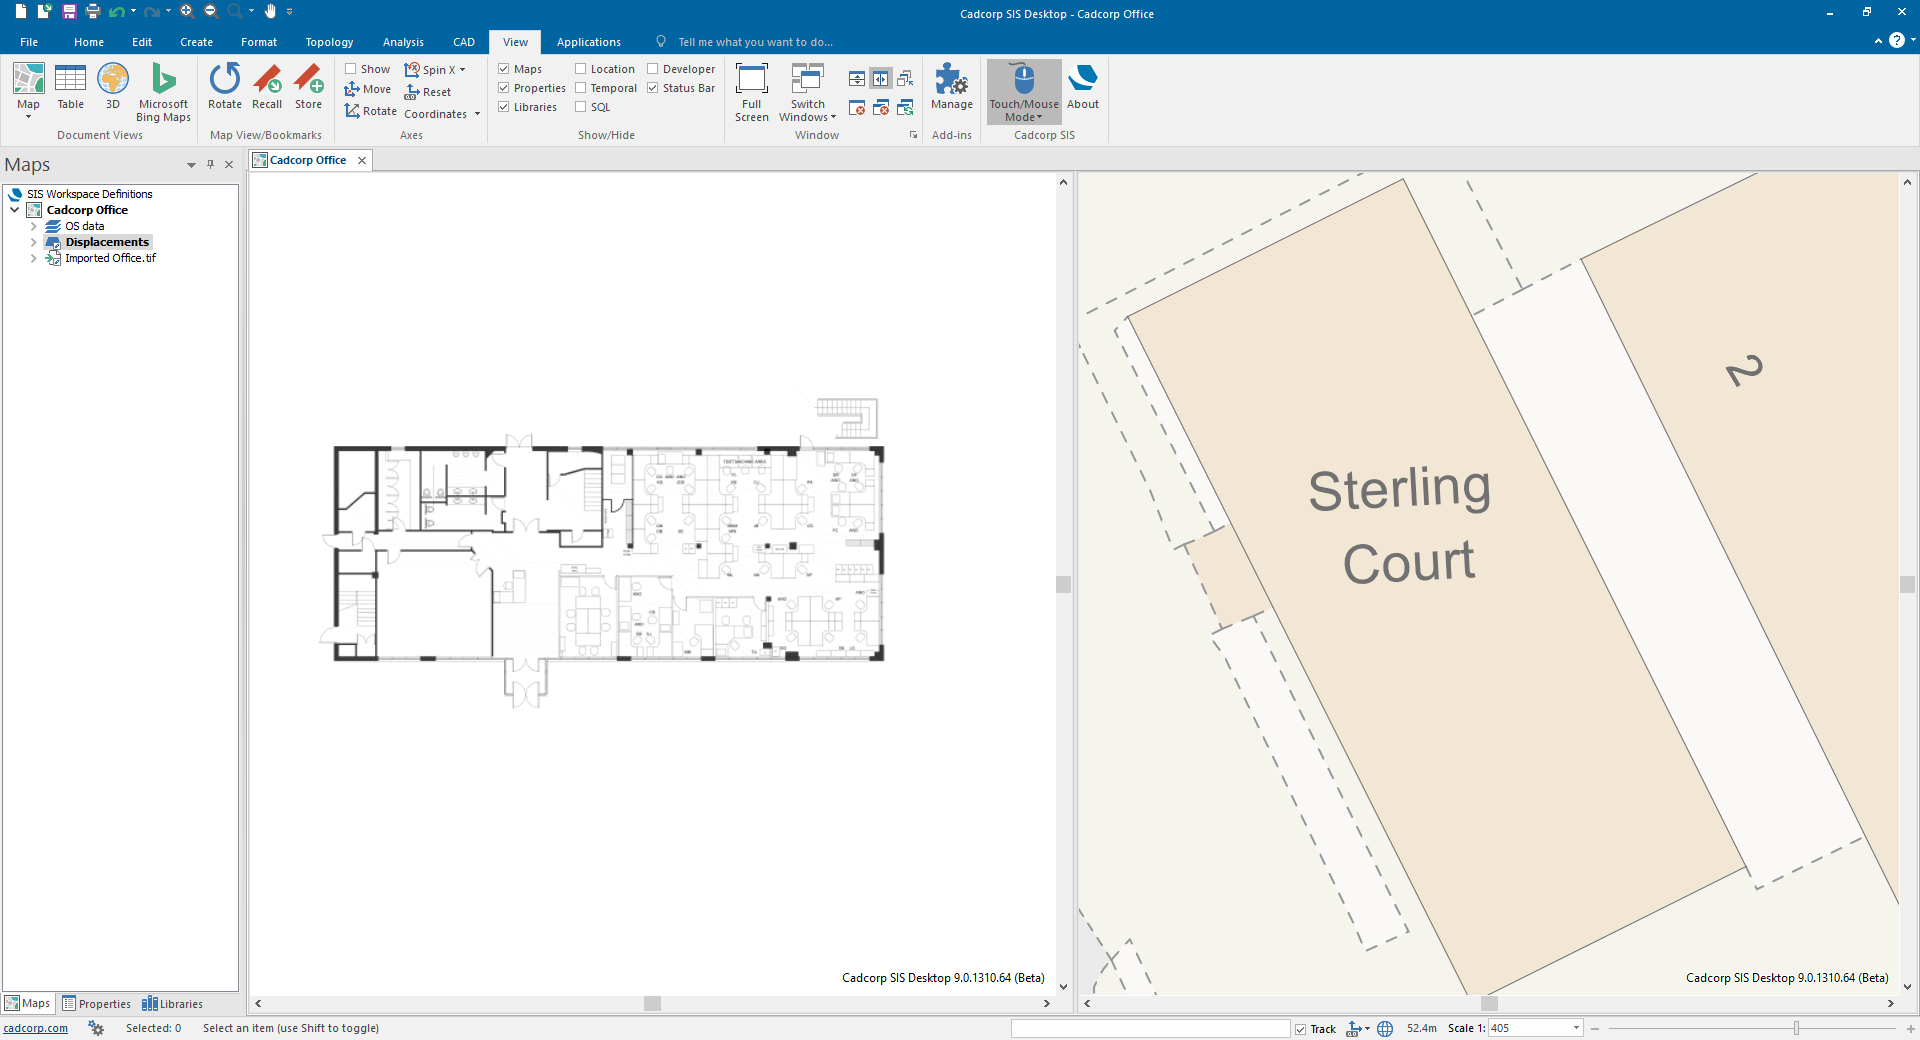
1. Import image file (Add Overlay > Files > Imported File)
The image will be placed at coordinates 0, 0 unless if it is geo-referenced.
TIP: Use split view (View tab > Window > Split Vertically) and zoom in to the area where the image is in one view, and the area where it needs to be placed in the other.
2. Create an internal overlay and make it current for the displacement points. Add Displacements with Create tab > Displacement.
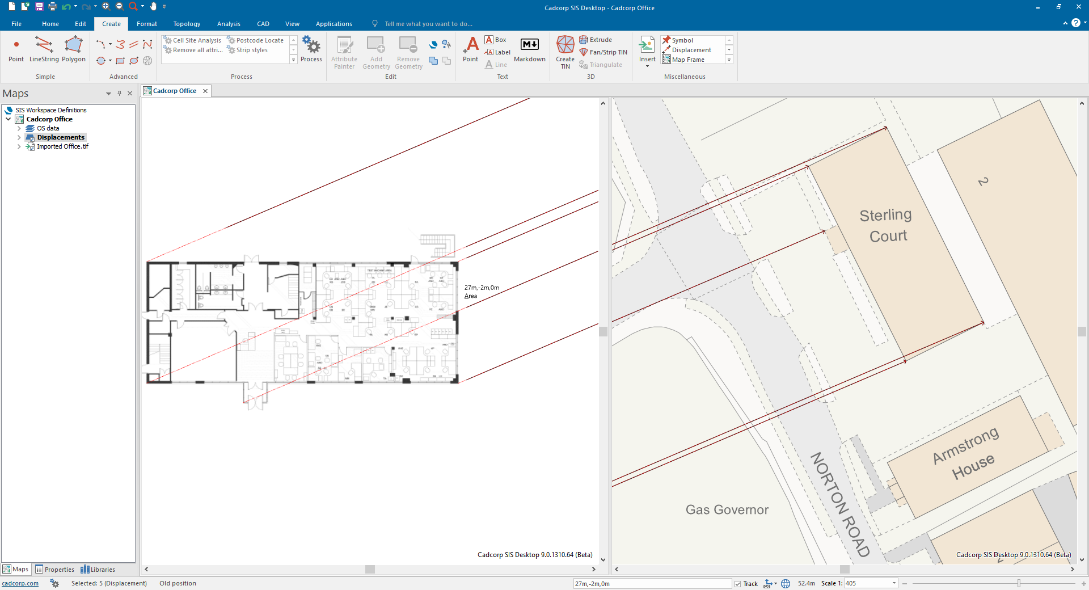
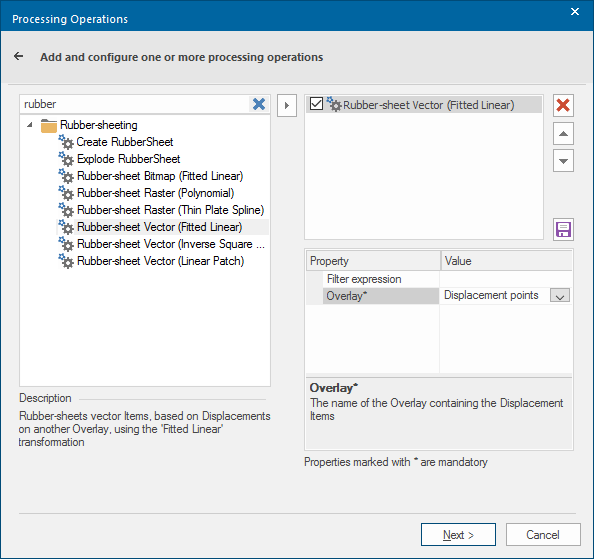
3. Now select the item to be rubber sheeted and go to the Create tab > Process.
- Use the currently selected item (ensure that it has the status Editable) and click next.
- Type in “rubber” and the Rubber-Sheeting processes will appear. Use appropriate method, e.g. Rubber-Sheet Vector (Fitted Linear). Choose the Displacement points overlay as overlay in the parameters. Then click finish.
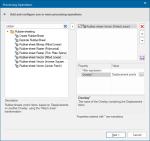
- Create a new overlay or add to an existing overlay which is editable.