Setting up Microsoft Visual Studio
Important Notes:
- Ensure SIS Desktop is closed.
- To set the path of the Cadcorp folder ensure you run Microsoft Visual Studio as Administrator.
- The bit platform (64 or 32) of your GisLink app is defined by the GisLink library you reference. During development leave the target platform as Any CPU. (Any CPU is only relevant for 64 bit.)
- In Microsoft Visual Studio select New Project.
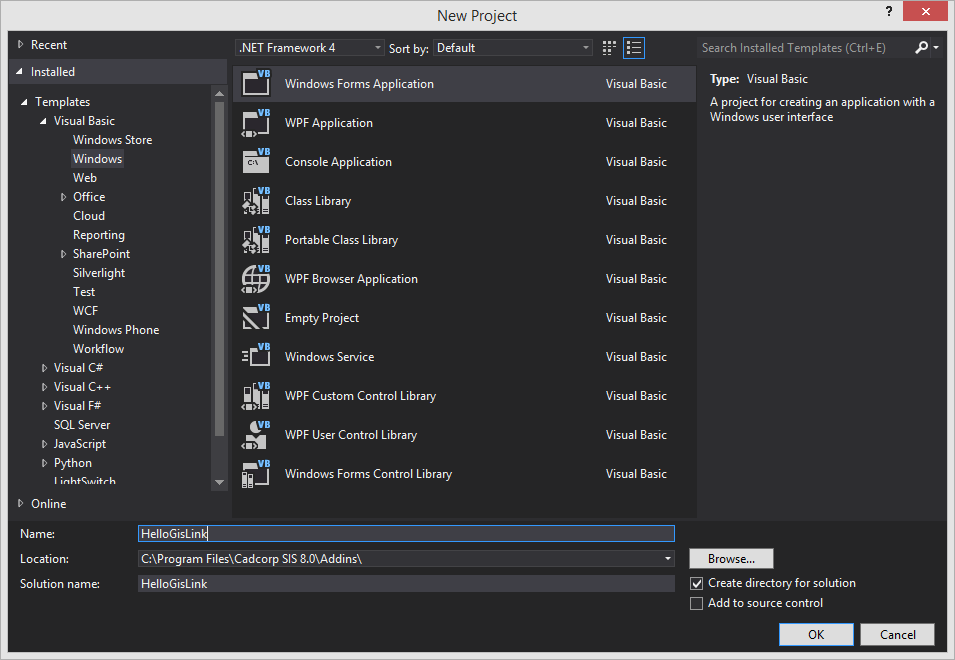
- Now select Visual Basic > Windows > Windows Forms Application.
- Click Browse and set the project location to the Cadcorp SIS Addins folder on your system.
- When development is complete the project folder can be moved and a shortcut created to the new location.
- Enter HelloGisLink in both the Name and Solution name fields of the dialog and click OK.
- In the Solution Explorer panel right click HelloGisLink and select Properties.
- Application tab:
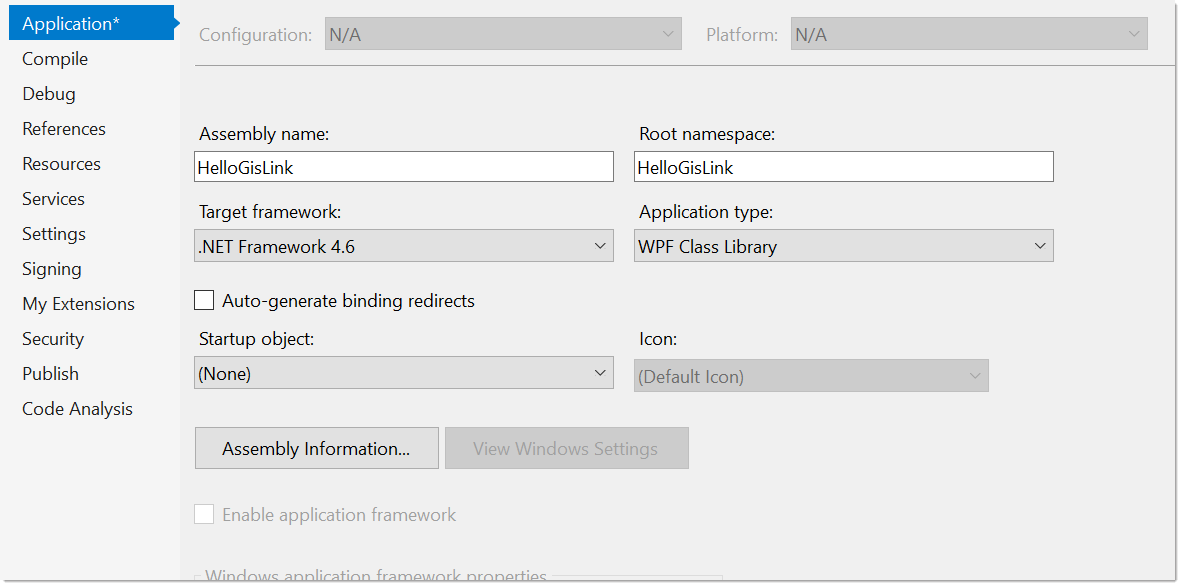
- Set the Target framework to .NET Framework 4.6.2.
- Set Application type to Class Library.
- All other entries can be left at their default settings.
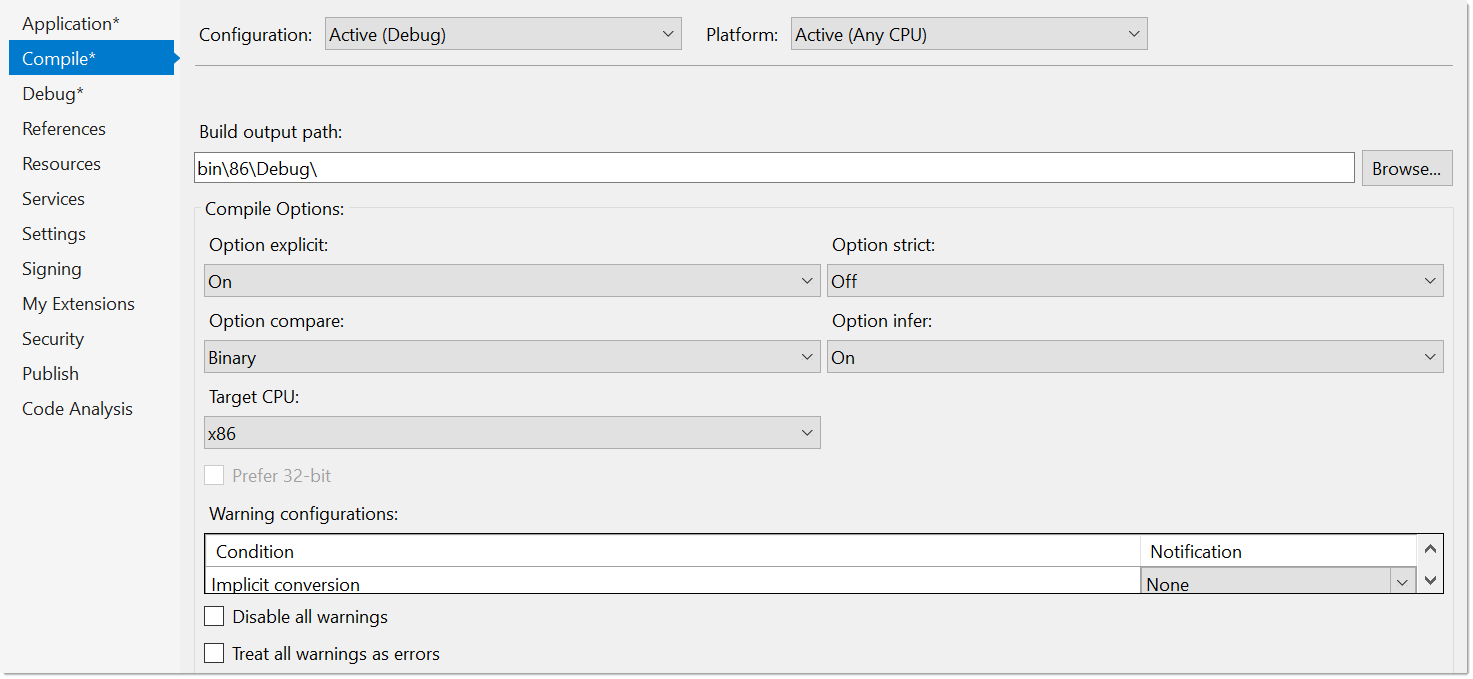
- Compile tab:
- Debug tab:
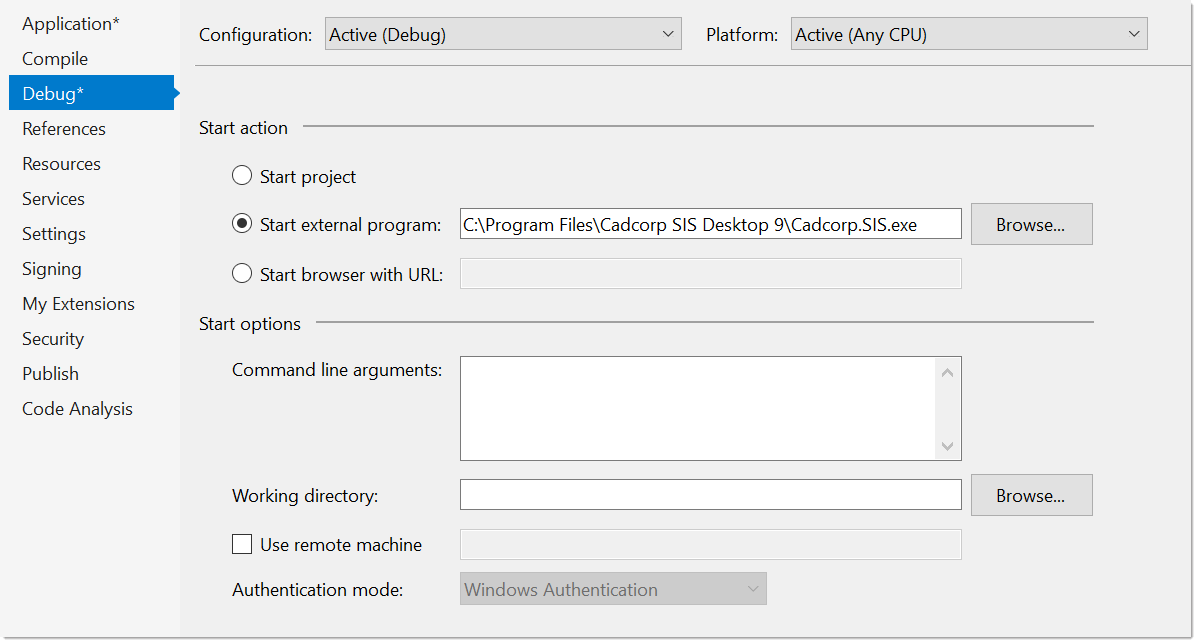
Under Start Action select Start external program.
Navigate to your Cadcorp installation folder and select Cadcorp.SIS.exe.
- References tab:
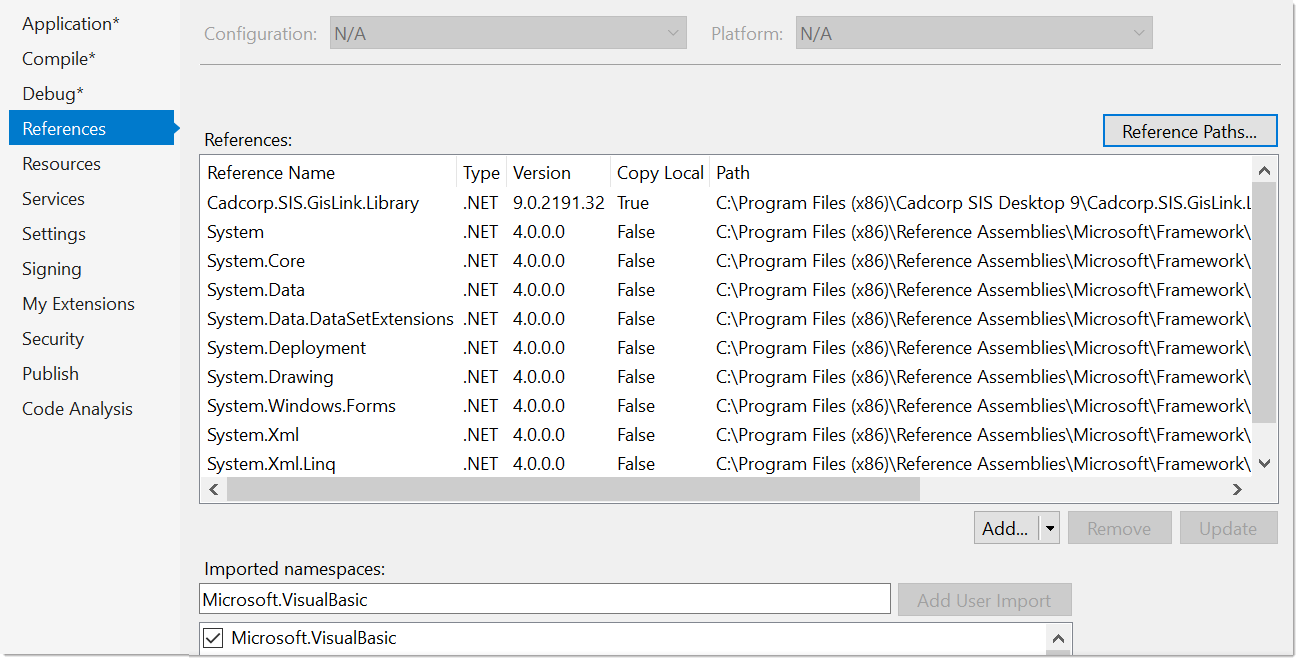
- Select Add.
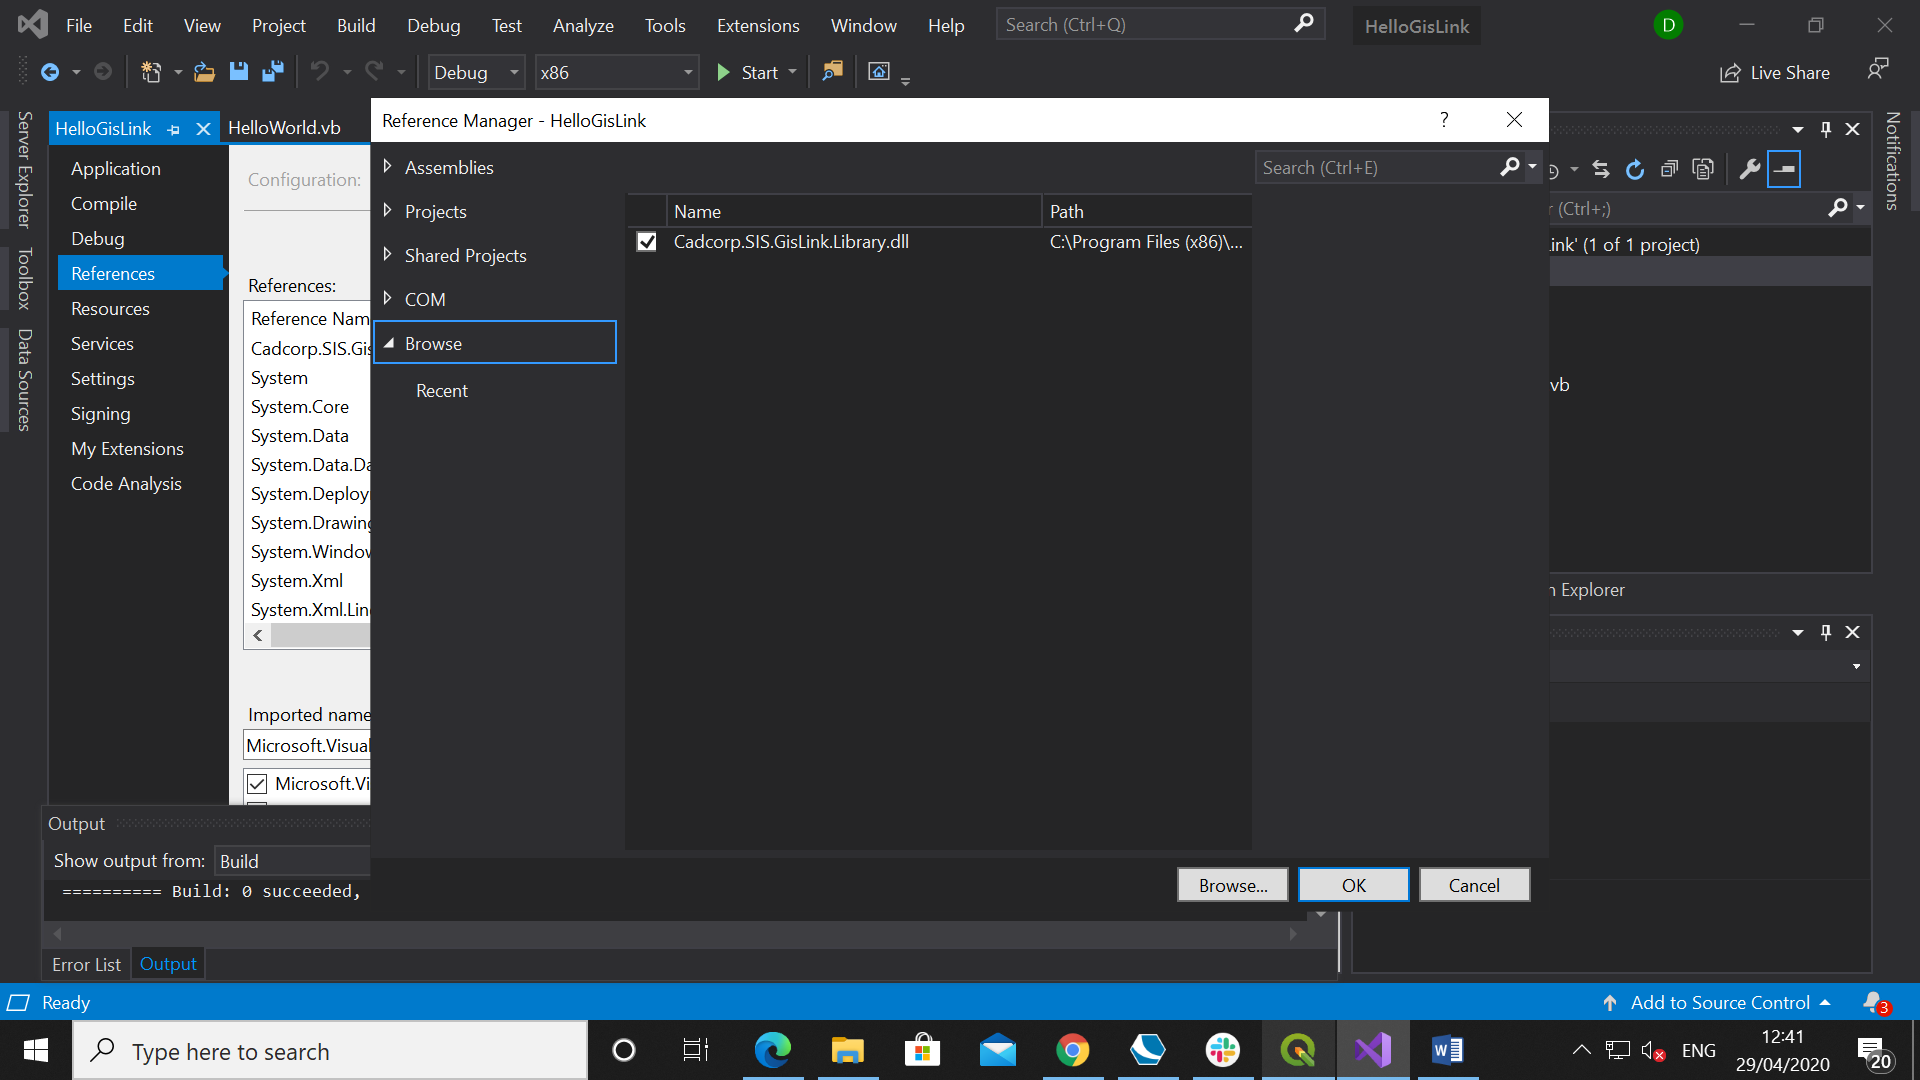
- Click Browse and navigate to the folder where Cadcorp SIS is Installed.
- Select Cadcorp.SIS.GisLink.Library.dll and click Add.
- The file will appear in the Reference Manager window:
Now click Build to open the Configuration Manager.
Select x86 for the Active Solution Platform: (you may need to create this the first time by selecting New > x86). 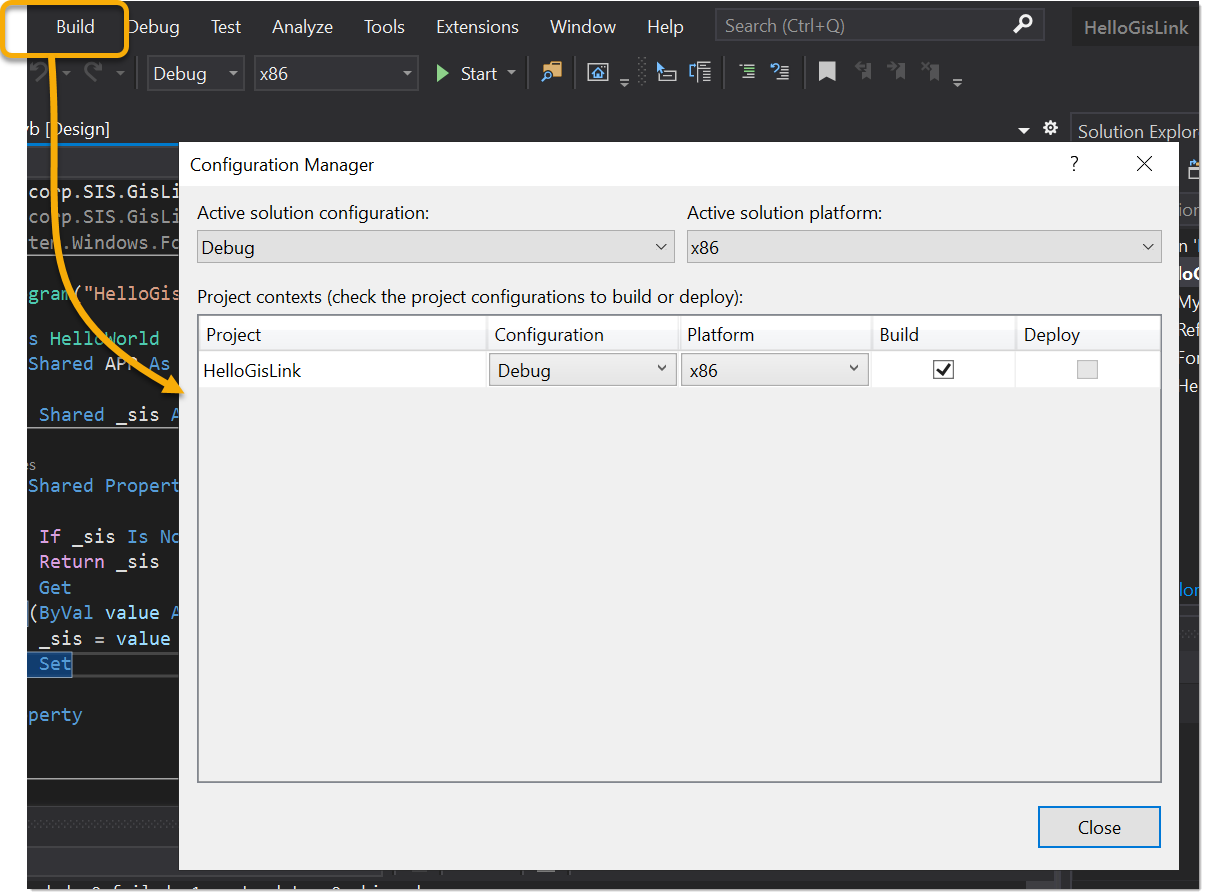
Ensure the Cadcorp.SIS.GisLink.Library.dll tickbox in the Name column is checked. Click OK.
Setup is now complete and the Properties tab can be closed for now.