User-defined Brushes
There are many ways to create a user-defined Brush.
1. Modify an existing Brush
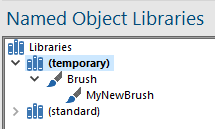
Here is an example: copy the Black Brush from the (standard) library to the (temporary) library and rename it to MyNewBrush.
Double-click MyNewBrush in the Named Object Libraries tab:
OR
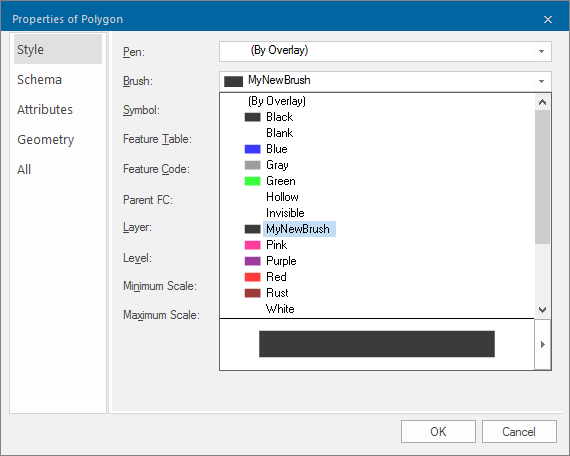
Select MyNewBrush from the Brush drop-down list in Properties of Polygon and click on the right-arrow at the bottom of the list:
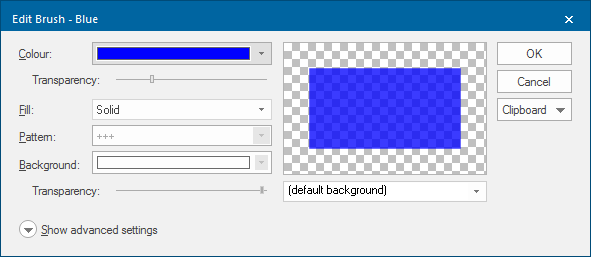
Either method will display the Edit Brush - MyNewBrush dialog:
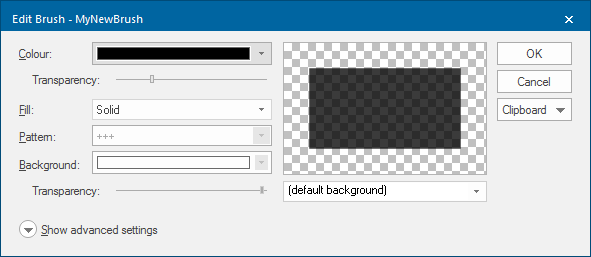
Edit MyNewBrush, as follows:
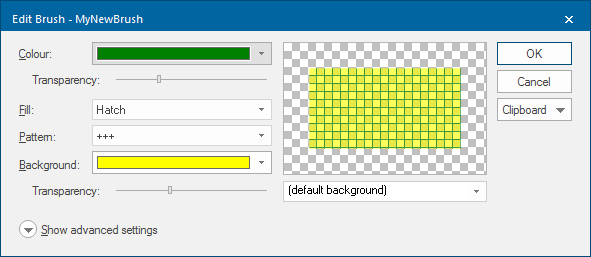
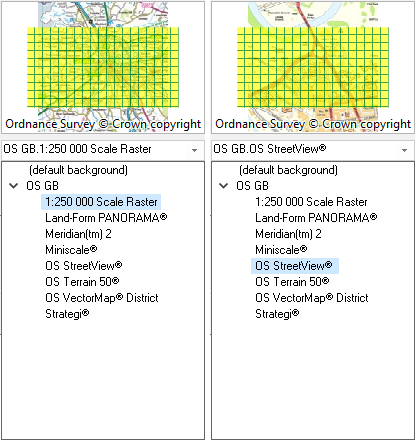
The (default background) drop-down shows you how the brush appears against a range of backgrounds (1:250 000 Scale Raster and OS StreetView® are shown below as examples):
If you edit this, MyNewBrush, will be renamed to (user-defined). You can see this change in the Properties of Brush window. MyNewBrush will now take on the new characteristics.
2. Pasting JSON into a Brush
You can also create a brush by writing the JSON to define the brush.
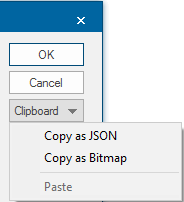
Simply paste the code directly into a Brush in an editable library (use Edit > Clipboard > Paste): ![]() Related Topics
Related Topics
3. From within the Map Window
- Right-click on a Polygon item in the Map Window and select Properties... from the local menu.
- This opens the Properties of Polygon dialog:

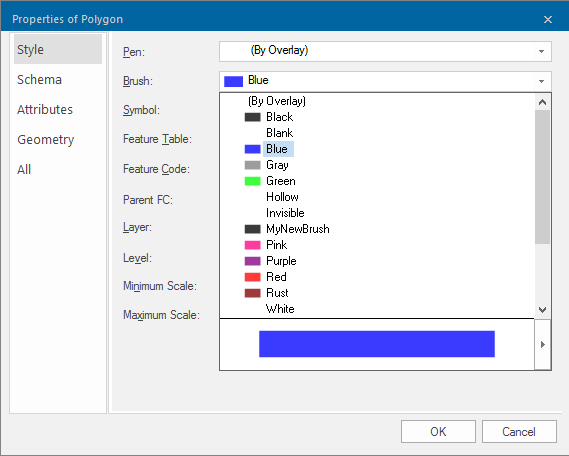
- Display the Brush drop-down list and click on the right-arrow at the bottom to display the Edit Brush dialog:

Any change to the brush will cause the named entry in the Item Properties tab to be replaced with the JSON for the new Brush.
It is not possible to save the new Brush using this method. If the Brush is to be saved you can create a new Brush and copy the code for this Brush to it using the Clipboard > Copy/Paste facility on the Edit Brush dialog, see Pasting JSON into a Brush.
Note: Click here for examples of user-defined Brushes.