Choosing an Image for the Brush
Open the required image in SIS Desktop.
Select the image and select Store Item (Create > Miscellaneous).
The Save Item As dialog opens.

- If needed, enter a note in the Description field.
- Enter the name of the folder to hold the image and the filename of the image.
- In this example the folder is new_images and the filename is Image1.
Click OK.
The image will now be stored in the current Named Object Library as a named item.
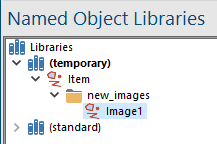
Example of using an image stored in a Named Object Library:
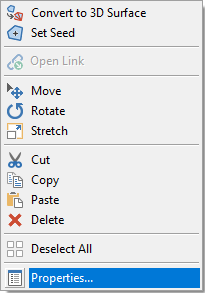
Select the Polygon item for which you wish to use an image brush and display the Properties of Polygon dialog:
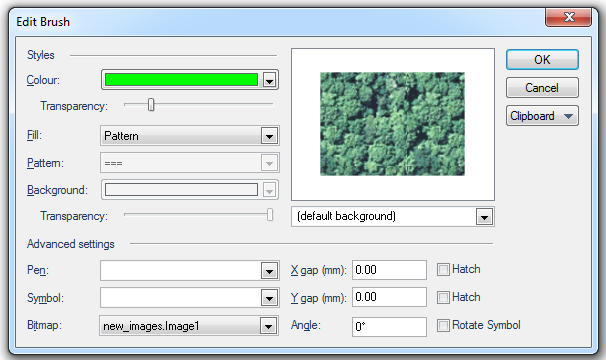
Display the Edit Brush screen and select the image name from the Bitmap drop-down box:
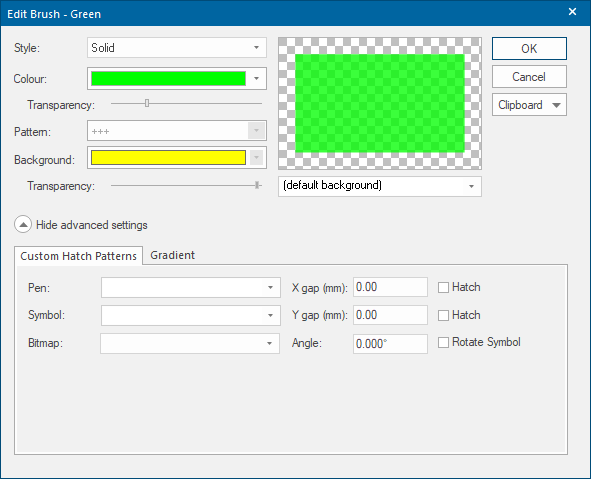
REMEMBER:
- Ensure the image resolution is appropriate for the (X gap, Y gap) size. Otherwise the bitmap pixels will be too big or too small and the bitmaps will not draw.
- Make sure the Fill drop-down box is set to Pattern.
- If hatching is required tick set the X gap and Y gap values and the Angle value. Tick the appropriate Hatch boxes.
- When a bitmap is used the Angle option only affects the hatch angle, the bitmap is not rotated.
Note: This must be a bitmap image, image formats such as JPEG, PNG, etc. are not suitable.
When the Brush image is selected, you can see a preview in the Edit Brush dialog:
The (default background) drop-down allows you see how the brush will appear against a range of backgrounds, 1:250 000 Scale Raster and OS StreetView® are shown below as examples:
.png)
Click OK.
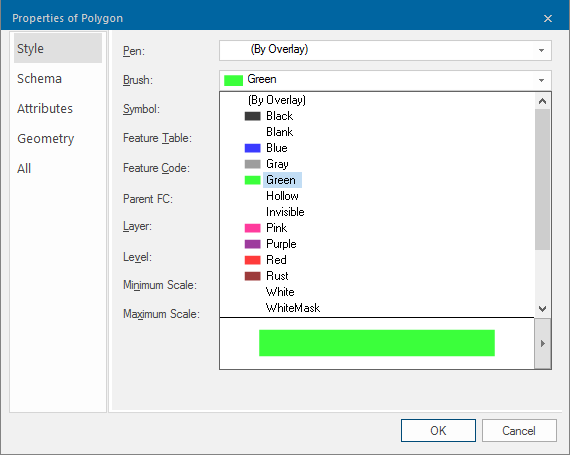
The Brush image will now be seen as a user-defined option in the Properties of Polygon dialog, Brush drop-down list:
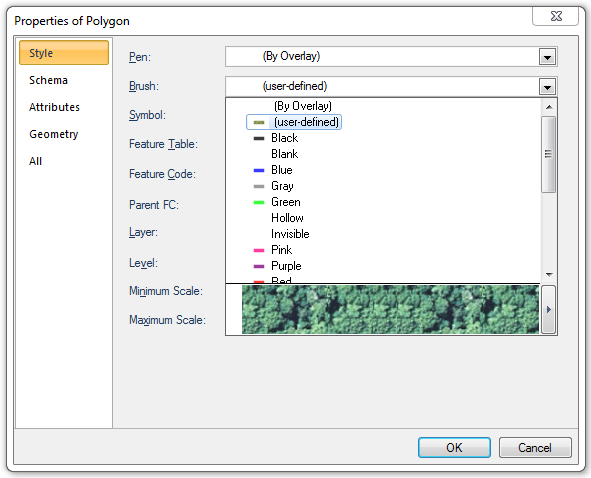
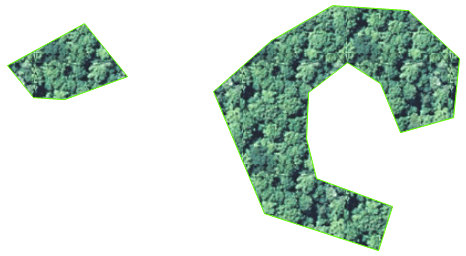
The Brush image may now be selected as any other brush for Polygon items: