Insert Points from CSV File
This insert option add points from a CSV file as a new overlay.
- Select Create > Miscellaneous > Insert.
- Choose Insert from Points from CSV File.
.png)
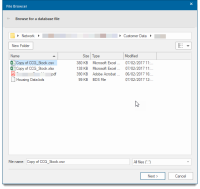
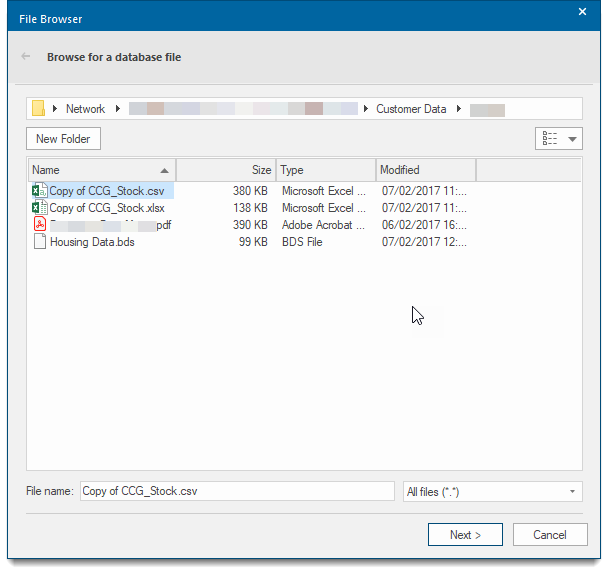
- Use the File Browser to navigate to the database file (any *.asc, *.csv, *.tab or *.txt file)
- Click Next.
- The Database file dialog will be displayed:
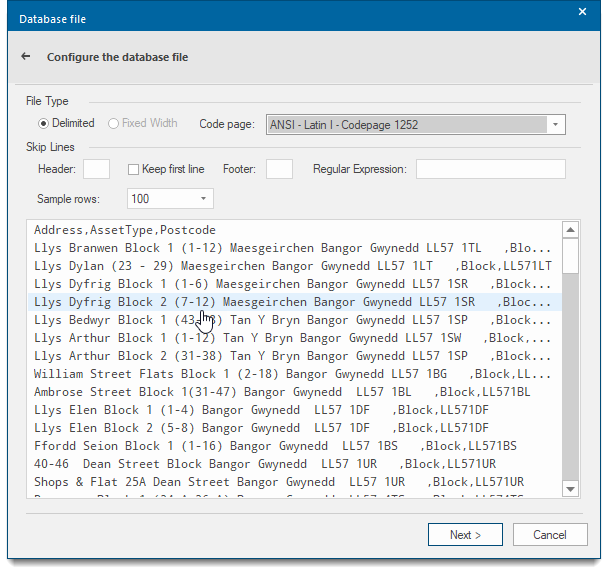
File Type
Delimited/Fixed Width/Code page: Select the file type of the selected file either Delimited or Fixed Width and then select the Code page used when the file was created or saved.
Note: Cadcorp SIS Desktop automatically detects these settings, allowing you to proceed without needing to select options.
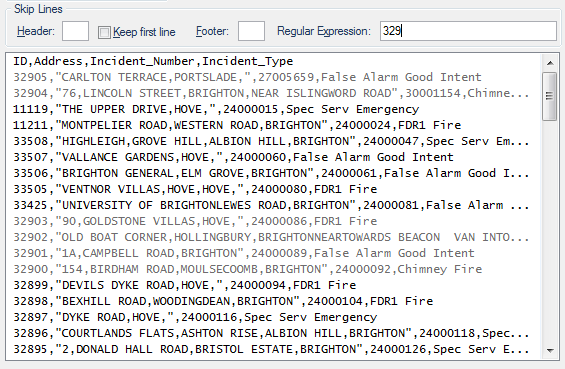
Skip Lines: These options allow you to select lines that will be skipped for added feedback.
| Field | Description |
|
Header |
Enter the number of header lines to skip. |
|
Keep first line |
Use in conjunction with Header to keep the first line when skipping a number of subsequent lines. |
|
Footer |
Enter the number of footer lines to skip. |
|
Regular Expression |
Use an expression to skip lines. |
|
Sample Rows |
Number of rows shown in the preview pane. |
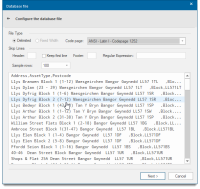
For example entering 329 in this example will skip lines 32900 to 32905:
Click Next to open the File format dialog.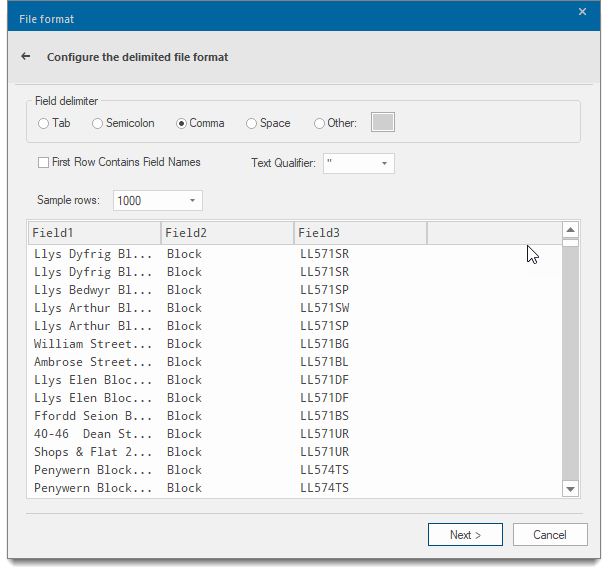
SIS Desktop automatically detects the Field delimiter and Text Qualifiers of the selected file. The First Row Contains Field Names tickbox will use the values in the first row as field names rather than data values.
Click Next to display the Database columns dialog. Use these options to edit each column.
TIP: To select a column, click once inside the column.
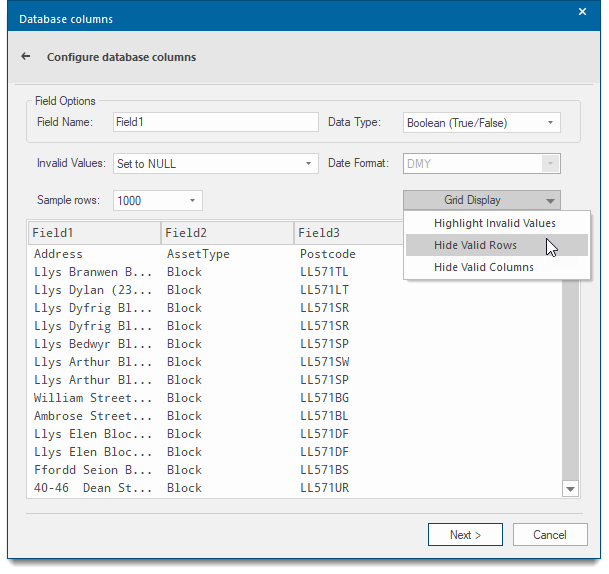
| Field | Description |
|
Field Name |
Change the Name of the field. |
|
Data Type |
Change the data type (string, currency, Boolean etc) |
|
Invalid Values |
Decide how you would like to display invalid values |
|
Date Format |
Cannot be changed. |
|
Sample Rows |
Displays selected number of rows in preview pane. |
Click Next to open the Recordset dialog.
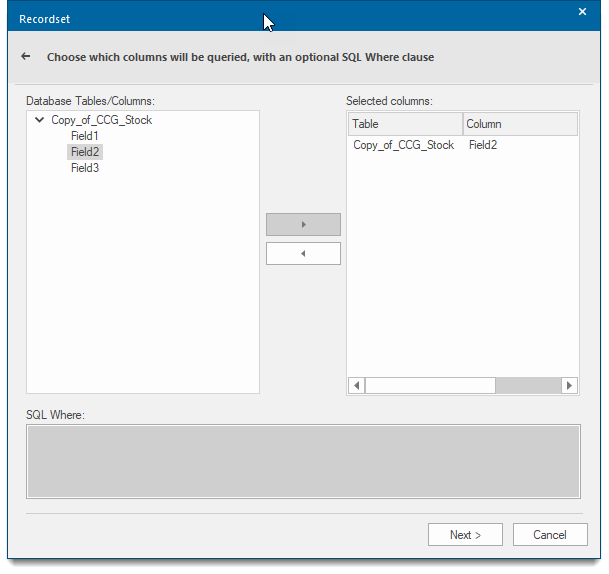
Select the table you want to add. You can add all the columns instantly by selecting them and clicking Add. Alternatively you can add specific columns by expanding the table and selecting the individual ones.
Any columns in the Selected columns section that are unwanted can be deselected by clicking the Remove button.
TIP: The SQL Where option is unavailable for flat files such as CSV or other text files.
Click Next to see the View Points dialog.
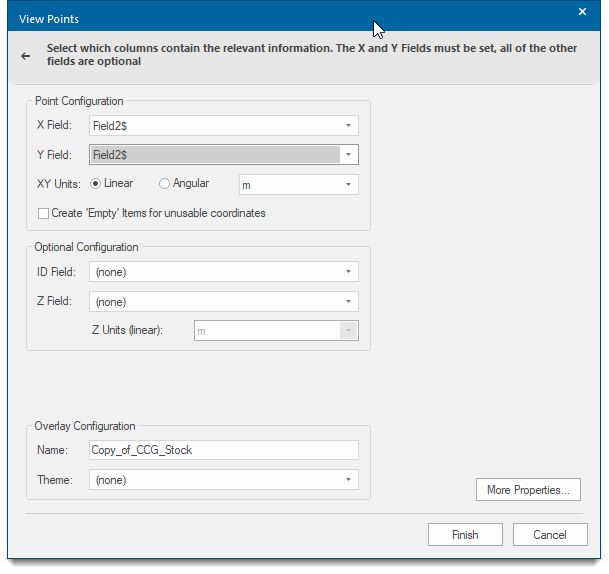
The X and Y Fields must be set; the rest of the fields however are optional.
| Field | Description |
|
X Field/Y Field |
Use the drop-down boxes to select the column to use for X / Y values. |
|
XY Units |
Linear: X/Y values use Linear units. This will usually be the case in Orthogonal coordinate reference systems, for example OS National Grid. Select the measurement units from the drop-down menu. Angular: X/Y values use Angular units. This will usually be the case in Latitude/Longitude coordinate reference systems. Choose the appropriate angular units from the drop-down menu. |
|
Create 'Empty' Items for unusable coordinates |
If this option is selected X Field and Y Field can be left undefined. |
|
ID Field |
If one of the columns contains unique positive integer values, you can use that column for the _id& property. This can help when writing GISLink customisations or SIS ActiveX applications to coordinate SIS items and other database data. |
|
Z Field |
The column to use for Z values, or height above sea-level. If you leave this field empty, then 2D points will be created. |
|
Z Units (linear) |
The units of the Z coordinates in the database. |
|
Name |
Enter a name to override the overlay name. |
|
Theme |
Add a default theme. |
More Properties
Click More Properties... button to display the View Points dialog. This allows you to modify the Coordinate system and Scale.
The Feature Table cannot be selected for non-editable files.
Click on Properties to see the properties of the overlay to be created.
.png) `
`
- Click Close on the Cadcorp View Points dialog
- Click OK on the second View Points dialog.
- Click Finish on the main View Points dialog.