Insert from Image
Insert from Image inserts an image file into the current overlay, e.g. as a logo on a Print Template.
- Select Create > Miscellaneous > Insert.
- Choose Insert from Image.
.png)
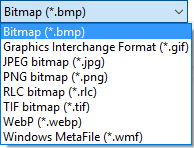
- Use the file browser to select your image file. You can also filter the required image using the file type options.
- Highlight the required file and click Open.
- The resulting Bitmap or MetaFile item is resized to fit in the current viewed area.
Insert a linked image
A linked image is useful when the original image may change in the future (eg a logo). Changes to the source image will be automatically updated on Cadcorp SIS Desktop.
Example:
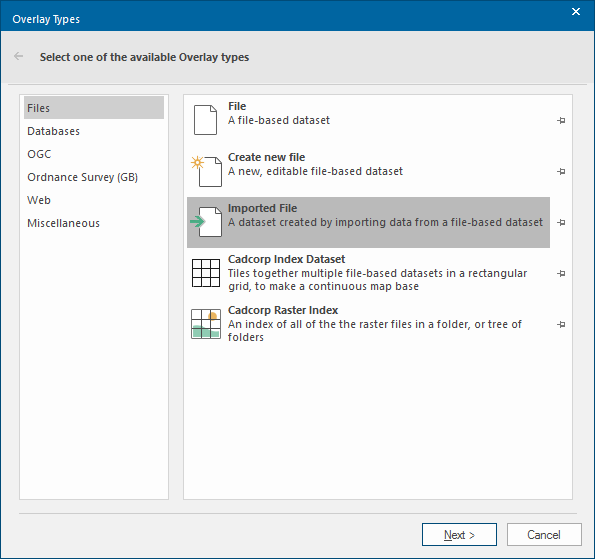
- Go to the Overlay Types dialog and select Imported File:

- Click Next.
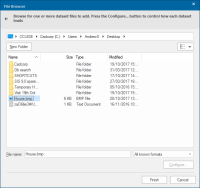
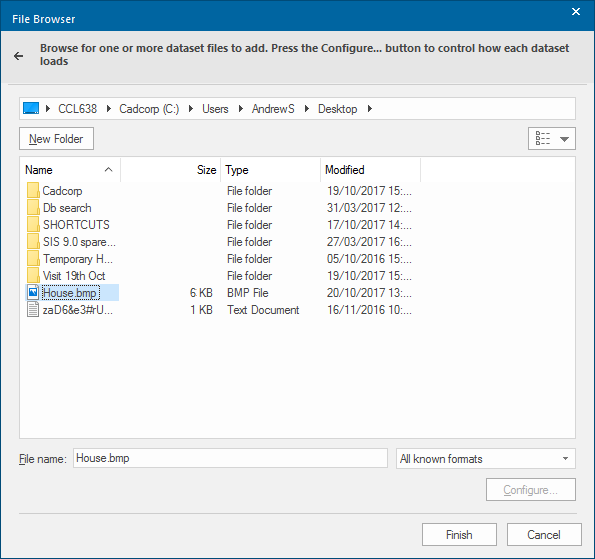
- Select the required image, in this example House.bmp.
- Click Finish.
- The image will be imported into Cadcorp SIS Desktop:

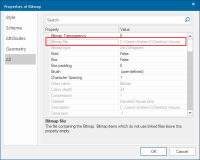
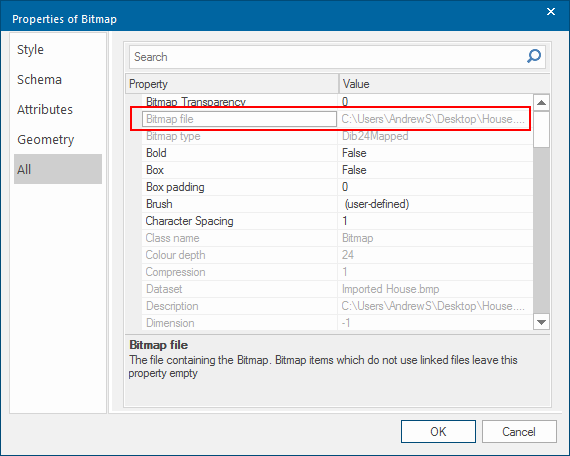
- To view the image path right-click on the image and select Properties > All. The Bitmap file property will show the location of the image. For images that are not linked the Value field of this property will be blank.
- You can also upload an image file by dragging and dropping it into Cadcorp SIS Desktop.
- In this case the following local menu will be displayed in the map window:
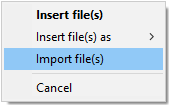
Select Import file(s).
The image will be imported with the property values as shown in the Properties of Bitmap dialog above.
If the image is updated on disk, for example, if windows are added to the house the updated image will be shown when Cadcorp SIS Desktop is opened.

Note: A linked image cannot be edited and saved if the image is open in Cadcorp SIS Desktop. The SIS application must be closed and restarted to see the edited image.