Export to Tiles
Export to Tiles exports vector or raster files to a folder on disk. The naming convention controls the sizes and names.
Click File > Export > Export to Tiles. You have various tile options to export to.
Tiles of the current view are created and saved in a single folder. You may create tiles in various sizes and formats.
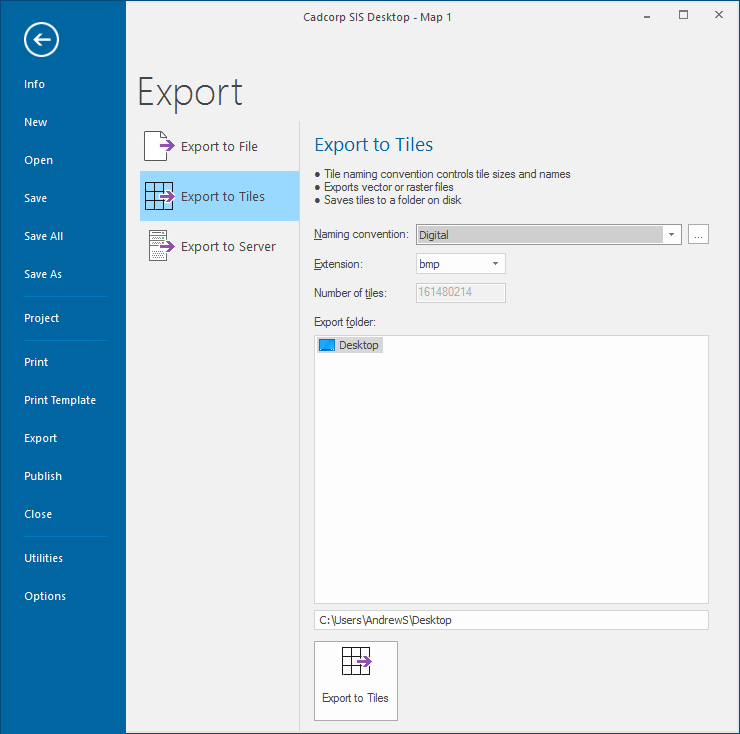
1. Naming convention
Use the drop-down menu to select the naming convention to be use for the exported tiles.
Use the ... button to set-up the chosen tile naming convention.
For example when using OS (GB) National Grid the following dialog will be displayed:
 National Grid dialog.png)
Note: Different dialogs will be shown for other naming conventions.
2. Extension
Select the type of file to be created: bds, bmp, gif, jpg, png, sgf, tif, webp or wmf.
bds format: The compatible bitmaps which overlap a tile are merged together and cut again at the tiles' borders. This allows seamless tiled bitmap coverages to be re-tiled in a different coordinate system. (For example converting (lon,lat) bitmaps into Transverse Mercator bitmaps.)
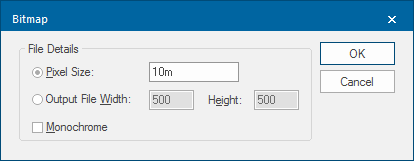
bmp, gif, jpg, png, tif or webp formats: The Bitmap dialog will be displayed so you can choose the pixel size of each tile:
tif format: The 'Normalised' GeoTIFF option is available.

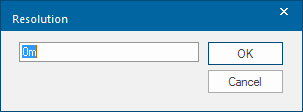
sgf format: The Resolution dialog is available to customise tile resolution:
| Option | Description | |
| Pixel Size | The width of a pixel in coordinate system units. | |
| Output File Width/Height | The output size is specified in terms of bitmap pixels, this is the width and height in pixels of the bitmap to be created. | |
| Monochrome | Check this tickbox to create a monochrome bitmap instead of using the screen's colour depth. | |
| 'Normalised' GeoTIFF (tif only) | Check this tickbox if the GeoTIFF metadata is to be 'normalised', i.e. written in full instead of using an EPSG code. | |
| Resolution (sgf only) | Enter the tile resolution value. | |
Click OK on the above dialog.
3. Number of tiles
Shows the number of tiles that will be created.
4. Export folder
Navigate to the folder where the tiles will be created.
Click the Export to Tiles button:

When the exported file is opened using Add Overlay > Index Dataset the screen will be divided into the appropriate number of tiles in the appropriate location and named according to the file naming convention chosen.