Installation using a Standalone Licence
This method uses the Cadcorp SIS Desktop 9 installation file supplied separately.
Before you begin, ensure you have:
- Cadcorp SIS Desktop licence file in a convenient location on your computer.
- Administrator privileges to install Cadcorp SIS Desktop.
- Sufficient space on your computer - the SIS 9 installer requires around 3.5 GB of disk space.
- Installation files downloaded from www.cadcorp.com/products/downloads/

There are 3 main licence types:
- A dongle-free licence. Most licence files are usually dongle-free. The licence file is locked to a feature of the hardware. Both the file and hardware MUST be present on the machine. This means a dongle-free licence will only run on the machine for which it has been created.
- A dongle locked licence. The dongle must be present on the standalone machine for the licence to run and the Sentinel drivers must also be installed.
- An unlocked licence.
Any of these types can have a time limit i.e. SIS Desktop will be available for a defined number of days from installation. This type of licence can be used for evaluations and subscriptions.
How to install
- Navigate to the downloaded Cadcorp SIS 9.0.xxx.exe file.
- Right click on the .EXE file and press Run.
- The InstallShield Wizard will now guide you easily through the installation process.
If prompted install the latest maintenance release of Python 3.6.
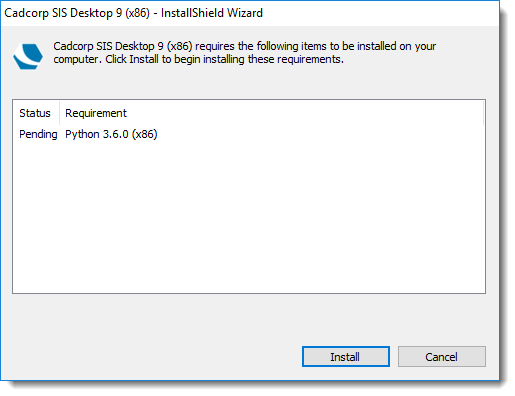
Click Install. A green progress bar will be shown as each item is installed.
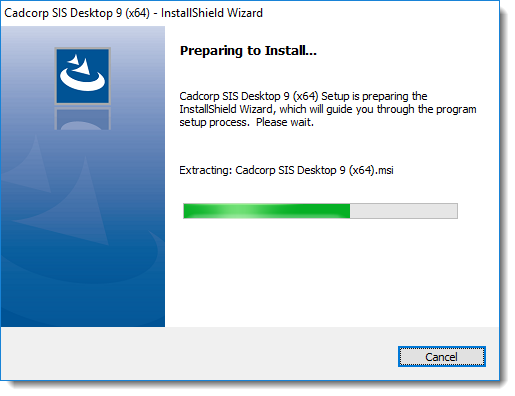
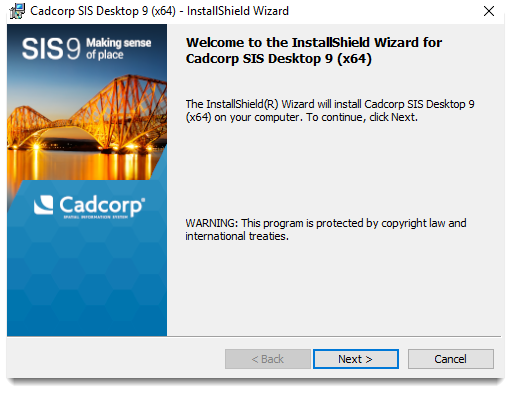
When extraction is complete the Welcome to the InstallShield Wizard screen will be displayed. Click Next to begin.
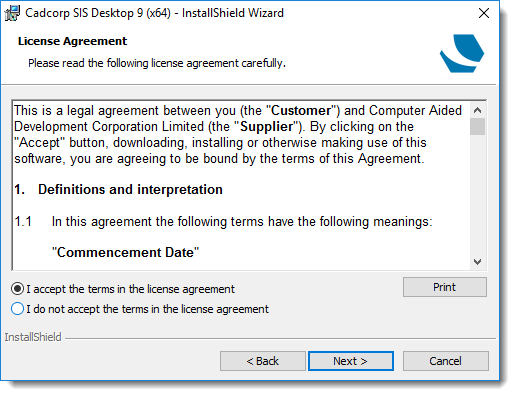
Please take some time to read the licence agreements. If you wish to print the agreement press the Print button.
If you are happy, select the I accept the terms in the license agreement radio button and click Next to proceed.
The Customer Information screen will be displayed.
TIP: If using a Network Licence change the dropdown from Standalone to Network. Click here for more information.

Enter your relevant details and click Next.
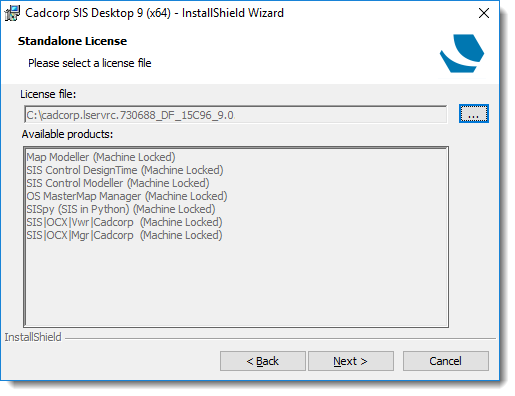
The Standalone Licence screen will be displayed:
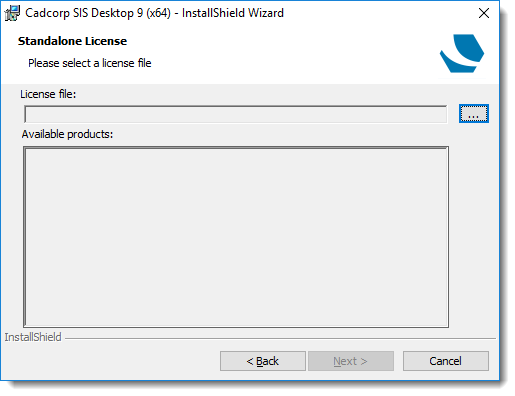
Click the … button to navigate to the location of the standalone licence file. Choose your licence file to see all eligible products in the pane below.
In this example you can see the Standalone License completed screen.
Click Next to open Destination Folder and Advanced Options.
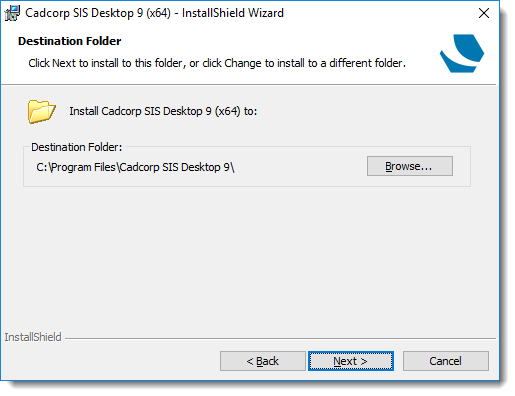
The default destination folder is C:\Program Files (x64)\Cadcorp SIS Desktop 9. To change this, click Browse to display the Select Target Folder screen and navigate to the required target folder.
Note: For 64-bit SIS installations the default destination folder is C:\Program Files\Cadcorp SIS Desktop 9.
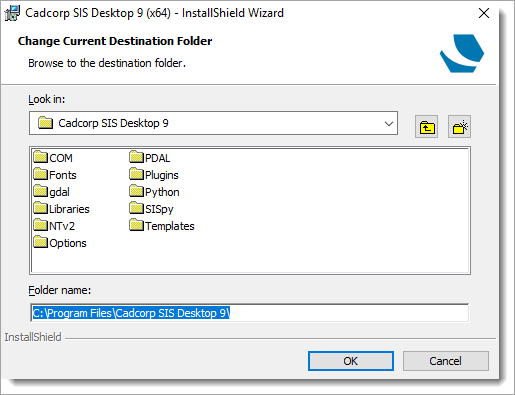
Browse to and select the required target folder and click OK to return to the Destination Folder and Advanced Options screen.
If you wish to configure additional shortcut options click the Destination Folder and Advanced Options screen Advanced button.
The Advanced SIS Shortcut Configuration screen will be displayed: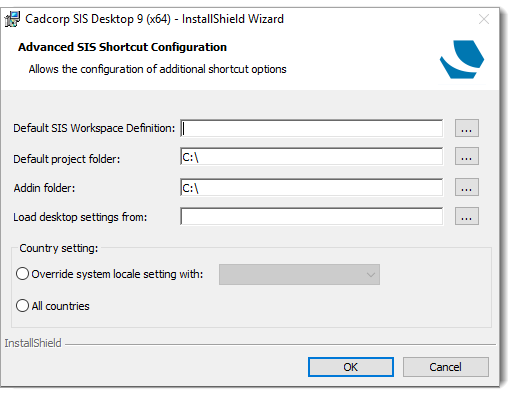
| Field | Description |
|
Default SIS Workspace Definition |
Click the ... button and choose the SIS Workspace Definition (SWD) to be loaded at start-up. Select the SWD and click OK to return to this screen. |
|
Default project folder |
Click the ... button and navigate to the folder to be used as the default project folder Select the folder and click OK to return to this screen. |
|
Add-In Folder |
Click the ... button and navigate to the target folder for Add-Ins. Select the folder and click OK to return to this screen. |
|
Load desktop settings from |
Loads any desktop settings contained in the UI settings database. This database is typically located in C:\Users\username\AppData\Roaming\Cadcorp SIS\9.0\Desktop. This option can be used if you have a UI settings database already installed, perhaps from a previous SIS Desktop installation. In this case click the ... button and navigate to the required Options.db file and click Open. The location of the selected Options.db file will now be shown in the Load desktop settings from text box. |
|
Country setting |
- Override system locale setting with - Select the radio button and choose the required country from the drop-down box. - All countries - Select for all countries. |
Click OK to return to the Destination Folder and Advanced Options screen.
Click Next to open the Setup Type.
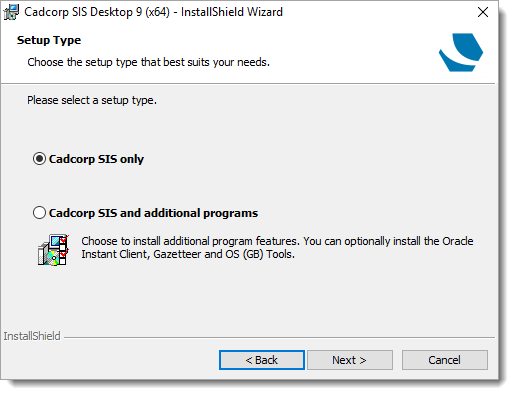
Select either:
- Cadcorp SIS only to install only Cadcorp SIS Desktop.
- Cadcorp SIS and additional programs to install additional programs, these can be any (or all) of the following:
- 3D Backdrop Download - provides additional 3D backdrop for the 3D globe used with WGS84
- Cadcorp Gazetteer - provides an advanced gazetteer for searching configurable databases
- OS (GB) Tools - allows Ordnance Survey data to be loaded into databases and structred datasets. The following will be installed; MasterMap Manager, Network Manager, Open Data Manager and VectorMap Local Manager.
- Oracle Instant Client - can be used to connect directly to an Oracle database without installing the Oracle Client application
Think carefully about installing additional programs. Your choices here will determine if you can see or use these options inside SIS Desktop. ![]() Related Topics
Related Topics
Click Next.
The next screen to be shown will depend on the selection made in the Setup Type screen:
- If the Cadcorp SIS only option is selected the Disk Space Requirements screen will be displayed (shown below).
- If the Cadcorp SIS and additional programs option is selected the Custom Setup screen will be displayed:
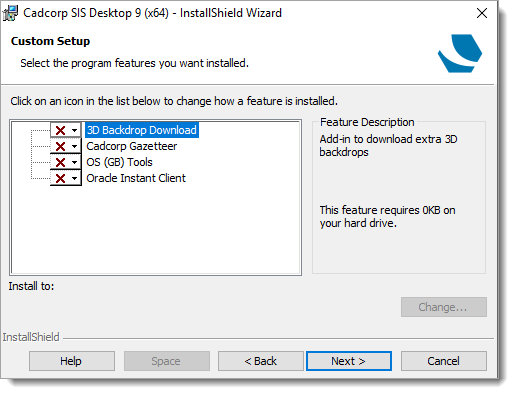
The amount of space on your hard drive shown for each feature may vary and the figures given here are only intended as a guide.
To customise intallation of each feature, use the following options:
This feature will be installed on local hard drive - will be completely installed to the local hard drive.
This feature, and all subfeatures, will be installed on local hard drive - will have any subfeatures installed to the local hard drive.
This feature will be installed when required - will be installed on first use.
This feature will not be available - will not be installed. this option does not apply to the Cadcorp SIS 9 installation option.
If a feature supports the network option, an additional two options are also available:
-
 This feature will be installed to run from network - will be installed to run from the network.
 - This feature and all subfeatures will be installed to run from the network - will have any sub-features installed to run from the network.
If you change your mind about a Custom Setup, click Back to return to the Custom Setup screen.
Note: To customise these options at any point, go to Control Panel > Uninstall or change a program, select Cadcorp SIS Desktop 9 with the right-button and choose Modify from the local menu.
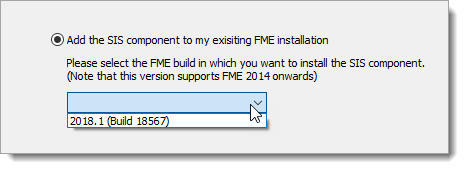
Click Next. If FME software is installed on your machine you will now see these options.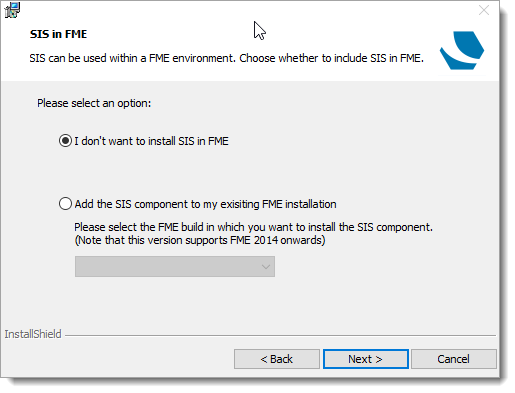
To include FME, select Add the SIS component to my existing FME installation. Select the FME build in which you want to install the SIS component.
Click Next. You will now see the Ready to Install the Program screen.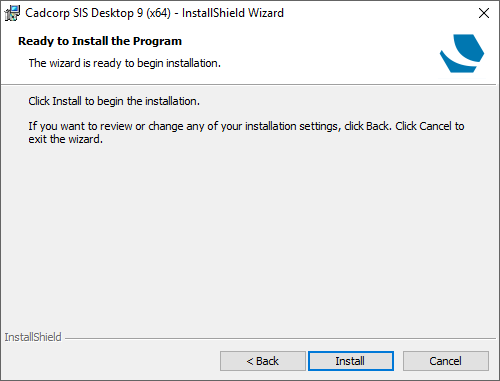
Click Install.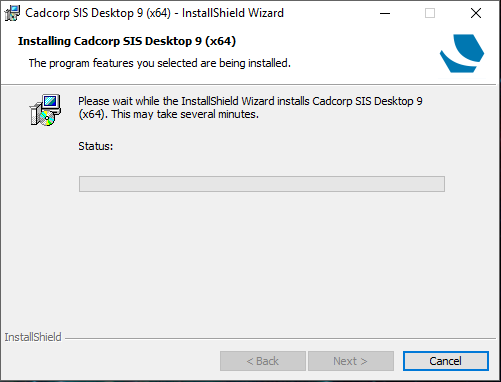
On completion the InstallShield Wizard Completed screen will be displayed: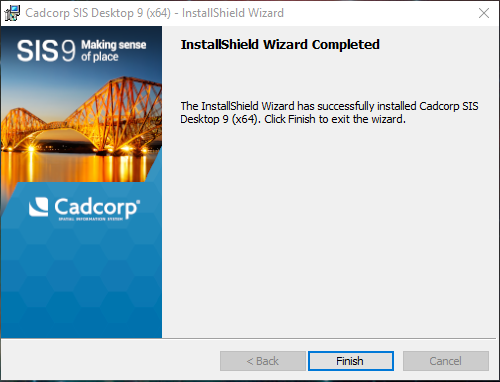
Click Finish to exit the InstallShield Wizard.
To access installed products, click Windows Home button  ; Cadcorp SIS Desktop will be listed as a Recently Added application.
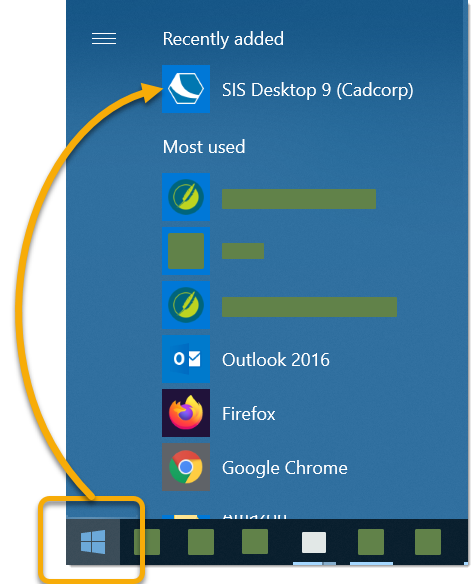
Installing Add-ins
Now that SIS Desktop 9 has been successfully installed, you can opt to include other add-ins to enhance the desktop GIS experience.
See here for more information.