Publish to File - XPS
Microsoft XPS (XML Paper Specification) documents are designed to look the same on screen as they do in print. As the name suggests, they are XML-based files.
TIP: Once created the files can be viewed through XPS Viewer, which is installed by default on Windows Vista, Windows 7 and Windows 8.
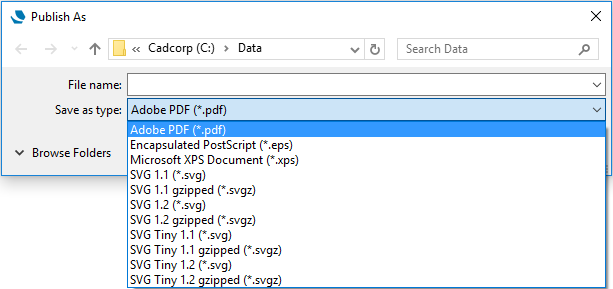
To publish the current map window as an XPS file, select File > Publish > Publish to File.
Select Microsoft XPS document in the next dialog.
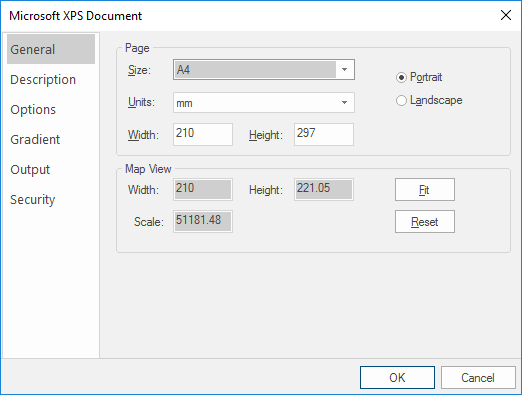
The General tab provides general page size, rotation of the map view and page orientation options.
| Option | Description | |
|
PageSize |
Use the drop-down to select from standard page sizes. |
|
|
Units |
Allows the page size units to be selected. The drop-down box allows selection from points, mm, cm and inch. |
|
|
Width/Height |
Shows the width and height of the page. For a custom page size manually enter the width and height. |
|
|
Portrait/Landscape |
Select the page orientation to match the template. |
|
|
Map View Width/Height |
Shows the width and height of the view. |
|
|
Scale |
The scale of the exported map. |
|
|
Fit |
Squeeze or stretch the view to fit onto the page. This is useful for exporting the current view quickly, but the map will not be exported to a known scale. The Map View values will change as a result of using Fit. |
|
|
Reset |
Resets the view to the original settings (before pressing Fit). |
|
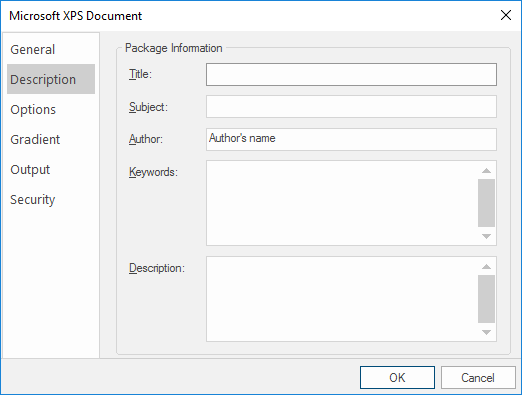
The Description tab allows you to supply additional information to be stored in the .XPS file.
| Option | Description | |
|
Title |
Specifies the title of the Encapsulated PostScript document. |
|
|
Subject |
Specifies the subject of the Encapsulated PostScript document. |
|
|
Author |
Specifies the author of the Encapsulated PostScript document (this will default to the current logged on user) |
|
|
Keywords |
Specifies any keywords in the Encapsulated PostScript document. |
|
|
Description |
Specifies a description of the information in the Encapsulated PostScript document. |
|
Note: The above information is held within the Details tab of the XPS Viewer Properties dialog.
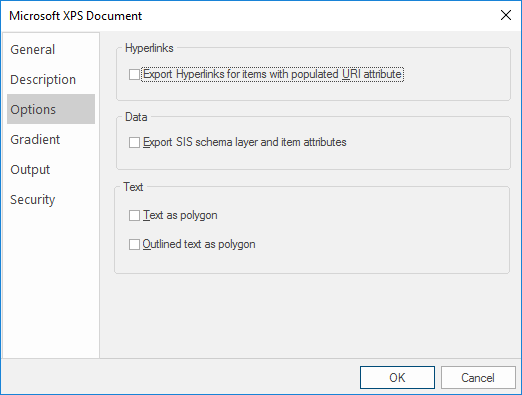
The Options tab lets you export hyperlinks, layers and text.
| Option | Description | |
|
Export Hyperlinks for items with populated URI attributes |
Check this option if any hyperlinks applied in Cadcorp SIS (_URI$ attribute) are to be exported and will work within XPS Viewer. |
|
|
Export SIS schema layer and item attributes |
Attribute data contained within the schema layer will be exported as an XML Object in the XPS package. |
|
|
Text as polygon |
Text items in SIS will be converted into polygons and therefore cannot be highlighted when viewed within XPS Viewer. |
|
|
Outlined text as polygon |
Text items in SIS with an outline applied (_text_outline& = true) will be converted into polygons and therefore cannot be highlighted when viewed within XPS Viewer. |
|
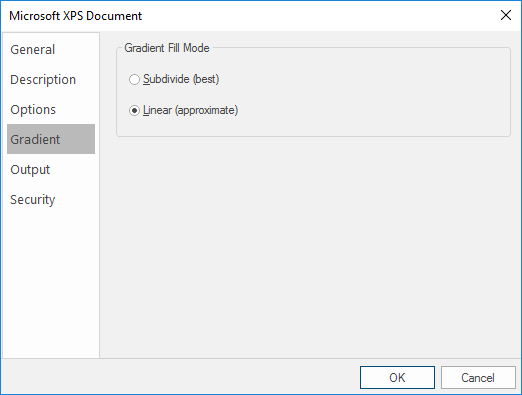
Gradient tab
| Option | Description | |
|
Subdivide (best) |
Recursively sub-divided triangles, until the colour in all three points of a triangle equal or reach the minimum colour tolerance and visually appear to be the same. |
|
|
Linear (approximate) |
Apply linear gradient from the colour of one point to the colour of the opposite side in a triangle. |
|
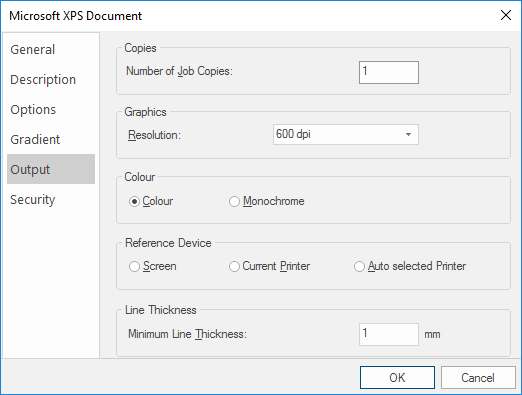
The Output tab lets you:
- Select the number of job copies
- Set the output Resolution
- Choose between Colour and Monochrome output
- Define the reference device used for the output
- Set minimum line thicknesses
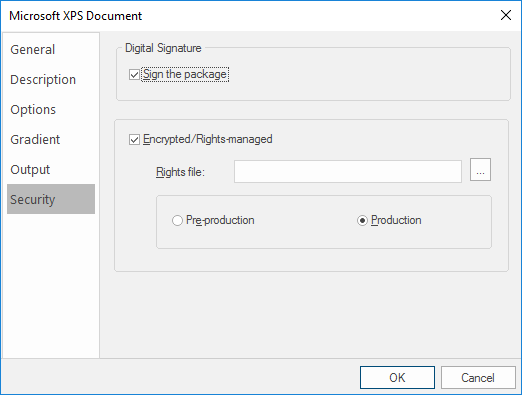
The Security tab lets you manage access rights to the XPS file:
| Option | Description | |
|
Sign the package |
Digital signatures are used to verify if the publisher of a document or file is legitimate. Signing the package is the process of applying a digital signature (or electronic security mark) to the XPS file. Checking the Sign the package tickbox will load a Windows Security dialog after setting all the XPS properties and clicking OK. Use these options to view/change the digital signature details or install an available certificate. |
|
|
Encrypted/Rights-managed |
Check this tickbox to enable encrypted rights. |
|
|
Rights file |
Click the ... button to navigate to an XrML Rights markup file. Pre-production: Creates a pre-production public/private key pair. Production: Creates a public/private key once published. |
|