Export to Server (PostGIS)
Use File > Export > Export to Server to export a SIS data into a table in POSTgreSQL using the PostGIS Spatial Object-Relational Model.
Note: Ensure the target database has been correctly set up before exporting data to it.
Remember
- Ensure the data you want to export is in an internal overlay.
- Check the names of the overlay and the schema column are compatible with PostGIS default naming conventions.
- Ensure the data conforms to the OpenGIS Simple Features Specification. Adjust the schema to suit your requirements. See Exporting to PostGIS for details of PostGIS naming conventions.
- Ensure the overlay being exported is compatible with the existing PostGIS table. SIS Desktop 9.1 will not add new attributes if the table definitions do not match.
Select PostGIS from the list of database types and click Export to Server button at the bottom of the page.
Select the overlay to export and click Next.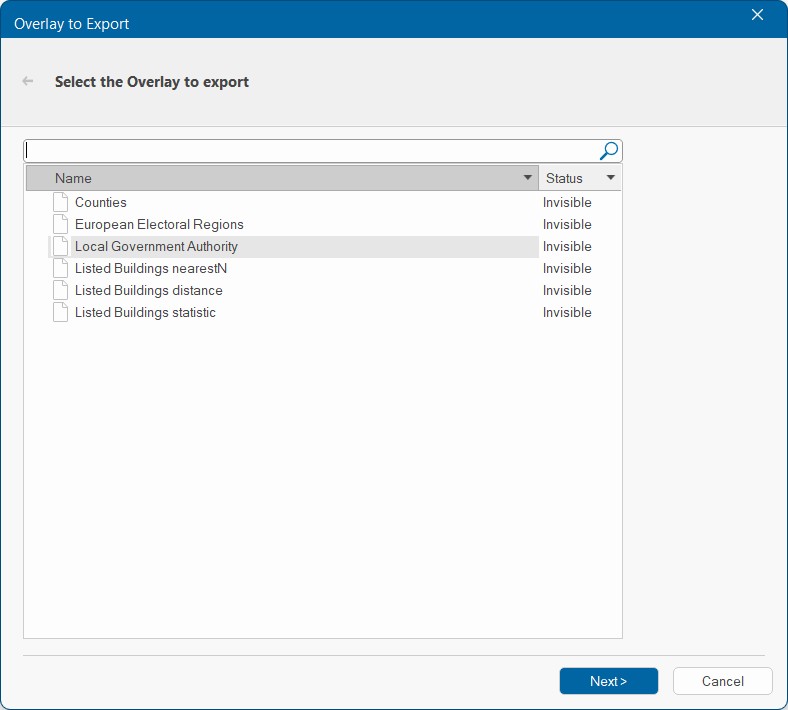
Enter the required server credentials and click Next. Enable Save connection to store encrypted login credentials in the UI settings database. 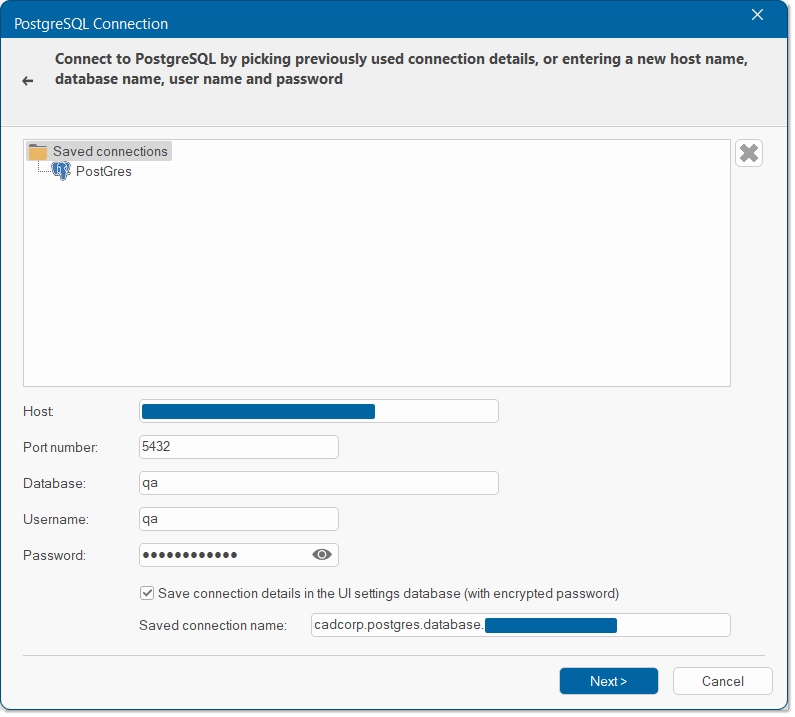
Click Next to configure the new table.

| Option | Description | |
| Schema | Select from the list of available schema. | |
| Table Name | The name of the PostGIS spatial layer defaults to the overlay name. You can change this to any PostGIS compliant table name. | |
| Geometry Column | The name for the column in the PostGIS table is GEOMETRY (type: MDSYS.SDO_GEOMETRY). The name of the column can be changed. | |
| Feature ID Column | The name of the ID column. | |
| Co-ordinate Reference system | The coordinate system associated with the spatial layer defaults to the coordinate system for the overlay. | |
| Geometry Column Type | Select the relevant Geometry Type from the drop-down menu. |
|
| Create a Spatial Index | Check this tickbox if you wish to create a spatial index to optimize spatial queries. | |
| Add Exported Layer as an Overlay | Enable this option to create an overlay from the exported layer. You can edit the name, choose a theme and even copy settings from the overlay being exported. | |
Click Finish to create the table.