Export to Server (Microsoft SQL Server Spatial)
Use File > Export > Export to Server to export SIS data into a table in Microsoft SQL Server Spatial. The data is exported into a table in Microsoft SQL Server Spatial using the SQL Server 2008 (or later) Spatial implementation.
Note: Ensure the target database has been correctly set up before exporting data to it.
- Exports SIS Desktop 9.1 d
- Ensure the data you want to export is in an internal overlay.
- Check the names of the overlay and the schema column are compatible with Microsoft SQL Server default naming conventions.
- Ensure the data conforms to the OpenGIS Simple Features Specification. Adjust the schema to suit your requirements.
Note: See Exporting to Microsoft SQL Server for details of Microsoft SQL Server naming conventions.
Select Microsoft SQL Server Spatial from the list of database types and click Export to Server button at the bottom of the page.

Enter the required server credentials and click Next. Enable Save connection to store encrypted login credentials in the UI settings database.
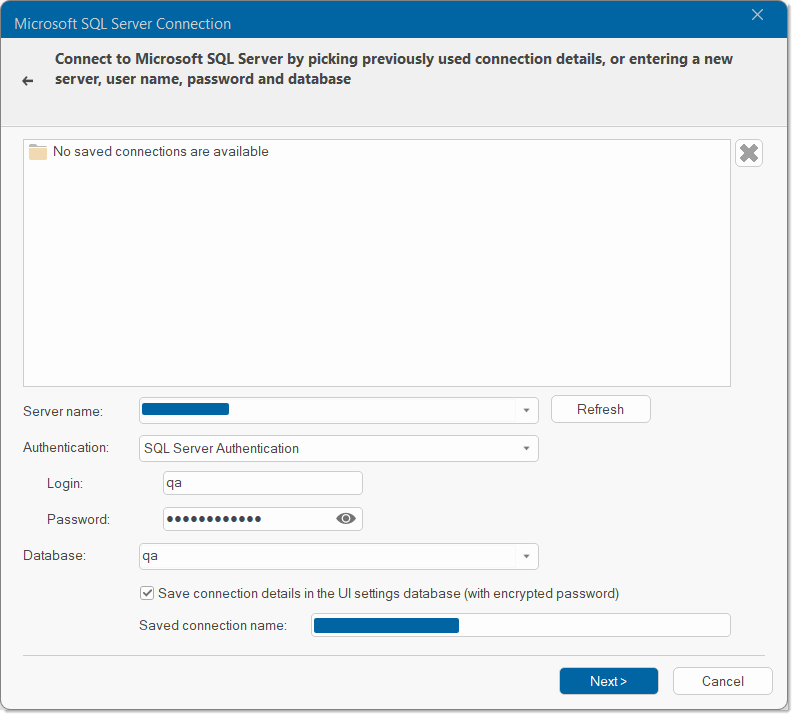
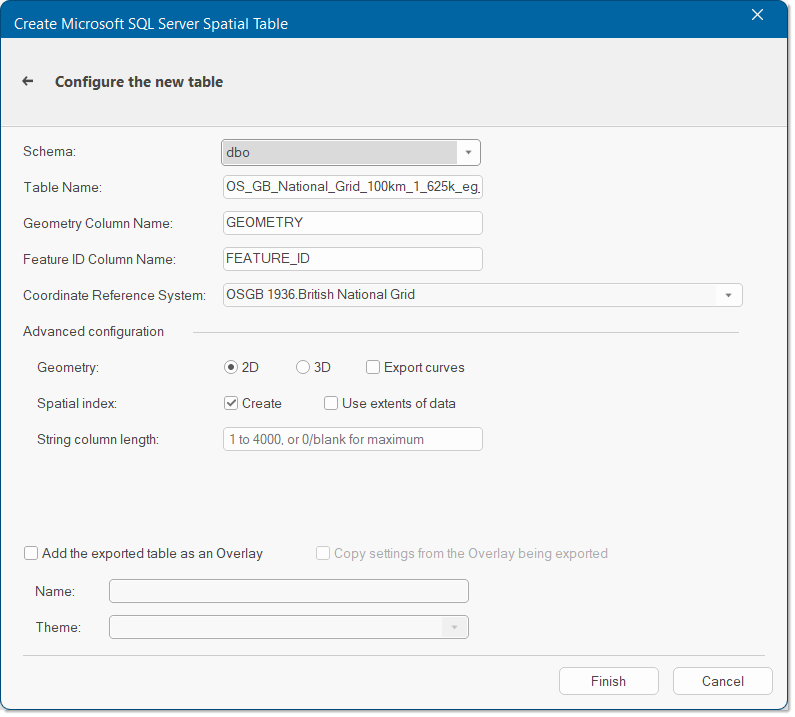
Click Next to configure the new table.
| Option | Description | |
| Schema | The name of the SQL Server spatial layer/table defaults to the overlay name. You can change this to any SQL Server compliant table name. | |
| Table Name | The name of the SQL Server spatial layer/table defaults to the overlay name. You can change this to any SQL Server compliant table name. | |
| Geometry Column name | The name for the column in the table is GEOMETRY and is type GEOMETRY. | |
| Feature ID Column name | The name of the Feature ID column. | |
| Coordinate Reference System | Select the CRS from the drop-down menu. | |
| Geometry | Select either 2D or 3D | |
| Create a Spatial Index | Check this tickbox if you wish to create a spatial index to optimize spatial queries. | |
| Use Extents of Data as Bounding Box | By default the extents used to create the spatial index covers the extents of the Coordinate Reference System. To use overlay extents, check this tickbox. | |
| String Column Length | ||
You can choose to add the exported table as an overlay in the existing SWD. To make it easier, opt to copy the settings from the overlay that is being exported.
Assign a name to the new overlay and if required, select a theme from the drop-down menu.
Click Finish to export the table.