Padding in Key Maps
The first thing you will notice when you have placed a Key Map on your print template is that it appears as a crosshatched rectangle with a smaller crosshatched rectangle within it.
This is because the Key Map displays the extent of the Map Frame item (the hatched area) with a default padding factor of 2.
To change the padding factor, select the KeyMap and edit the value in the Properties Control Bar:
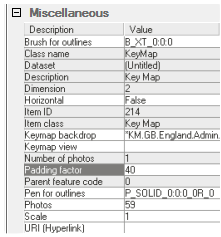
Changing the padding factor to 40 makes the Key Map display an area of Surrey Heath 40 times larger than the map area:
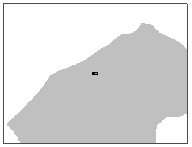
Notice the hatched map area is still central in the Key Map, so not all of Surrey Heath area is displayed.
In this example it is necessary to increase the padding factor to 85 before the whole heath is visible. This also has the possibly undesirable effect of displaying the hatched map area centrally with the Surrey Heath area off centre:
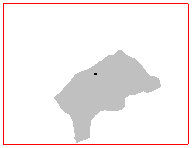
In these circumstances we recommend you ignore the padding factor and instead set the Keymap View.
A Key Map View is a named view stored in a NOL which defines the map extents of the KeyMap item. All Key Maps contained in the Backdrops and KeyMaps NOL have a corresponding named view for this purpose.
The Key Map View can be set in the Properties Control Bar. Simply copy the Key Map backdrop name excluding the *KM. prefix into the Keymap view property value as shown below:
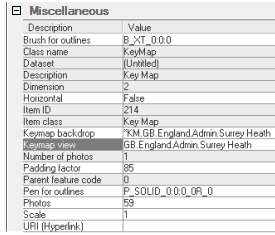
This setting overrides the padding factor and ensures Surrey Heath is fully displayed in the Key Map as shown:
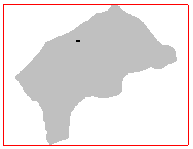
Note: All KeyMap views provided in the Backdrops and KeyMap library have a 5% padding factor around the backdrop graphics so the bounding rectangle does not touch the graphics.