Rubber Sheeting Bitmap (Fitted Linear)
In this example, you will rubber-sheet a .PNG image of central Exeter flood area.
Start by creating displacement lines similar to the previous topic (Rubber-sheeting Vector).
- Expand the Rubber-sheeting group folder.
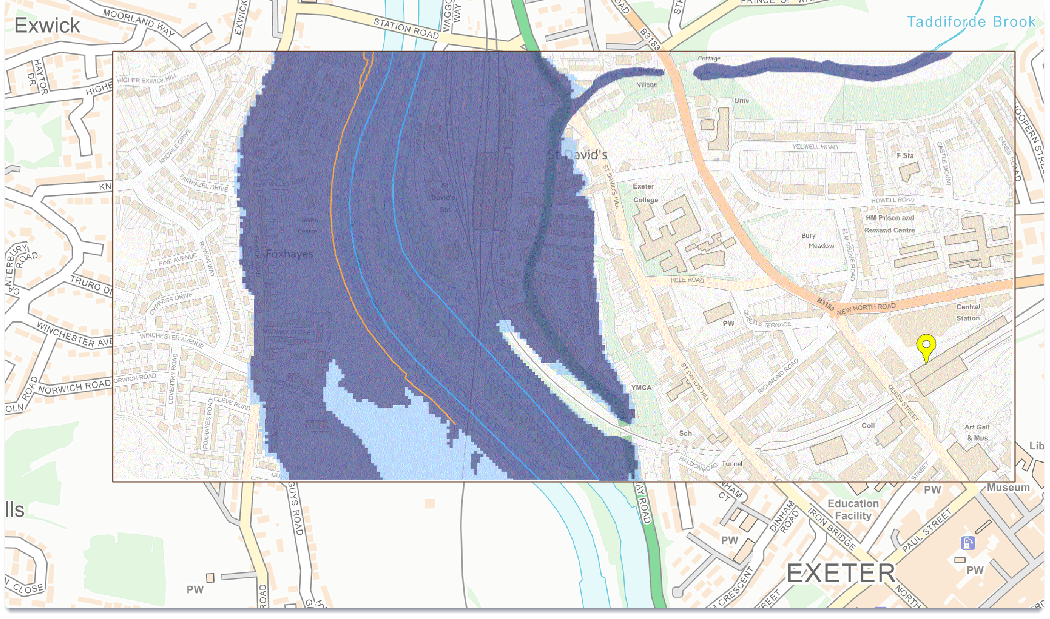
- Switch on the Exeter Flood Zone and the Flood Zone Displacement overlay.
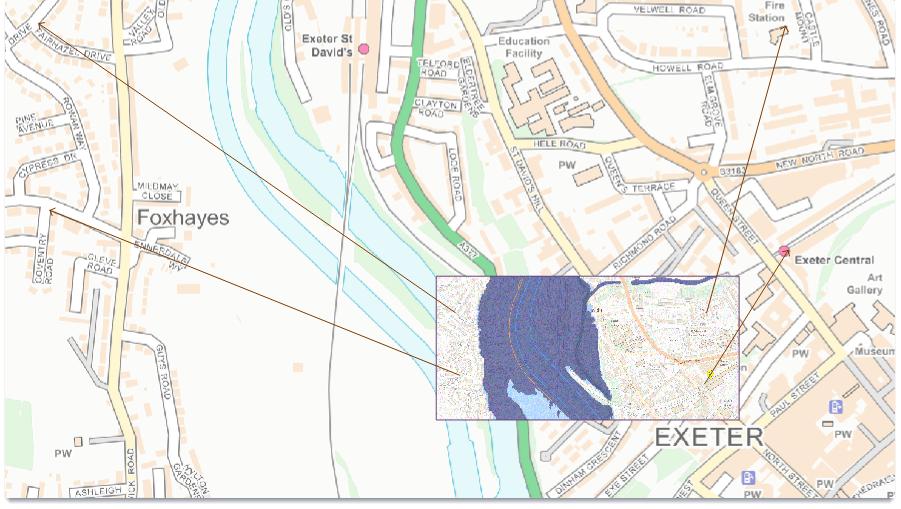
- The image and displacement lines appear.
- From the Create ribbon tab, click the Process button.
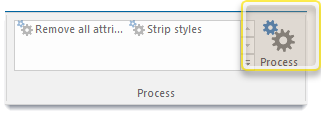
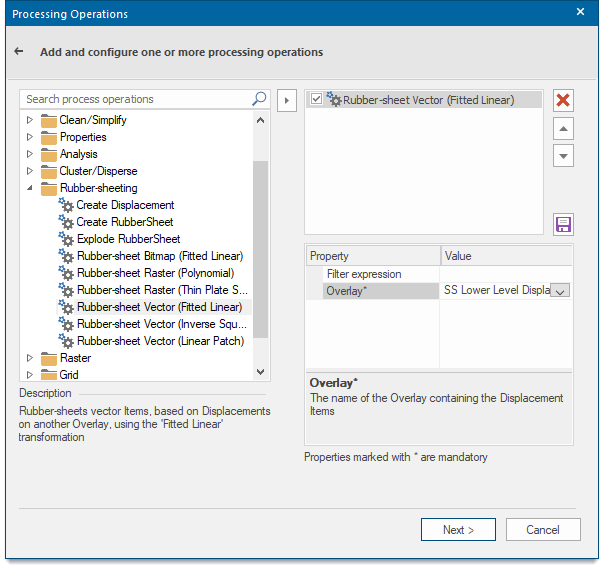
- This opens the Processing input window:
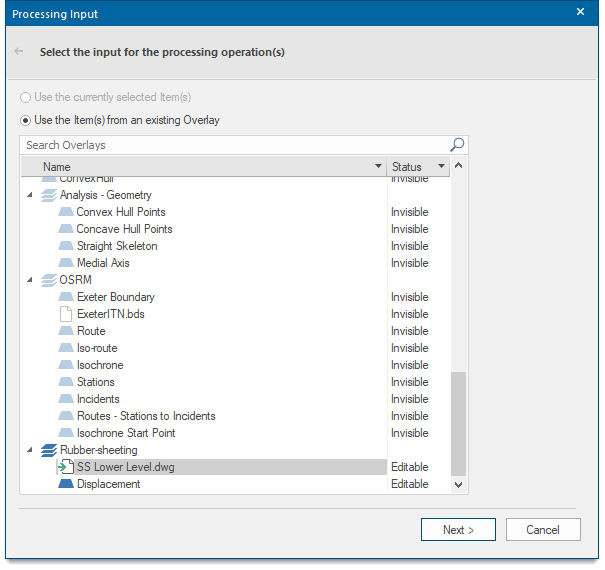
- From the Overlays list, select the Exeter Flood Zone overlay and Click Next.
- Expand the Rubber sheeting folder.
- Double-click the Rubber-sheet Bitmap (Fitted Linear) option.
- Select the Overlay property.
- Select the Value drop-down list and select the Flood Zone Displacement overlay.
- Click Next.
- Create an internal overlay named Fitted Linear Bitmap.
The transformed image will appear: