Configuring Editing inside WebMap
You have configured an SWD in SIS Desktop and defined the relevant properties.
The next step is to configure overlay attributes inside WebMap. To do this:
- Create a new overlay from Configuration > Layers > Add Overlay.
 Related Topics
 - Select Class: GeognoSIS SWD and assign a unique name to the overlay.
-
TIP: You can only add one SWD file to each map for editing purposes. To work with more data, try adding additional desired layers WITHIN the same SWD file.
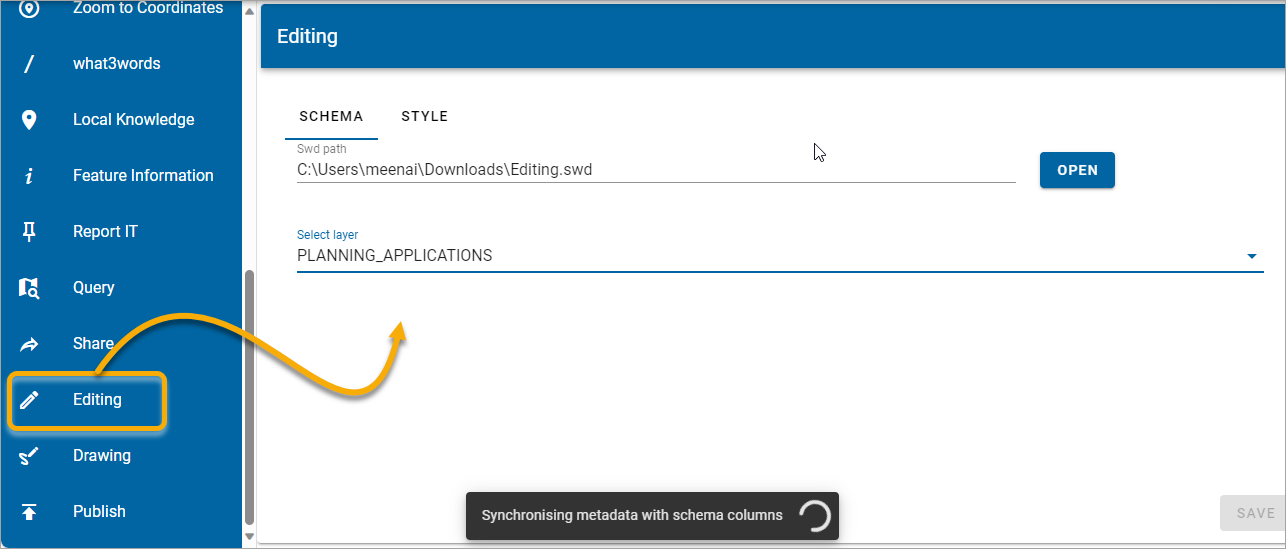
- Select Configuration > Editing > Schema and select the SWD’s path.
- Select a layer to view and edit its relevant attributes. (Only layers with AllowWebEditing@ property enabled are displayed here)
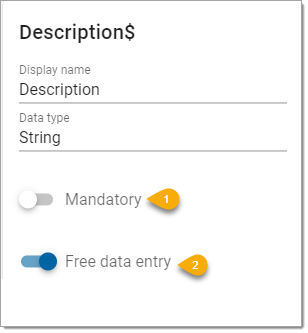
- Entry fields can be customised.
- Enable Mandatory Attribute to force user to fill this field when editing.
- Enable Free Data Entry to force fields to accept user input rather than select from a list of pre-defined values.
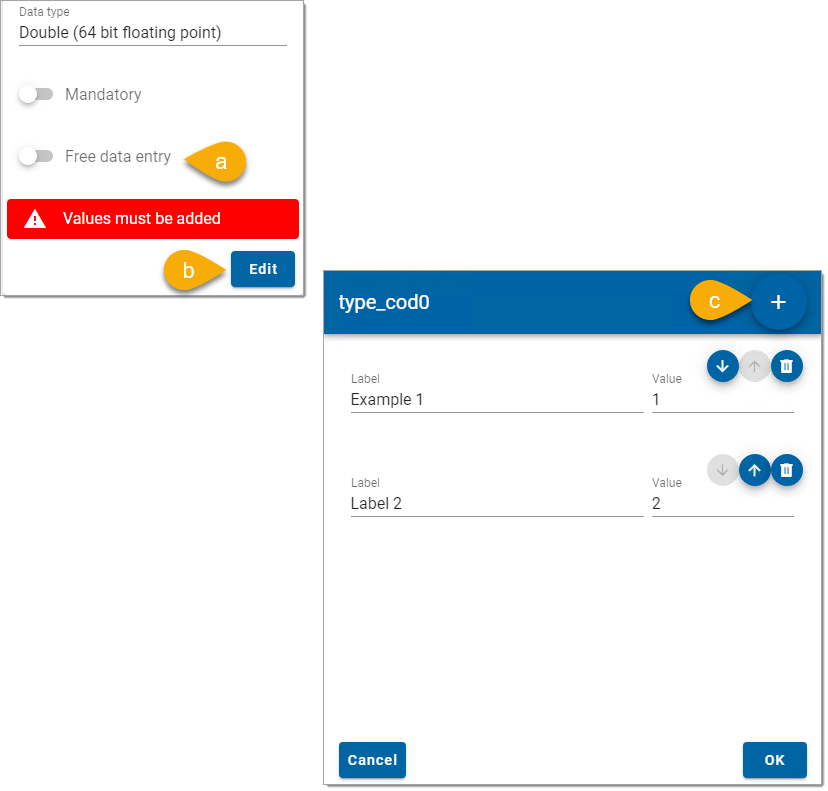
- To create a list of pre-defined values, disable a. Free Data Entry, click b. Edit and click c. Add.
-
In the Label field, enter the label to be displayed on the web page. In the Value field, enter the value tag to be used in the database.
Click OK to create new labels and value fields.
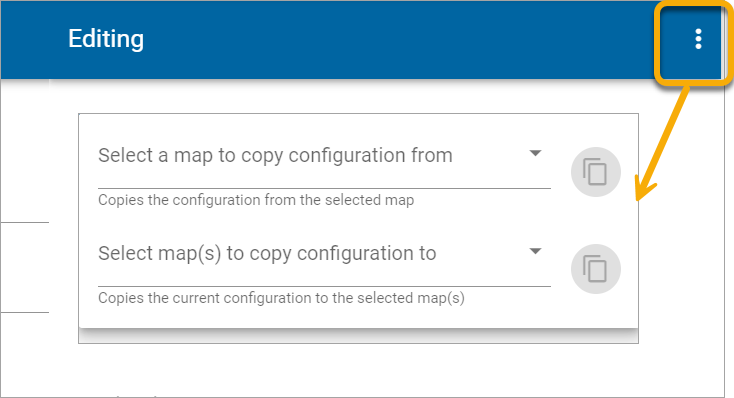
Copying settings between maps
Click on options to :
- Copy a complete configuration from another map to the current map.
- Copy the complete configuration for the current map to other maps.