Configuring Cadcorp SIS Desktop to work with FindIT
FindIT uses a separate SWD for searching. This allows a large number of data layers to be included in the search.
Make the following changes to the SWD or layer using Cadcorp SIS Desktop.
- Remember to open Cadcorp SIS Desktop in Administrator mode.
- Open the SWD you want to use for FindIT.
- For performance reasons we recommend using database overlays in the SWD.
- Each layer in the SWD can be included in the intersect query run by FindIT. To do this, simply add the WML::ConstraintSearchEnabled& property and set it to 1. (Right click on the overlay and select Properties > Add (or) use the Overlays dialogue).
- To include a MasterMap layer (which the user can select to form query polygons) add it to the SWD. Ensure the WML::Mastermap@ property in your MasterMap layer is set to True.
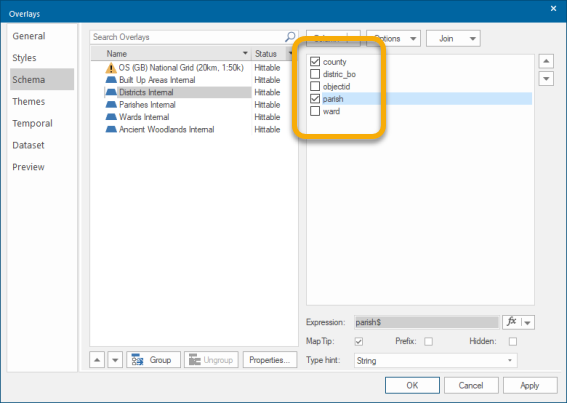
- Modify the schema to define the information returned for each overlay.
- Schema columns with a check mark are included in the PDF output. To rename a schema column to a friendlier description, simply click on it.
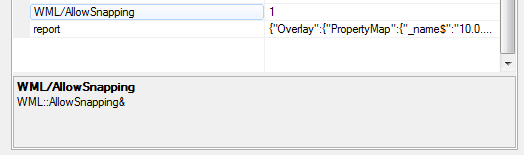
- A single snapping layer can be defined. Edits can be snapped to an underlying data layer. These are defined by adding the WML::AllowSnapping& property to the layer in the SWD and ensuring that the value is set to 1:
- Snapping requires features to be pushed to the client from GeognoSIS. Remember the following:
- A spatial database or BDS file should be used.
- When snapping to OS MasterMap data, a lightweight snapping layer should be created by copying line work from the OS MasterMap table to a separate table. Do not use a filtered or phased overlay.
- Only one overlay should be defined as the snapping overlay.
- Restart SIS WebMap for the changes to take effect.
NEXT: Database Scripts for FindIT