Microsoft Entra ID is a cloud-based directory and identity management service. Its authentication protocol helps improve application security.
For Cadcorp SIS WebMap 9.1, you can use Microsoft Entra ID as a Federated Security authentication model.
Begin by setting up an application registration in AzureConnect to Microsoft Azure Portal. To do this, go to https://portal.azure.com  and connect using your organisation login details.
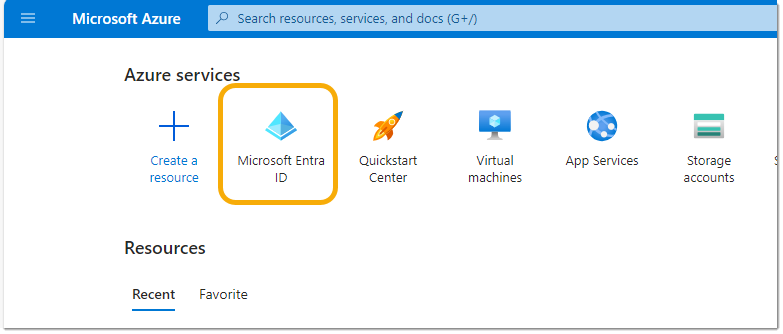
Select ‘Microsoft Entra ID’ (previously Azure Active Directory).
Select App registrations > New Registration.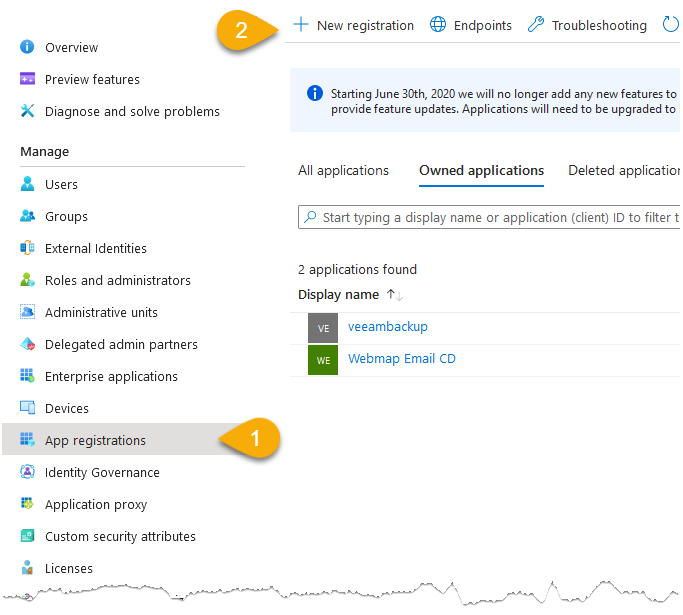
Select the relevant choices, assign a name (e.g. WebMap 9.1) and click Register.
The next screen displays details of the successfully registered application.
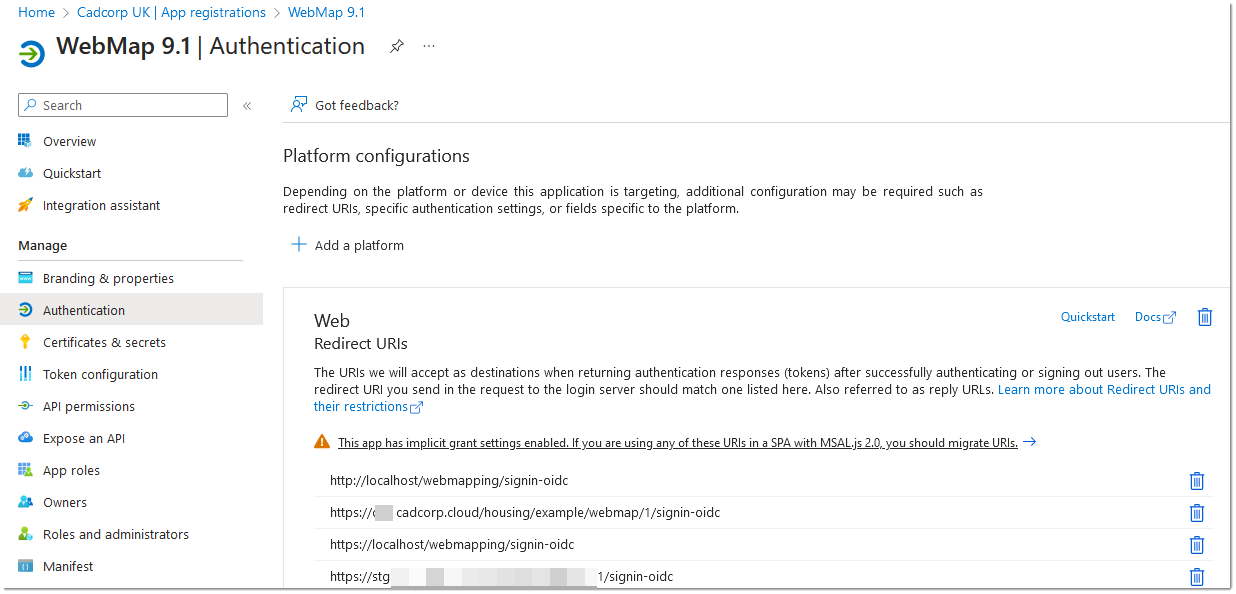
How to set up a Redirect URI
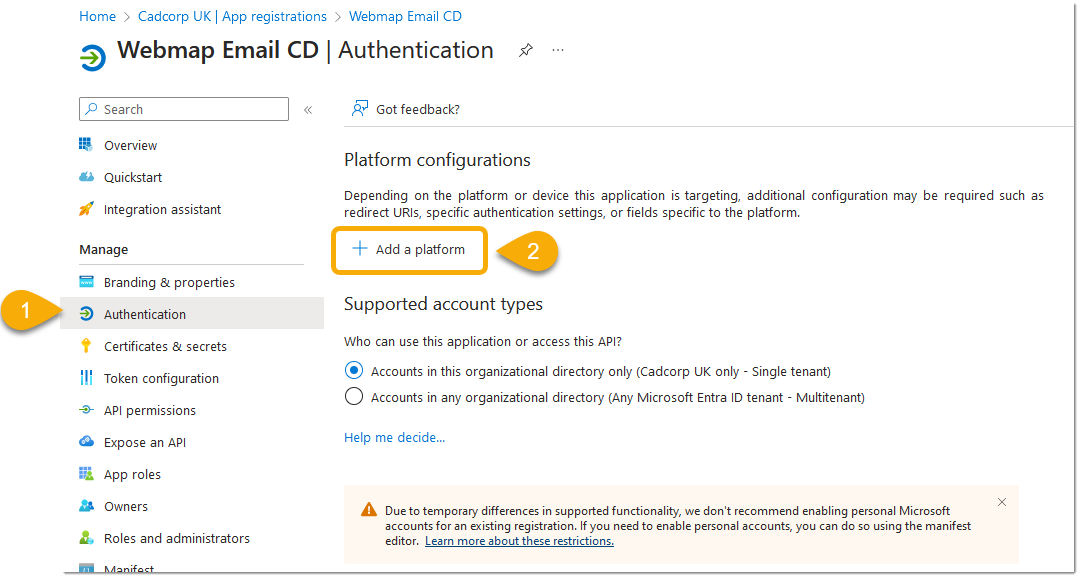
- Select Authentication.
- Click +Add a platform.
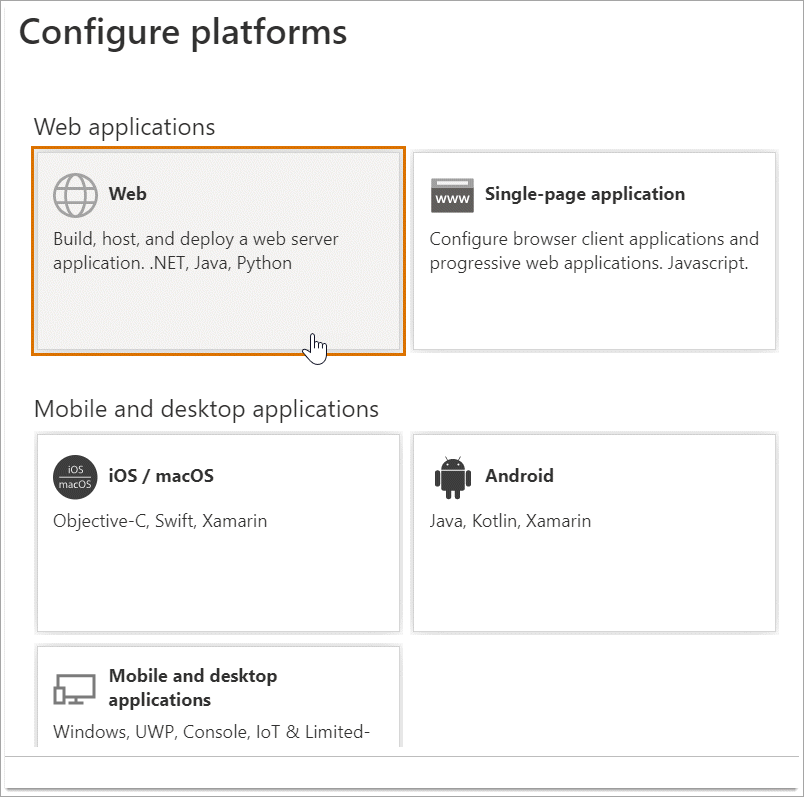
- Pick Web from the platform options.
- Enter the Server and web address for WebMap. The address should follow this format: https://<server_name_with_certificate>/<WebMap_application_name>/signin-oidc
Here the application name can be customised (we recommend something simple like “WebMap”).
Application names are case sensitive.
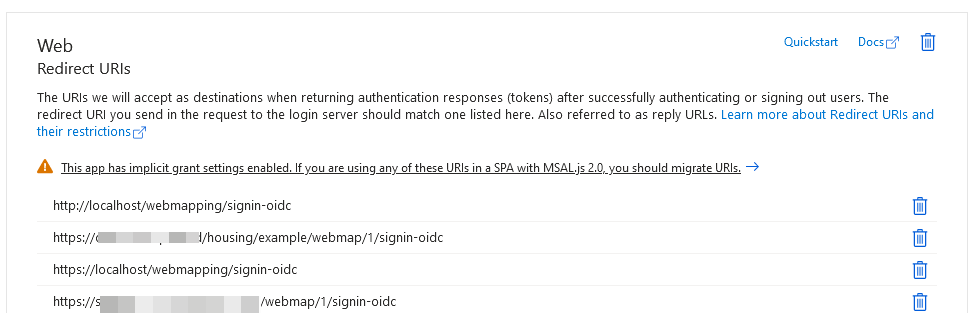
Remember to enable Access tokens and ID tokens. Press Configure.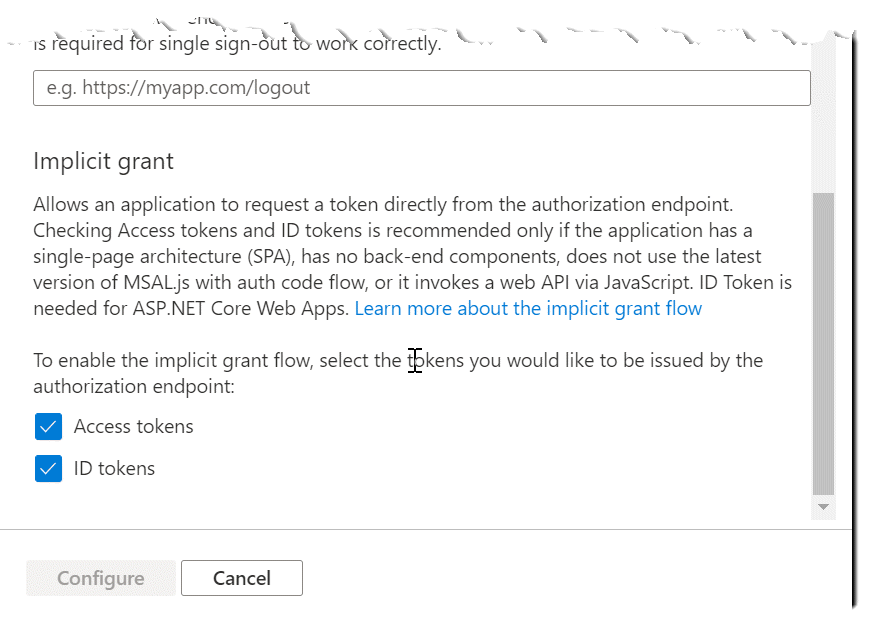
Continue to add a second redirect URI using the ‘Add URI’ button. The second URI must be identical to the first, except that the application name should be all in lower case (e.g., “WebMap” becomes “webmap”).
![]()
Branding
Select Branding and Properties and upload a new logo.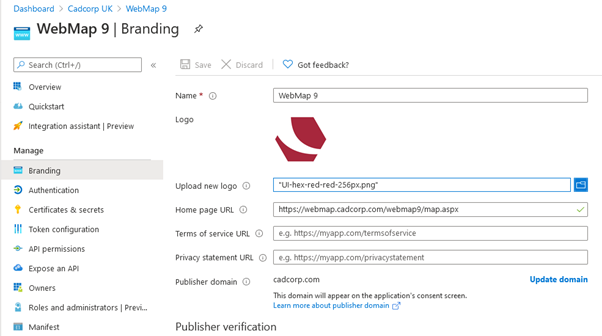
Fill in all other URLs if relevant to your organisation.
![]()
Token Configuration
Access tokens can be used in Azure Active Directory to identify all granted permissions to your APIs.
Select “Token configuration” and click + Add group claim.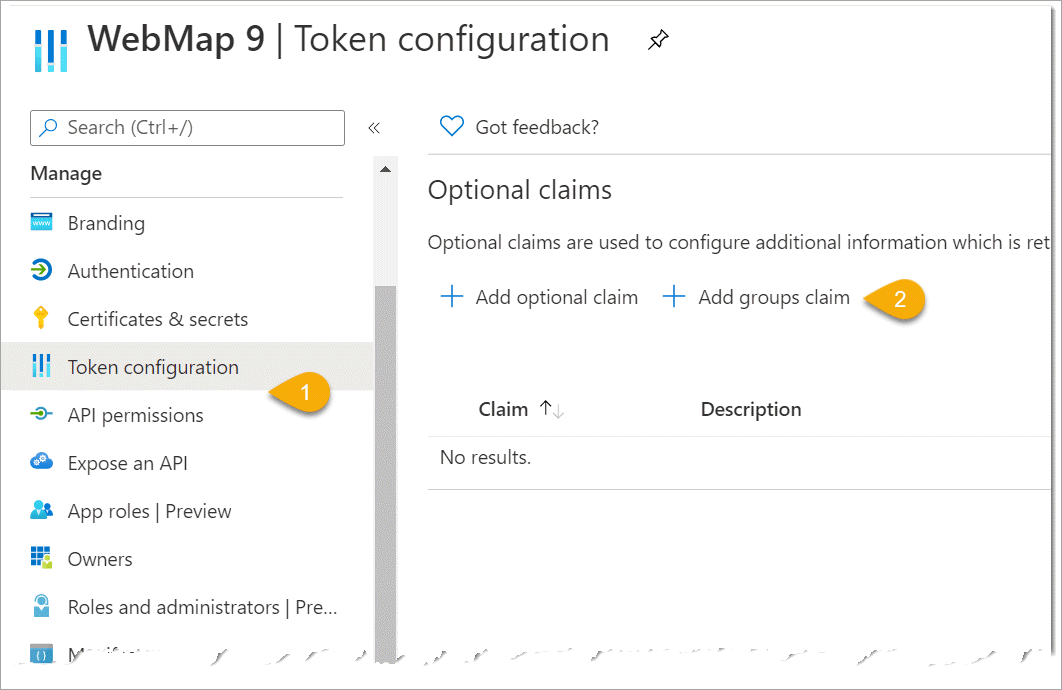
Enable all 4 options (Security groups, Directory roles, All groups and Groups assigned.)
-
ID = sAMAAccountName
-
Access = sAMAAccountName
-
SAML = sAMAAccountName
Click Add.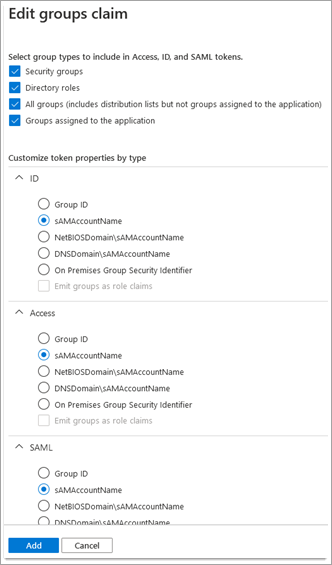
![]()
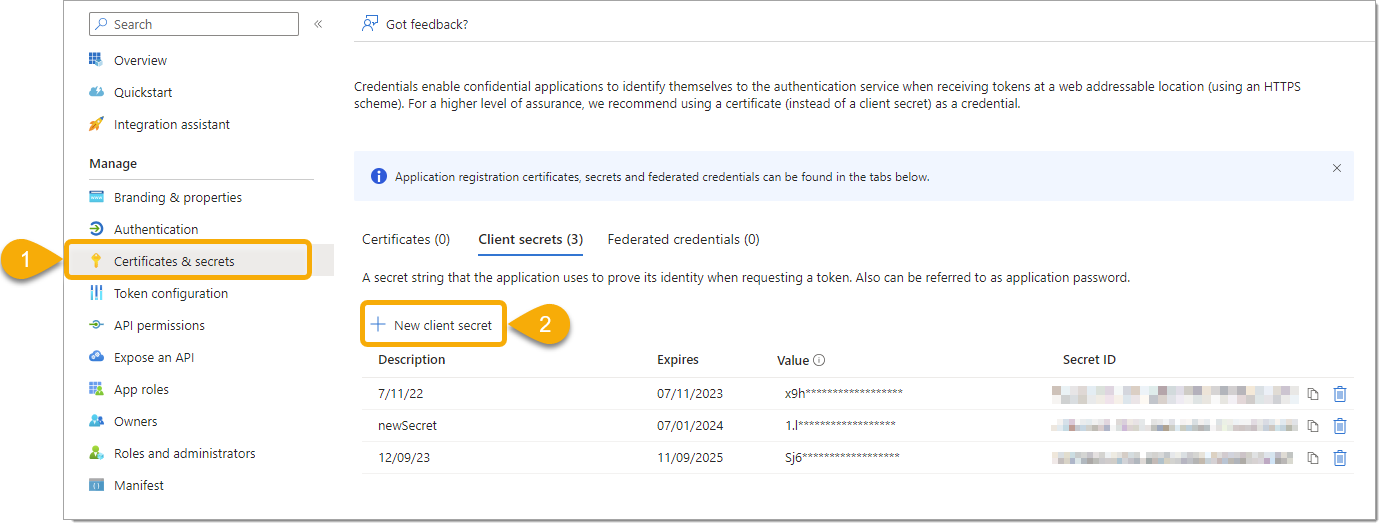
Create a Client Secret
Navigate to ‘Certificates & secrets’ and select ‘New client secret’.
Copy the generated secret value to a safe place because once you leave the page, the secret is encrypted and cannot be retrieved easily.
![]()
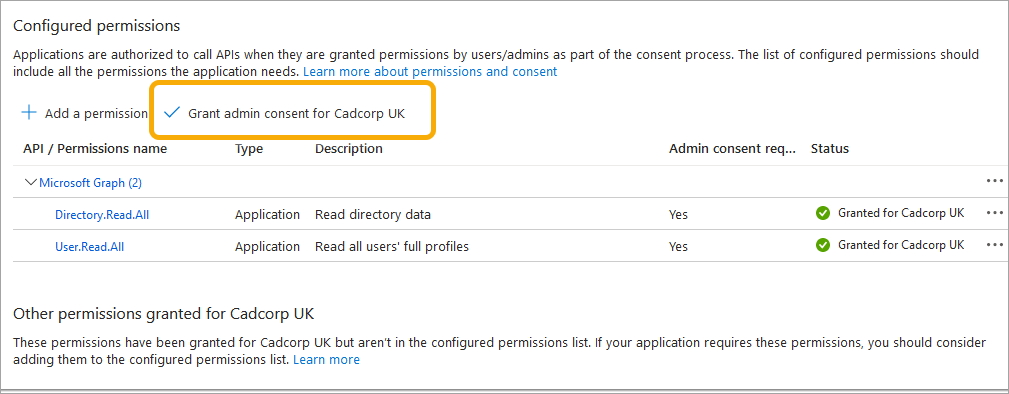
Grant other permissions
The final step is to grant the following permissions to your app registration:
- ‘Directory.Read.All’
- ‘User.Read.All’.
To do this, go to ‘API permissions > Add a permission’ From the banner that opens, pick ‘Microsoft Graph’, then ‘Application permissions’ and tick the two permissions mentioned above.
Once done, click ‘Add permissions’. The two permissions should be added to the list.

TIP: Ensure both permissions have been granted consent by your organisation’s administrator. To do this, select the permissions, and click ‘Grant admin consent for <organisation>’.
![]()
Preparing the Server and WebMap
IIS Manager
In IIS Manager, enable Anonymous Authentication for the WebMap app pool. Disable all other forms of authentication.
WebMap settings
To set up Azure authentication on WebMap, Cadcorp will need:
-
Application (client) ID
-
Directory (tenant) ID
-
Secret ID and value
-
An Azure login account to complete configuration once the authentication method is set to Azure.
Remember to make a note of the ‘User principal name’ of that account (you can find this in the Azure portal by selecting ‘Azure Active Directory’ > ‘Users’).
![]()