Inset has multiple functions but its main function is to create inset maps on a composed print template.
This function is useful to create an Inset which is a magnification of a smaller region in the main map frame.
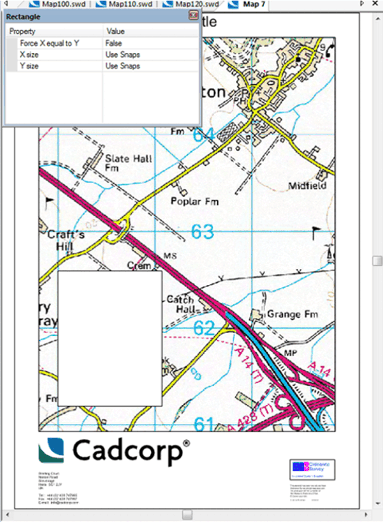
Click on Inset and without any item selected draw a new inset map rectangle in the map frame.
Now draw a second rectangle on top of the composed map frame item to define the extent of the inset map. This method is suited to create an inset map which is a magnification of a smaller region in the main map frame.
Example:
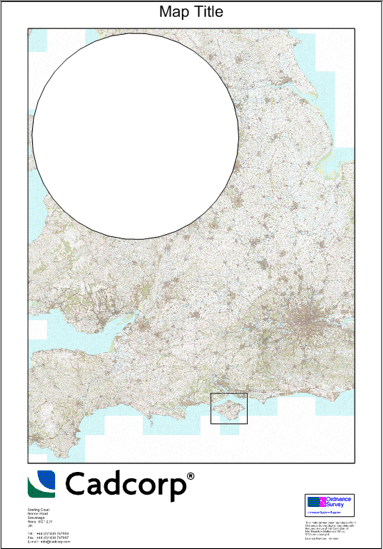
Take the following map frame:
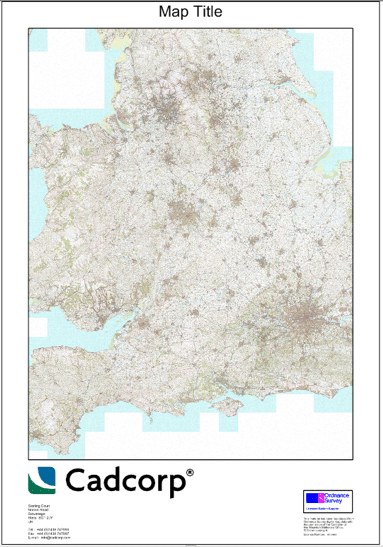
Click on Inset and draw a rectangle to the required size in a convenient location in the map frame.
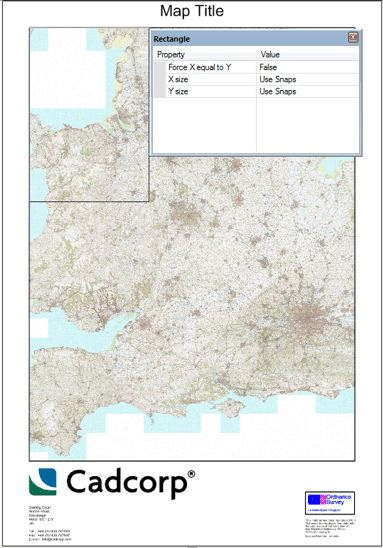
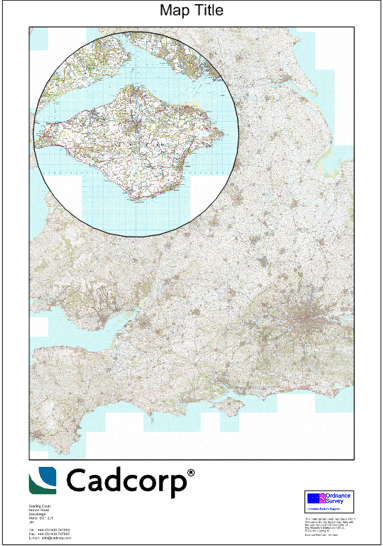
Draw a second rectangle around the area to be shown in the inset map:
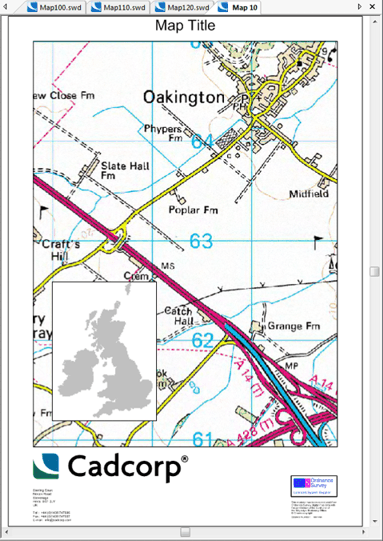
The inset map will now show the area defined in the second rectangle:

The completed inset map may be selected with the right-button and moved, rotated and sized in the map frame.
Alternatively Inset can be used to create a new map frame from a second map window. An inset map frame has to be drawn first, and thereafter a second map window can be selected by either clicking anywhere inside the map window or on the map window tab if the map window itself is not visible. Inset will populate the new map frame with the extent of the second map window.
Example:
Without any item selected click the Inset button and draw a new "Inset" rectangle on the map frame item in the print template:
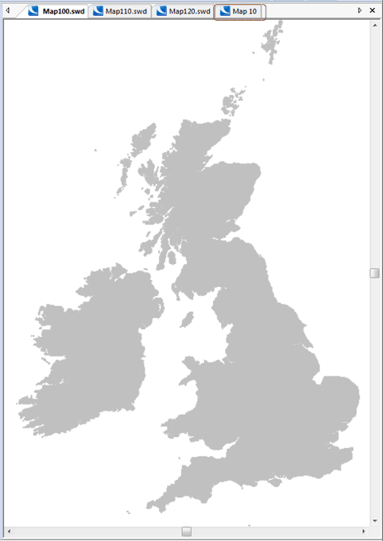
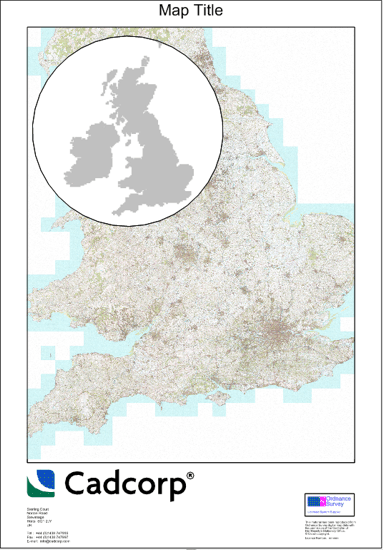
When you have drawn the rectangle click on the tab of the map to be inserted. In this case the map containing the GB National Grid backdrop is chosen:
The inset map rectangle will now contain this map:
The same procedure can be used to add further Inset rectangles to the same map frame item with different maps inserted if required.
Instead of drawing a new inset map rectangle any Polygon item can be used in the Inset function. If a Polygon item is already selected when the Inset Map function is run the first and only step is to select either an inset area on an existing map frame (rectangle) or a second map window. Inset will then generate an inset map from the existing Area item (which will be removed).
Example:
Create a Polygon item in the Map Frame and select the item:
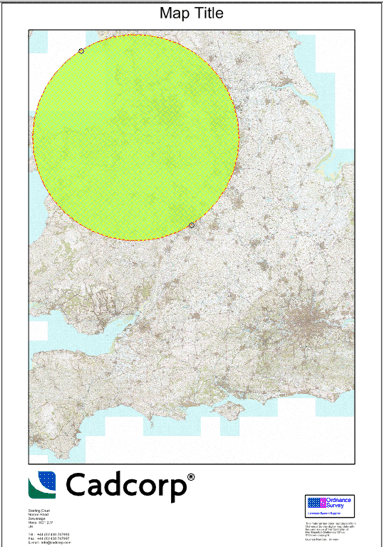
Select Inset and draw a rectangle around the area to be shown in the Inset:
When the rectangle is drawn SIS will generate the view in the Polygon:
Alternatively instead of drawing a rectangle around the area to be shown in the inset map you can select the tab of another map, for example selecting a map containing the GB National Grid backdrop would create the following:
If a map frame is selected when Inset is run, then the first and only step is to, either select a second map window and change the source of the map frame, or redefine the map extent of an inset map.
The map extent of an Inset map frame can be redefined by selecting an Inset Map frame and running Inset. A rectangle can be drawn in relation to the existing map frame to zoom in, out, or move the extent of the Inset map frame.
Inset maps are map frames in their own right and can be edited with SIS Desktop and Print Workshop functions.
During the construction of Inset map frames or Inset map areas it is possible to cancel the process (ESC), or undo the first point of a rectangle construction (←). SIS snap-aides (e.g. v for vertex) are available to assist with the construction in the Inset function.
The Inset function will respect the rotation of map windows.
See other Print Workshop controls:
Send comments on this topic.
Click to return to www.cadcorp.com
© Copyright 2000-2017 Computer Aided Development Corporation Limited (Cadcorp).