Open the required image in SIS.
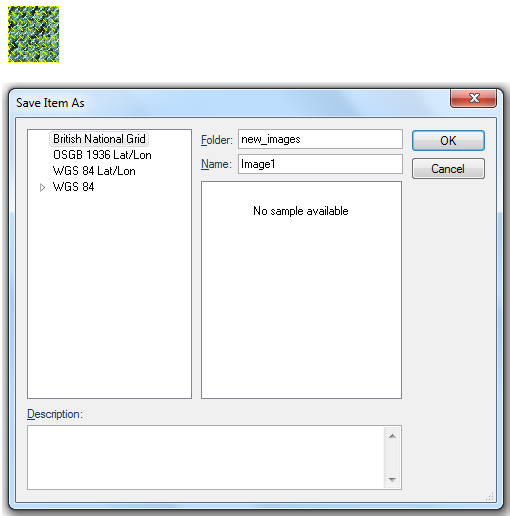
Select the image and select Store Item [Create-Miscellaneous]. The Save Item As dialog will be displayed to allow you to store the image.
A note may be entered in the Description field.
Enter the name of the folder to hold the image and the filename of the image.
In this example the folder is new_images and the filename is image1.
Click OK.
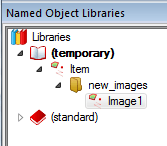
The image will now be stored in the current Named Object Library as a named item.
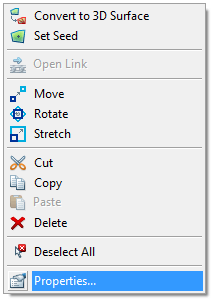
Example of using an image stored in a Named Object Library:
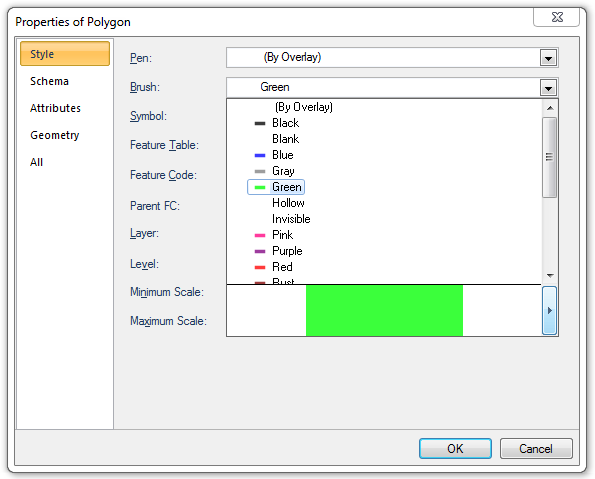
Select the Polygon item for which you wish to use an image brush and display the Properties of Polygon dialog:
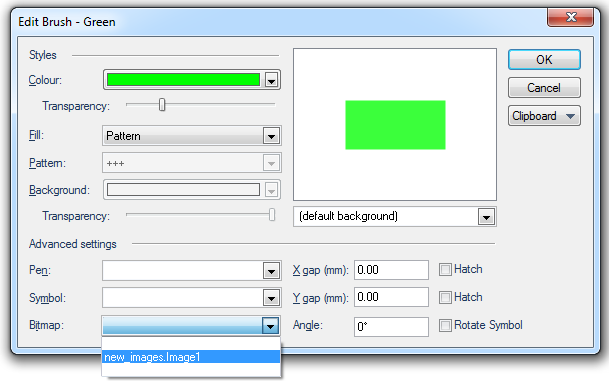
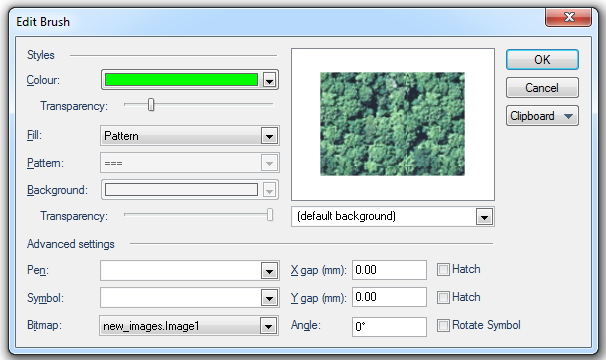
Display the Edit Brush screen and select the image name from the Bitmap drop-down box:
Note the following:
When the Brush image is selected it will be displayed in the Edit Brush dialog:
The (default background) drop-down allows you see how the brush will appear against a range of backgrounds, 1:250 000 Scale Raster and OS StreetView® are shown below as examples:
.png)
Click OK.
The Brush image will now be seen as a user-defined option in the Properties of Polygon dialog, Brush drop-down list:

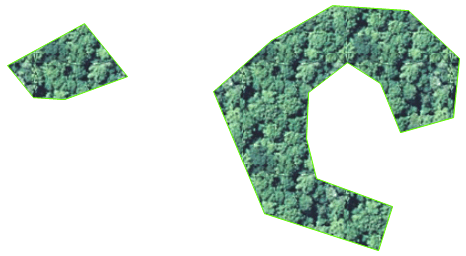
The Brush image may now be selected as any other brush for Polygon items:
Send comments on this topic.
Click to return to www.cadcorp.com
© Copyright 2000-2017 Computer Aided Development Corporation Limited (Cadcorp).