You cannot select text items by snapping on the text characters. Use the following selection methods.
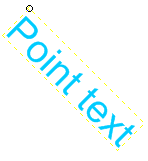
You must select Point Text by its alignment point. Do this by either:
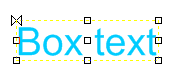
You can select Box Text by its alignment point (as point text, except that you use the Box snapcode instead of Point).
You can also select Box Text by using the Box snapcode at any of the points which make up the box.
When selected, Box Text is displayed with a box around it, with handles at the corners, mid-points and centre. A “butterfly” is displayed at the current alignment point.
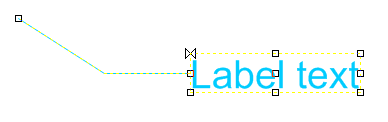
You can select Label Text using the same methods as Box Text, or by clicking on the label line. The label line and text are all part of a single item and are selected together.
Select Line Text by clicking on its associated LineString item.

Select and move Point Text by its alignment point.
Move Box Text items by clicking and dragging on any of their nine handles.
Move Label Text in the same way as Box Text, the label line being stretched to the new location of the text.
Move Line Text by moving the LineString or part of the LineString.
With Point Text and Line Text items, you can change their point height property, Height (pts) in the Properties of Text or Properties of LineText dialogs respectively.
With Label Text and Box Text items there are two options:
You can use the Move, Rotate and Stretch commands from the Map Window menu to alter text items:
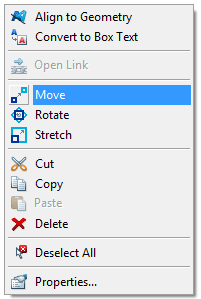
Move - displays the Move dialog to allow you to rotate (Angle), Mirror and/or Scale your text.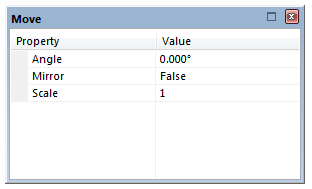
The Mirror command, in the Move dialog, creates a mirror image around the Y axis of the placement of the Label Text. It also creates a mirror image around the Y axis of the LineString item on which Line Text is based. It also reverses the direction of this LineString item so the text is drawn on the other side.
Rotate - allows you to rotate your text.
Stretch - stretches the handles box surrounding your text. The Stretch command changes the size of Box Text and Label Text. It changes the size of the LineString item on which the Line Text is based, although it does not change the size of the text itself. Stretch does not alter the size, only the placement of Point Text.
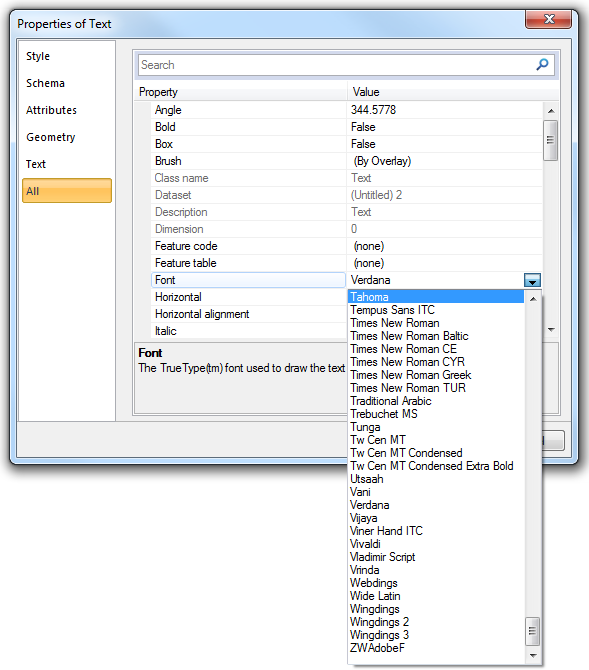
Point Text has an Angle property (Properties of Text dialog, All tab). This can be changed by typing in a new value. The angle is measured anti-clockwise from the horizontal (East).
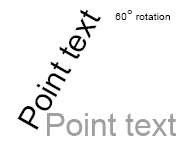
Note: Some computer graphics cards are not capable of displaying rotated text correctly. If that is the case with your computer, you will not see the text rotated on screen. However, the text should appear correctly on a print-out.
You can edit the contents of an existing text item. There are several options for doing this:
Select the text item and display the Properties dialog and select the Text property on the All tab. Click on the ... button to display the Text dialog where you can make the amendments. dialog.gif)
Click OK when complete.
Select the text item, display the Properties dialog and select the Text tab. You can re-type text as well as change the original properties you set as follows:
Note: Point Text is the only text item where, once it is selected, you can access the Properties of Text dialog, Text tab, by double-clicking.
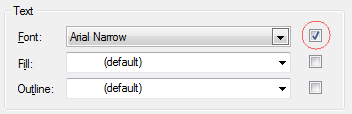
The Font property of any selected text item may be changed in the Properties of Text dialog, either in the Text or the All tabs.

Each overlay has a font assigned to it. When a text item uses the (By Overlay) font, it will use the font that is set up for the overlay on which it resides. You can also force all text items on an overlay to use the same overlay font, overriding any individual font they have been set to as follows:
Setting the overlay font
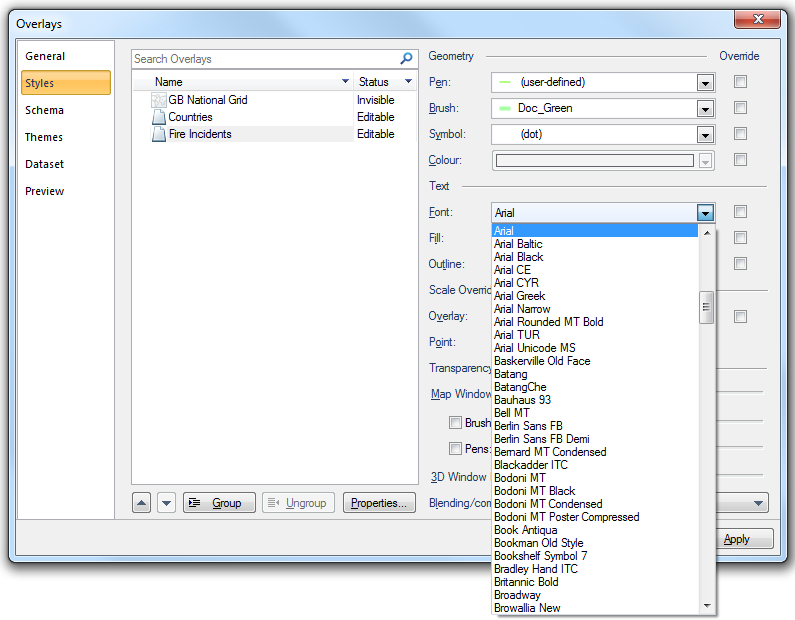
Forcing the font of all text on an overlay (Override)
Select the text item, display the Properties dialog All tab and change the properties of Horizontal alignment and/or Vertical alignment:
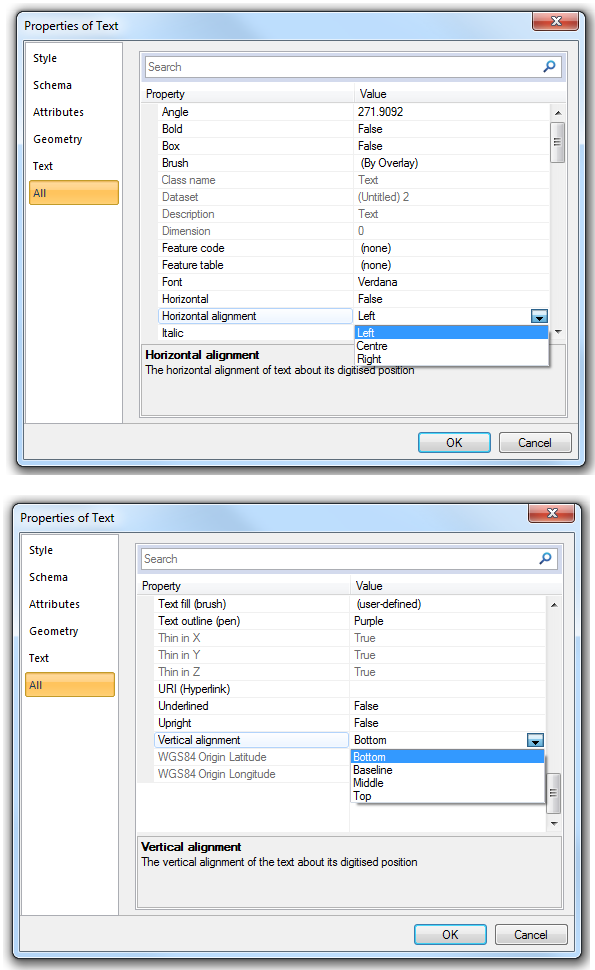
You will see the text item re-positioned, such that the new alignment point is placed at the screen position where the old alignment point was previously located.
In the case of Box Text you can double-click on one of the nine handles shown when it is selected.
Select the Point Text item, and then click on the alignment point. Press the Tab key to step to the next alignment point. Click on the new alignment point and press Tab to proceed to the next alignment point. You can step through all possible twelve alignment points this way. You will see the text block realigned as you do so. Pressing Shift and Tab steps through them in reverse order.
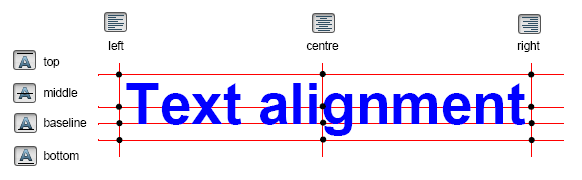
The twelve possible alignment points:
| top left | top centre | top right | |
| middle left | middle centre | middle right | |
| baseline left | baseline centre | baseline right | |
| bottom left | bottom centre | bottom right |
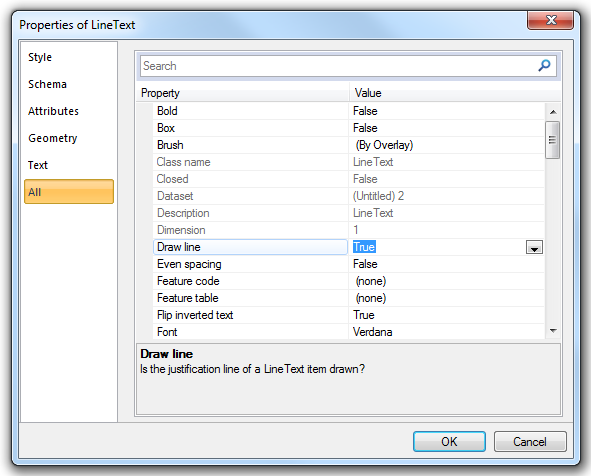
Use the Draw line property in the Properties of LineText dialog All tab to choose whether or not to display the LineString.
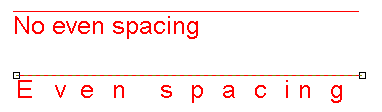
Use the Even spacing property to switch between normal (proportional - "No even spacing") spacing (False), and "E v e n s p a c i n g" (True) along the line.
If you edit the LineString by moving its vertices or joining it to other lines, the text will automatically follow the new path of the LineString:

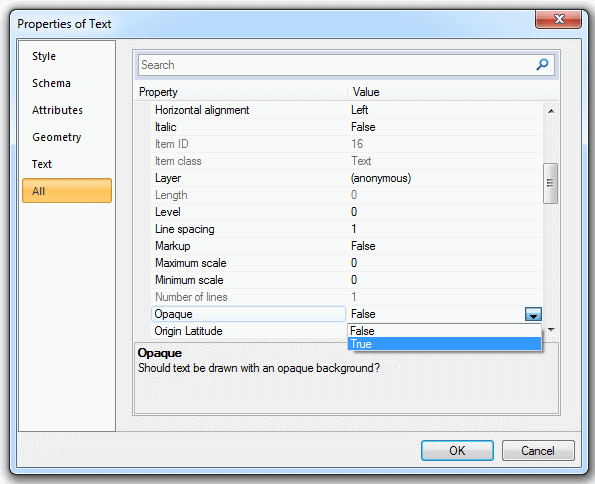
All text items can be displayed against an opaque background of any colour. Set the text item’s Opaque property to True. Set the colour for the text background by setting the Brush property in the Style tab of the Properties of Text dialog:
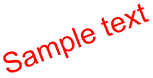
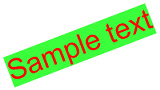
Example:
| Opaque set to False |
|
| Opaque set to True |
|
You can display Box Text and Label Text items with a box drawn around them, using the Box property in the Properties dialog All tab. The colour for the box is the pen colour.
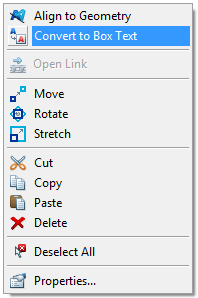
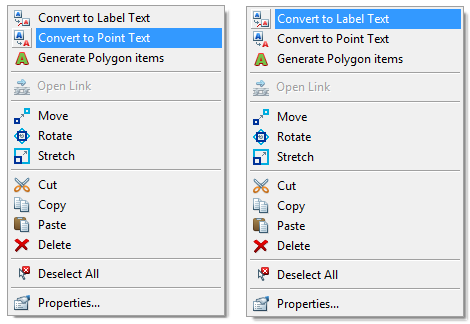
You can convert text types as follows:
Select these commands from the ribbon or from the Map Window local menus:
When Box Text is converted to Point Text, its height is set in points to the nearest point size, which allows it to retain its appearance at the current dataset scale. Sometimes there may not be a suitable point height to use at the current dataset scale. For example, the Box Text may be bigger than Point Text with the largest point height. In this case, the point height will be a sensible minimum (10 points) or the absolute maximum (1638 points).
When Point Text is converted to Box Text, its height is set (in metres) such that it retains its same appearance in relation to the surrounding graphics on the map base.
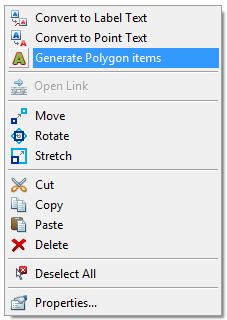
You can use a Box Text item to create Polygon items whose outlines trace the outlines of the characters in the text string. In this way you can reproduce the text string as editable Polygon items.
Use the Box Text local command Generate Polygon items.
Send comments on this topic.
Click to return to www.cadcorp.com
© Copyright 2000-2017 Computer Aided Development Corporation Limited (Cadcorp).