Link Points
Link Points finds routes from a single point to all points on a selected overlay.
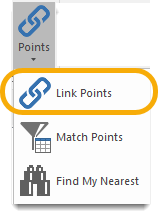
Select Applications > Points > Link Points.
This opens the Link From Single Point options:
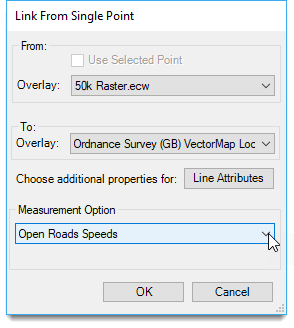
The From point can be the current selected point or chosen from a list based on a selected overlay. The From point can be on the same overlay as the To points (or on a different overlay) so it is possible to determine how far it is from one feature to all others.
From: Overlay
- If a point item has been selected, the Use Selected Point tickbox will become active. Check this to display the associated overlay in the drop-down box. You can now proceed to the To: Overlay step below.
- If no point item has been selected, the Use Selected Point tickbox will be greyed out.
To proceed, simply select an option from the Overlay dropdown menu. - This will open the Select the point to link From window.
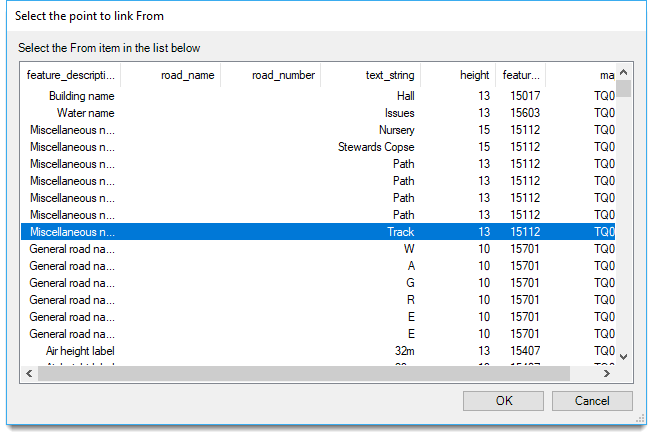
- The columns displayed in this selection window are defined by the schema of the selected overlay.
- Select the required From item from the list and click OK.
- Control will now be returned to the Link From Single Point dialog.
- Select the required To: Overlay from the Link From Single Point dialog drop-down box.
- Select the required Measurement Option. These options are described in the Measurement Options topic.
- Click OK.
Note: The overlays must be visible to appear in the From or To Overlay drop-down boxes in the Link From Single Point dialog.
The route will now be calculated, a progress bar will be displayed, followed by a confirmation message stating the number of routes that have been created.
1. Creating routes (Example)
This example uses an SWD with four overlays:
- Road network
- Head Office
- Regional Offices
- Depots
In this example, select the Point item (Head Office) in the Head Office overlay.
- Click Link Points.
- This opens the Link From Single Point dialog.
- Check the Use Selected Point tickbox and the associated overlay will be shown in the From:Overlay drop-down box.
- Select the Depots overlay from the To: Overlay drop-down box.
- Select the required Measurement Option and click OK.
The following diagrams show the results obtained with different Measurement Options.
Note: The Road network overlay has been made invisible in these diagrams for clarity.
- Using Shortest Distance measurement option:
- Using Highways Speeds expression measurement option:
- Using None - draw straight lines between end-points measurement option:
2. Applying Attributes to the Link-point route (Example)
This example draws a straight line between the North-East Regional Office and the Head Office with attributes applied to the resulting line:
- Start Link Points.
- In the Link From Single Point dialog select the first overlay; Regional Offices in this example.
- Select the point to link From; North-East in this example.
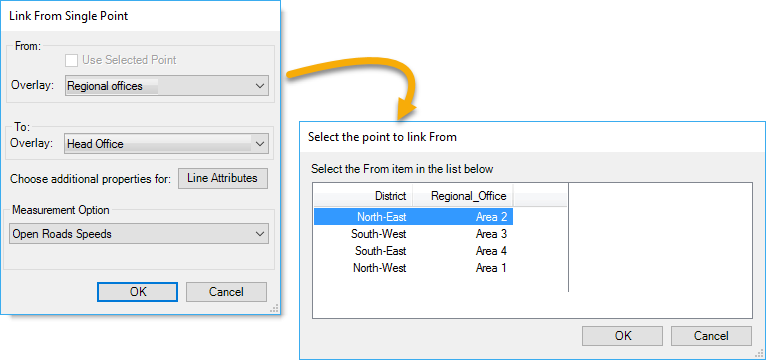
- Select the overlay to link to Head Office in this example.
- Select the required Measurement Option.
- Click the Line Attributes button.
- The Match-line attributes dialog will be displayed:
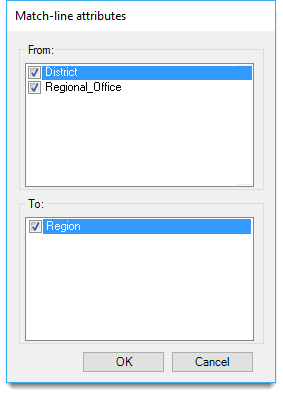
- Check the tickbox for the District and Regional_Office attributes in the From overlay.
- Check the tickbox for the Region attribute in the To overlay.
- Click OK.
- The created line with Match-line attributes applied:
- The created line without Match-line attributes applied: