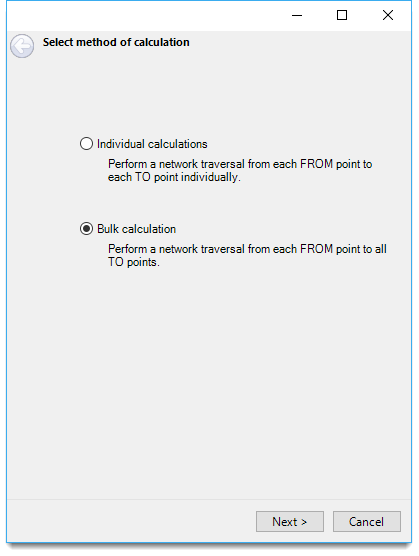
Bulk calculation for Multi-Point Routing
This performs network traversals starting from each FROM point to calculate the route costs to all TO points.
Note: In most case the bulk calculation mode will be significantly quicker.
- Select Applications > Routes > Multi-Point Routing > Bulk Calculations. Click Next.
- Select the measurement option from the drop-down menu. This entry depends on the data being used (OS Highways, Meridian 2 or your Own expression as set in the Settings dialog).
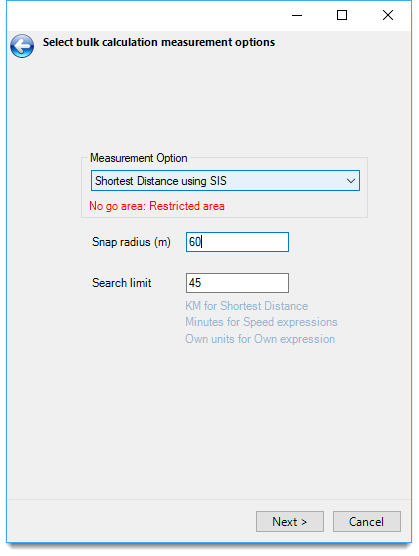
- Click Next.to open the Define FROM points criteria options.
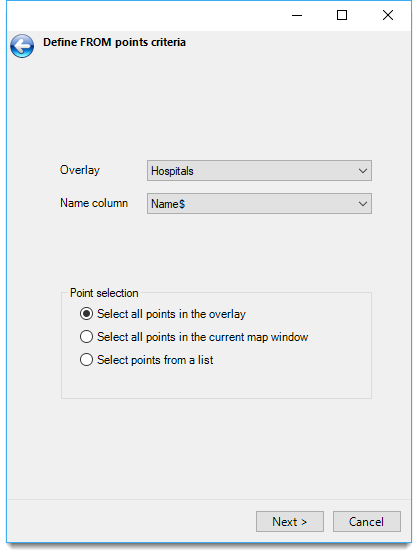
- Select the Overlay and the Name column for the FROM points.
- Choose one from the Point Selection options.
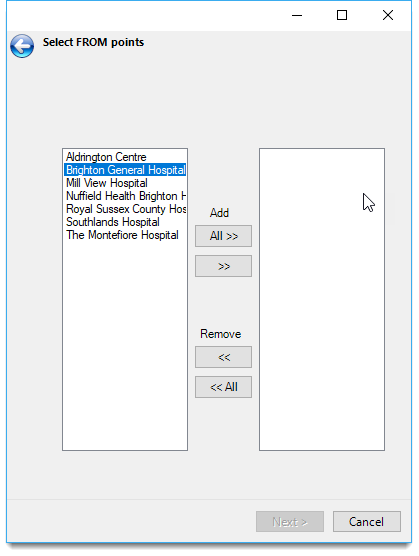
- If you select individual points from a list, you will see this window. (Else continue on to Step 9 to select the TO points)
Note: None - draw straight lines between end-points is the shortest distance as the crow flies between the two points. Remember this is different to the shortest distance definition in Individual calculation where it uses the road network.
| Option | Description | |
| Snap radius (m) |
Maximum amount in metres by which a point can be snapped. The larger the number, the greater the possibility that the snap is not to the ‘correct’ location. |
|
| Search limit |
The search limit varies depending on the data being used and the selection made in Measurement Option: Kilometre for Shortest Distance, Minutes for ITN and Meridian 2 and Own units if using your own expression. |
|
| Option | Description | |
| Select all points in the overlay | All points in the selected overlay. | |
| Select all points in the current map window | All points in the area of the selected overlay displayed in the current map window. | |
| Select points from a list | If this option is selected clicking Next will display the Select FROM points dialog: | |
Select individual FROM points and click the >> button or click the All >> button to select all.
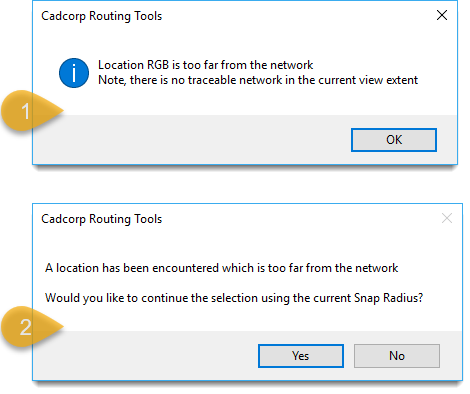
Note: You may see these error messages. (1) when an individual item is too far from the network and (2) if All have been selected.
To bypass these messages, ensure the roads network is visible in the map window.
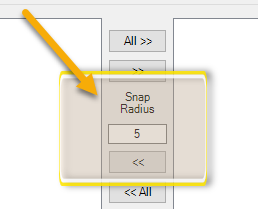
More commonly these are seen if the Snap radius setting is too small.
You can still continue with the current selection(s) and ignore those that are excluded by distance or go back and adjust the Snap radius.
- If you click Yes to continue, you will see a list of locations too far from the network. In this case resetting the Snap radius will reduce this list (probably to zero).
- When all TO and FROM locations have been selected and any error messages resolved click Next.
- This opens the Define TO points criteria.
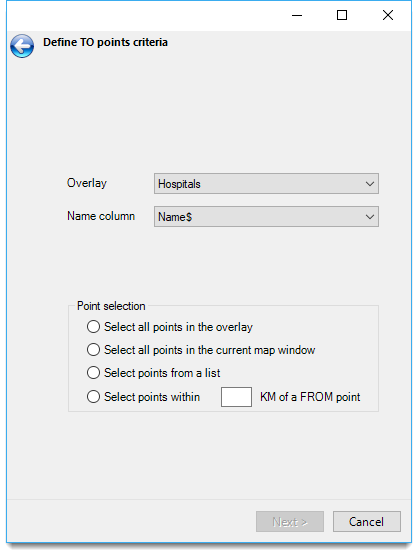
- Choose one from the Point Selection options.
- If you select individual points from a list you will see this window. (Else continue to Step 13).

- The Select TO points dialog is similar to the Select FROM points dialog described above. The TO point selections are made in the same manner as the FROM points and similar messages may be displayed if the Snap radius setting in the Select bulk calculation measurement options dialog is too small.
- Click Next.
| Option | Description | |
|
Select all points in the overlay |
All points in the selected overlay. |
|
|
Select all points in the current map window |
All points in the area of the selected overlay displayed in the current map window. |
|
|
Select points from a list |
If this option is selected clicking Next will display the Select TO points dialog: |
|
|
Select points within X km of a FROM point |
Allows you to select points that are within the entered distance in kilometres from FROM points. |
|
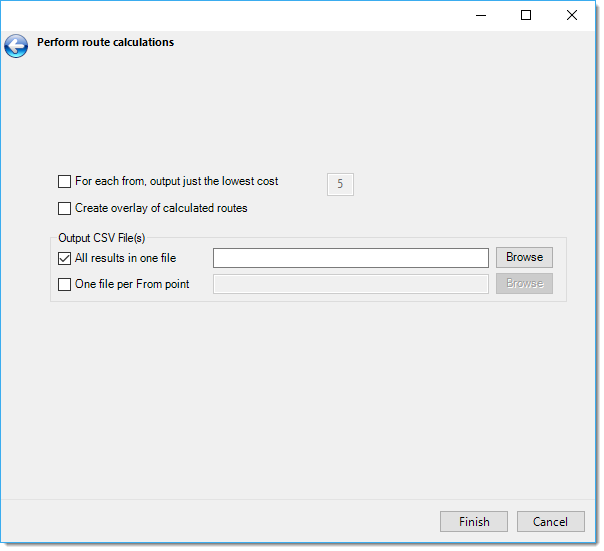
The Perform route calculations dialog will be displayed:
| Option | Description | |
|
For each from, output just the lowest cost X |
Check this tickbox to show just the specified number of the lowest cost routes. |
|
|
Create overlay of spider diagram of routes |
Check this tickbox to create an overlay showing the routes. |
|
|
All results in one file |
Creates the route data as a single CSV file. Click Browse to locate the target file. |
|
|
One file per From point |
Creates the route data as a number of CSV files, one per FROM point. Click Browse to locate the target folder. |
|
Click Finish.
The new Routes overlay and the CSV file(s) will be created as selected in the Perform route calculations dialog.
Output from Multi-point routing
The table below shows the output created from the example shown above. The columns are:
- From - the name of the From location
- To - the name of the To location
- decimal_minutes - the cost of the route as a decimal
- Excel_time - the cost of the route as a time value which can be formatted in Excel
- Snapped_From_X and Snapped_From_Y - the snapped position of the From point
- Snapped_To_X and Snapped_To_Y - the snapped position of the To point.
In a distance-based example the columns decimal_minutes and Excel_time are replaced with a column metres.
If the Create overlay of calculated routes tickbox is checked then an internal overlay called Routes will be created containing the LineString items representing the routes calculated.
