Manual Installation
There are 3 discrete products included in Cover Modeller installation:
-
TileServer
-
Service and
-
Client
The installer can install all three products or any one of the above. (This option will be available in future versions)
The Cover Modeller installer is available here 
1. Open the .exe to launch the installation wizard. Click Next to begin.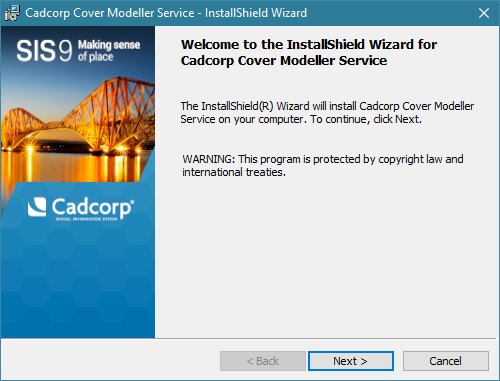
2. Take a moment to read through the Licence Agreement. Confirm your acceptance to proceed with installation.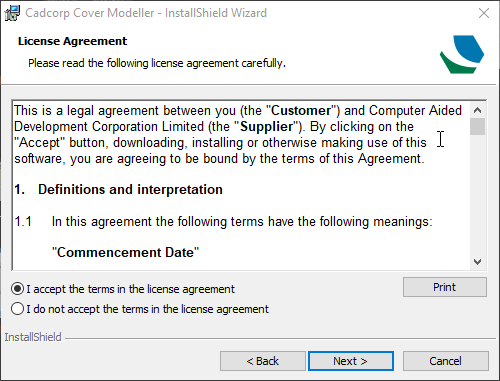
3. Select a destination folder. Click Next.
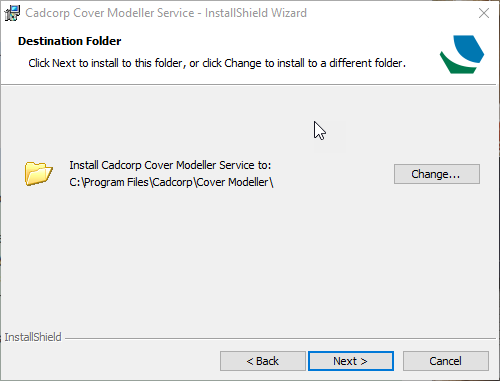
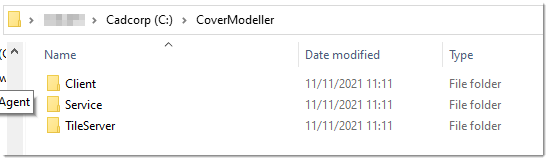
Note: If you decide to use a folder other than the default, remember to create a dedicated space (e.g Cover Modeller) that can contain all three product folders- Client, Service and TileServer. This root folder SHOULD be accessible from other machines if the client is installed elsewhere.
4. Select your licensing option. If using a licence file, the “…” button allows you to browse for the file. If using a network license, simply enter the network license server IP address.
5. Click Next and Install to begin installing Cover Modeller.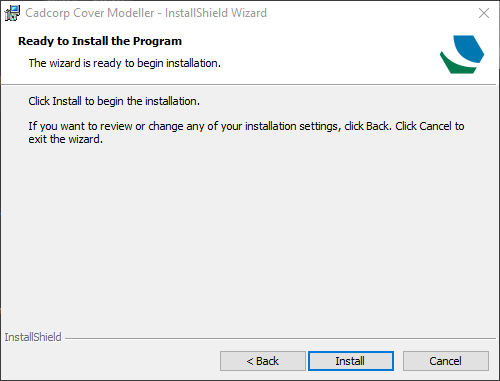
6. Click Finish when installation is complete.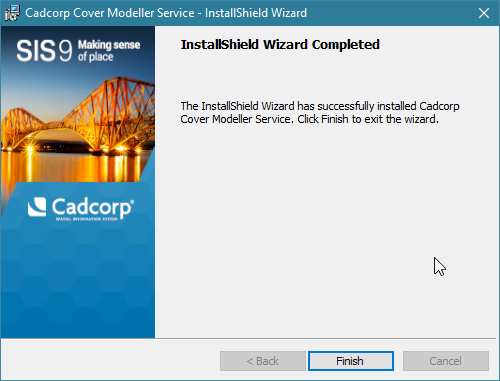
All products are now installed but further configuration is required to begin using Cover Modeller.
Cover Modeller and Cadcorp.TileServer are services installed via the installer. However they need to be started manually. The installer does not start these services.
To start services:
- Run Windows > Services.
- Select Cadcorp Cover Modeller.
- Right-click and select Start.

- Use the same method to start Cadcorp.TileServer.
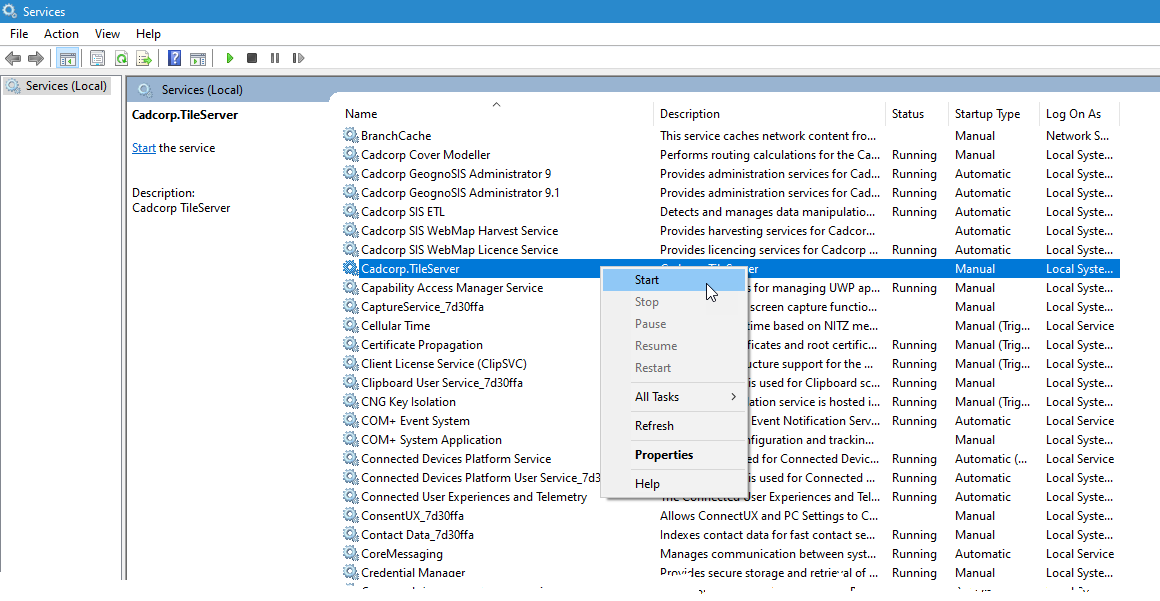
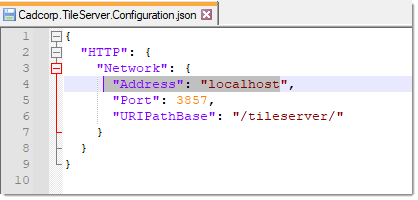
- Before starting tile server, open the Cadcorp.TileServer.Configuration file (in C:\Program Files\Cadcorp\Cover Modeller\TileServer) and check the URL. See also Troubleshooting.