Creating a new server instance
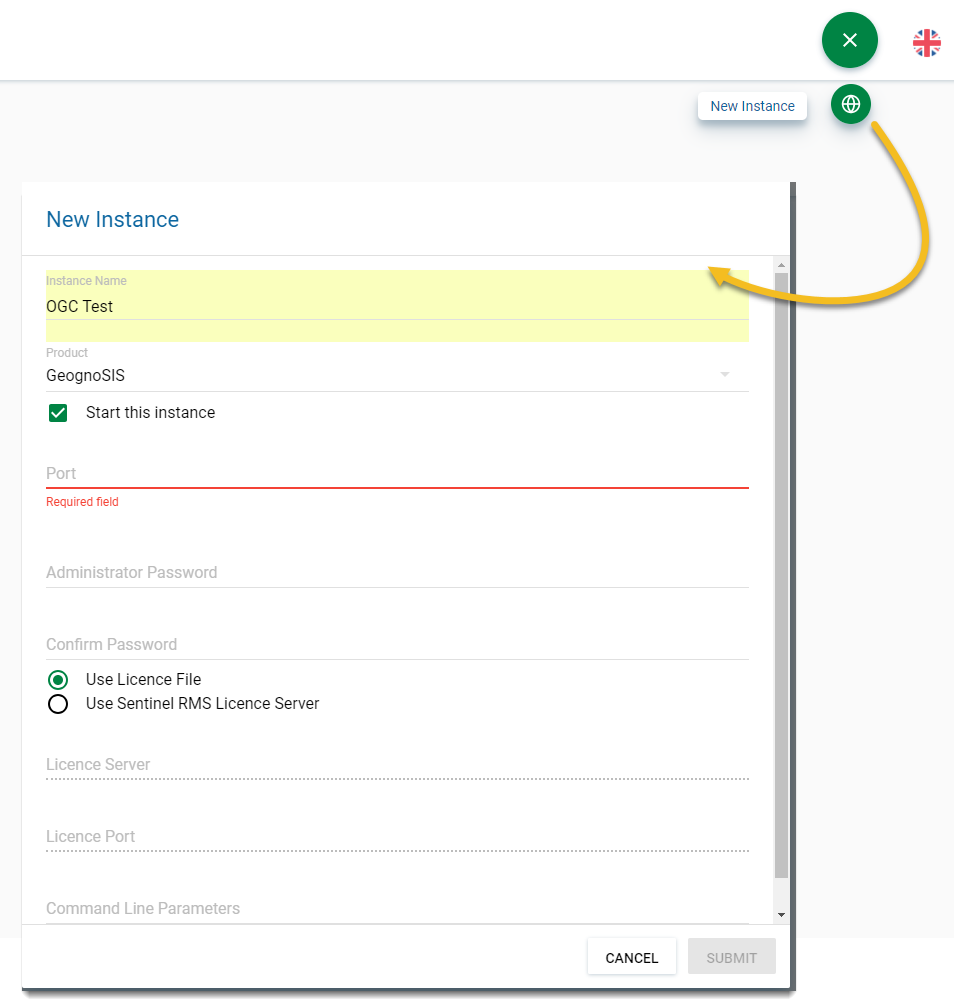
1. Click the action button on the home page and select New Instance.
2. Name your instance.
TIP: We recommend assigning a unique, descriptive name (ideally include the instance’s port number. For eg, an instance for WMTS of Ordnance Survey data running on port 4554 can be named WMTS_OS_4554).
3. Select which product you are using (GeognoSIS, GeognoSIS Express, GeognoSIS Developer)
4. Assign the instance a unique port number which GeognoSIS listens to. This is different to an Administration instance seen during installation.
GeognoSIS Manager automatically prevents you from creating instances with port numbers that are already in use. However no such validation is available for port usage by other applications, including GeognoSIS 8.0. See here  for well-known port numbers.
5. If necessary provide an Administrator password.
6. The password may be needed when administering the instance using the /admin section of the HTTP API (e.g. using Postman / RESTclient etc.). Only admin level accounts can administer an instance.
7. If you disable anonymous authentication on an instance (Instance Properties > Security), you will be prompted for credentials to use the non-admin part of the HTTP API (e.g. serving tiles). You can use any account that GeognoSIS knows about (these are seen in the Users section in G Mgr).
8. Point to the location of the product licence.
9. Click SUBMIT to create the instance.