Selecting a Brush
Brush objects are used to fill areas on screen.
Cadcorp SIS Desktop looks for and selects a Brush object in the following order:
- If the overlay has a forced Brush name.
- If an overlay Theme defines a Brush name.
- If the Item has a feature code, then the Brush name from its Feature Table is used.
- If the Item has its own Brush name .
- Use the overlay default Brush name.
If the Brush name is user-defined, a Brush will be created from the user-defined name. Otherwise Named Object Libraries are searched for a Brush object of that name.
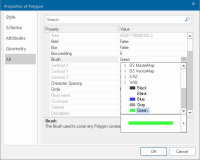
Select the Brush from the drop-down box in the All tab of the Properties of Polygon/Point/LineString dialog.
Initially the Brush is set to (By Overlay). This means the Brush will use characteristics specified for the Overlay.
To change the brush, click on the down arrow button to the right of the Brush property:
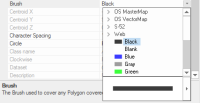
The brush drop-down list will be displayed.
Change to any available Brush (that is, any Brush in any of the enabled libraries) by selecting it from the list and double-clicking on it.
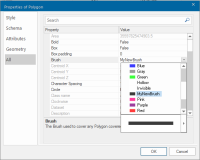
For example select a Brush called MyNewBrush that has been created in the (temporary) library:
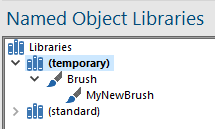
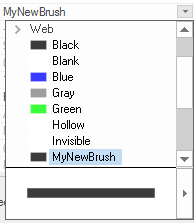
MyNewBrush will be included in the drop-down list (using the styles as defined in the (temporary) library).
The fill produced by the highlighted Brush is shown in the box at the bottom of the drop-down list.
In this example MyNewBrush is a black solid fill. Change the Brush style by clicking on the right pointing arrow (highlighted) at the right-hand side of this box:
This will display the Edit Brush - MyNewBrush dialog where you can change any Brush’s settings.
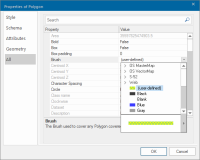
Any changes made to a Brush will result in the Brush showing as (user-defined) in the drop down list. This means the Brush does not have a definitive name and is defined by JSON.
Changing MyNewBrush from a black solid fill to a green hatch with a degree of transparency on a yellow background will result in MyNewBrush becoming (user-defined), the drop-down list will now appear as follows:
