Changing the Pen of an editable item
- Select the item.
- Right-click on Properties (Home > Selection) or select Properties from the local menu.
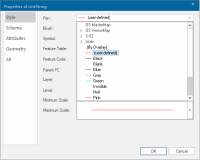
- Select the Style tab (this contains a Pen drop-down list.)
- Drop down this control to see a list of available named pen objects.
- You will also see "(By Overlay)" at the top of the list. Choose "(By Overlay)" to make the item draw using its overlay Pen. If the current Pen is user-defined, you will also see "(user-defined)" in the list.

To edit a pen object, choose one from the list, including "(user-defined)" and click on the right-arrow button at the bottom of the list.
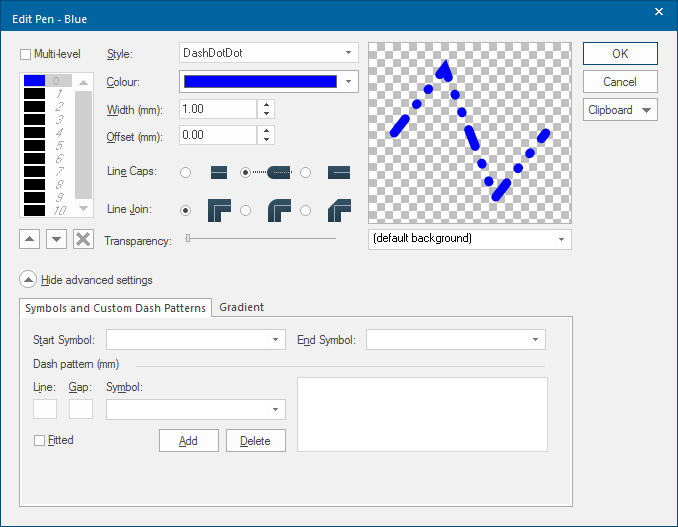
You can edit the Pen object to be either continuous (Solid option) or one of the line patterns; Dash, Dot, DashDot,DashDotDot, Null (invisible line) options. The diagram in the top-right of the Edit Pen screen shows a sample of the LineString that will be produced with the current Pen settings.
You can also specify a width for the Pen in millimetres. A value of 0.0 (zero) will result in the thinnest possible LineString item on screen or paper. See 'Edit Pen' dialog Parameters for full details of the available Pen parameters.
Note: Non-continuous LineString item styles are implemented by the graphics card directly and may appear differently on different screens (and printers).
Clipboard - Copy & Paste
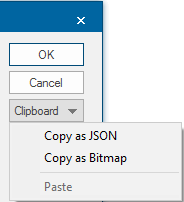
The Edit Pen - Clipboard drop down box allows you to:
- Copy as JSON: Copy the Pen JSON from the currently selected LineString item and paste them into second and subsequent LineString items. If the parameters are to be changed paste the parameters into a JSON editor. Edit the parameters as required, copy the code from the editor and Paste into a selected LineString item.
- Copy as Bitmap: Images can be pasted into an image-editing application.