Point (Create point item)
Each time you enter a position, SIS Desktop will create a new Point item. You can enter positions by typing coordinates or clicking in the Map Window.
Note: To enter positions in 3D, you can either snap onto existing 3D items, or enter a Z height value.
To create a Point:
-
Select Create > Simple > Point.
-
This opens the Point options window:
_thumb_150_0.png)
- By default, the symbol assigned to the overlay will be used. Symbol property > (By Overlay).
- If you do not enter a name, the Point items will be drawn as a single pixel dot.
- To change the symbol assigned to the overlay see Changing the symbol assigned to an overlay.
- To use a specific symbol, select it from the drop-down list by double-clicking on it. Symbols are listed here by name and the associated symbol:
_thumb_150_0.png)
- If you do not want a point to be visible, assign it the Blank symbol. This symbol is not displayed on the screen (except when selected) nor is it printed. Alternatively you could use any symbol with a blank or invisible pen and brush assigned to it.
- Click a position on the screen to locate the point or type in the coordinates (this is one method of placing the point in 3D space).
- Continue placing points.
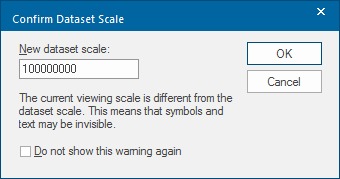
- SIS Desktop alerts you if the dataset scale is inappropriate.
- This error can occur when you are constructing points on an internal dataset as an initial dataset scale of 1 is used during creation.
 Related Topics
- When the current viewing scale is different from the dataset scale, symbols and text may be invisible.
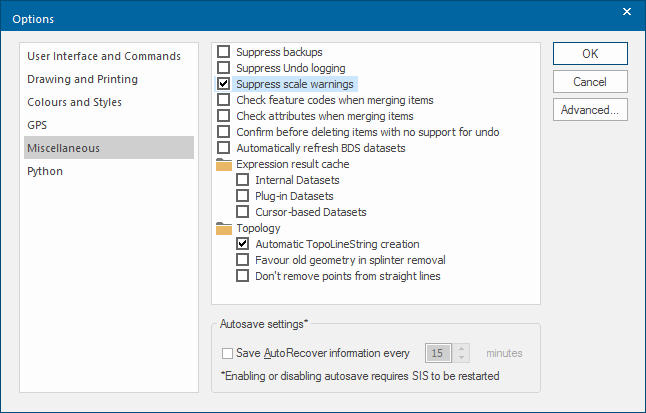
- To hide this warning for the rest of the current session, check the Do not show this warning again tickbox. To suppress the scale warning in all future sessions, select the Options > MIscellaneous > Suppress scale warnings.
.png)
.png)
Change the symbols or the Z height in the Point dialog BEFORE placing the point.