Relief
The Relief theme styles Grid items; it assigns different colours to different Grid values.
When the Grid is a Digital Terrain Model (DTM), the colours can represent ranges of heights.
Click Home > Add Theme > Style and select Relief.

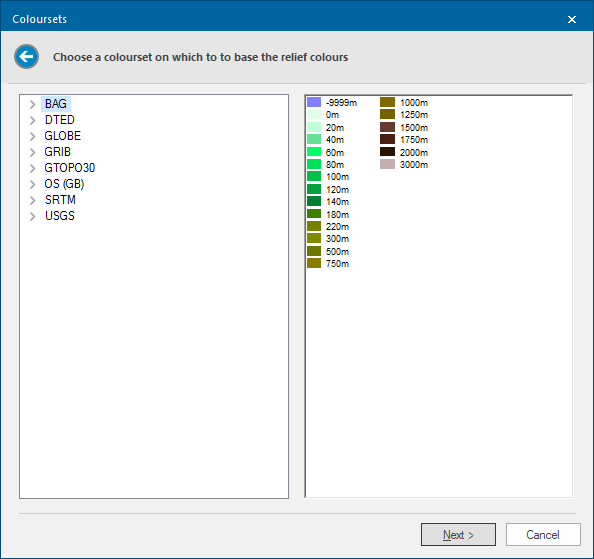
Click Next to open the Coloursets dialog.
The Relief theme can be used on a DTM:
- If not yet selected, the Theme Overlay dialog allows you to select the overlay containing the DTM.
- Click Next to display the Theme Types dialog.
- Select Relief and click Next.
- The Coloursets dialog will be displayed. Choose an appropriate colourset to indicate the heights.
-
Click Next.to open the Relief Styles dialog.
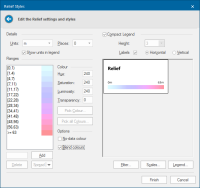


| Option | Description | |
|
Units |
The units to display in the theme legend. |
|
|
Places |
The number of decimal places to display in the theme legend. |
|
|
Show units in legend |
Check this tickbox if you wish to include the chosen units in the theme legend. |
|
|
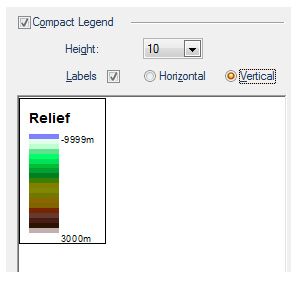
Compact Legend |
Check the Compact Legend tickbox to show the legend in compact form. (See below for examples). |
|
|
Height |
This drop-down box is active when the Vertical radio button is selected. This is a sizing factor for the vertical display. The range of numbers available depends on the number of values in the theme. |
|
|
Labels - Horizontal/Vertical |
The Labels setting controls whether the labels are displayed alongside the legend. The Horizontal/Vertical setting controls the orientation of the legend.
|
|
|
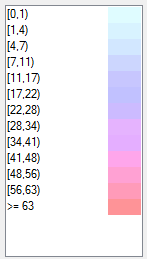
Ranges |
This pane shows the colours that are defined in the colourset. The colours are shown as pairs in a colour-value range. |
|
|
Coour- Hue |
The wavelength of the colour. This corresponds to a position in a rainbow of colours. (range 0-240) |
|
|
Saturation |
The purity of the colour. For example, pink is an unsaturated form of red. Primary colours are saturated, pastel colours are unsaturated.(range 0-240) |
|
|
Luminosity |
The brightness of the colour. Very dim colours become black. (range 0-240) |
|
| Transparency |
The degree of transparency, 0 being fully opaque and 255 being fully transparent. (range 0-255) |
|
|
No data colour |
Coloursets store a 'nodata' colour. This allows reordering of the HLS (Hue, Lightness, Saturation) controls into the more commonly used HSL (Hue, Saturation and Luminosity) order and enables the New value - Add button when viewing a read-only Colour-set. |
|
|
Blend colours |
Check this tickbox if you wish to blend and smooth colours for values that fall between colour-value pairs. Choosing this option leads to smooth transitions between colours. | |
|
Add |
This option allows colour-value pairs to be added to the colour-value list. Enter the value to be added in the text box and click Add. For example in a list of colour-values: (100,120) adding a value of 150 would result in new colour-value pairs being added to the list: (100,120) |
|
|
Delete |
Deletes a selected colour-value pair. Select the colour-value pair for deletion and click Delete. The lower range value will automatically change to include the deleted range. | |
|
Spread |
Spread: This option combines both the Spread colours and Spread transparency functions. Spread colours Where you have three or more colour-value pairs, you can let SIS use graduated colours through the range. Selecting a colour for the first colour-value pair and another colour for the last colour-value pair. Highlight all the values for which you want the colour graduated and click Spread colours. Spread transparency: This option will spread graduated levels of transparency across the range of selected colour-value pairs. |
|
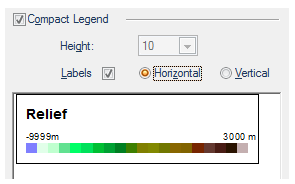
Compact Legend
Note: Check the Compact Legend tickbox; check or uncheck the Labels tickbox. Select the Horizontal or Vertical radio buttons- the display can be with or without the values being shown and in vertical or horizontal orientation.
Compact Legend tickbox checked
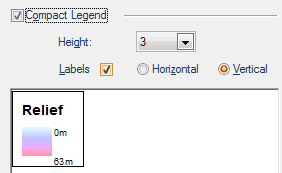
As it will appear in the Maps Control Bar:

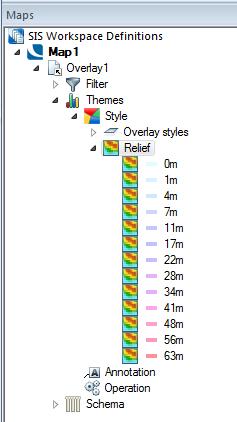
Compact Legend tickbox unchecked
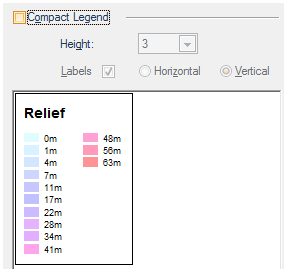
As it will appear in the Maps Control Bar:
Filter, Scale and Legend buttons

Note: Click here for Relief Theme properties.