Prepare a Named Object Library (NOL) file for Publishing
Once you have added new layers to the SWD, the next step is to access print templates available from the Named Object Libraries (also known as NOLs). They are available in Program Files > Cadcorp GeognoSIS 9.1 > Libraries.
Each Print Template should have 2 x properties:
- One that defines paper size
- One that defines orientation (Landscape or Portrait)
Without these properties, any published map will default to A4 Portrait. The print template map frame item needs the following properties:
| Property | Value |
| PaperSize$ | A3, A4, etc… |
| Landscape@ (Boolean) | True/False |
- In SIS Desktop, open or create a Named Object Library

- Click File > Print Template > Recall Print Template.
- Select a template and click the Recall Print Template button.
- Right-click inside the Map Frame to select Properties > Attributes > Add.
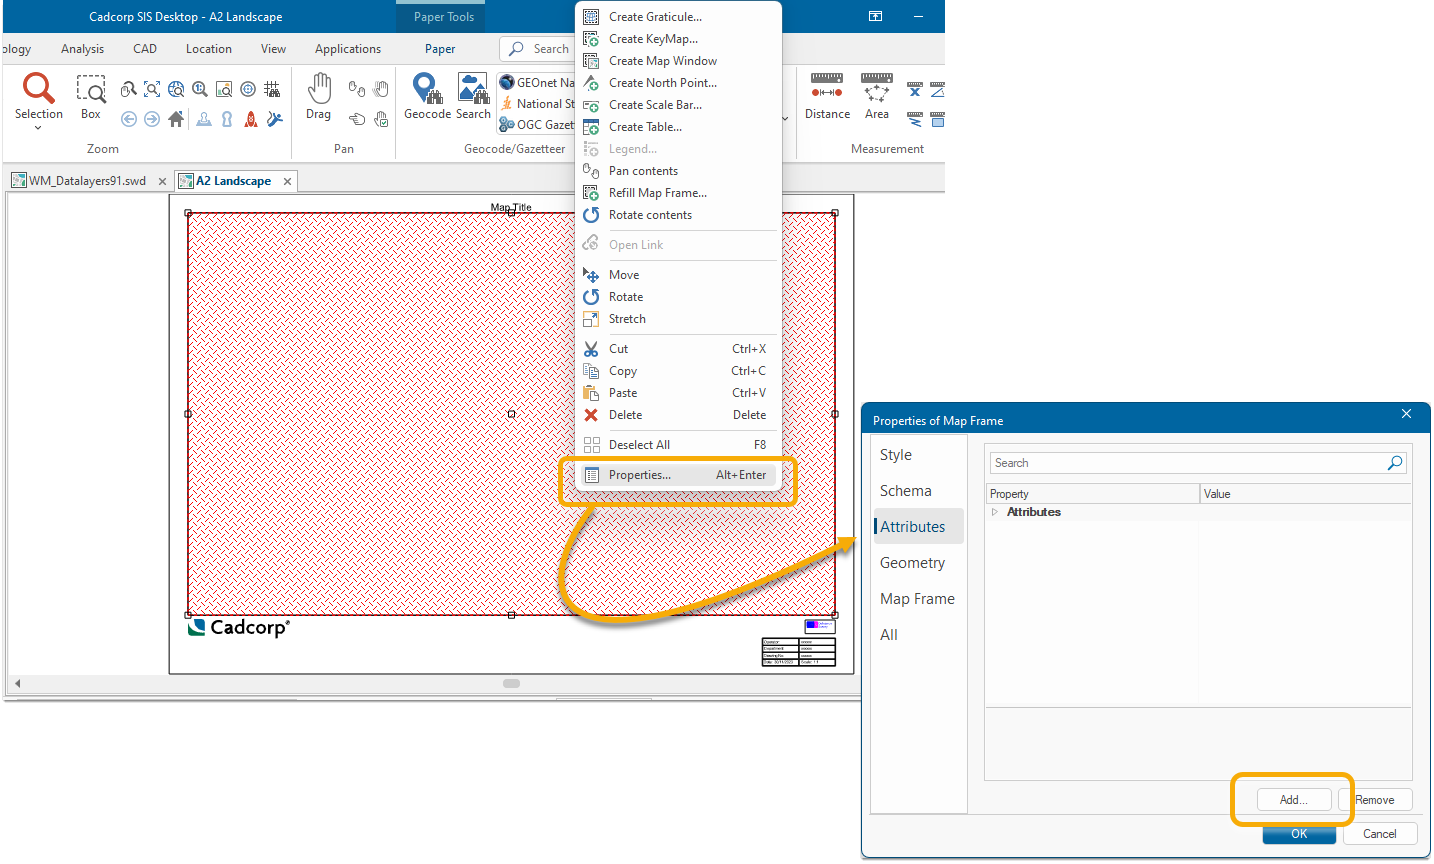
- In the Name edit text box, type PaperSize$ and enter any relevant value (e.g., A4) and click OK,
- Select File > Print Template > Store Print Template.
- Repeat for all required Templates. (NOTE: Some templates may already have these properties set).
- Save the .nol file and copy it, or a shortcut to the file, into the Program Files > Cadcorp GeognoSIS 9.1 > Libraries folder
Adding Editable Fields
Additional prompts can be added to the Print Template which will appear as editable fields in the Publish page. To do this:
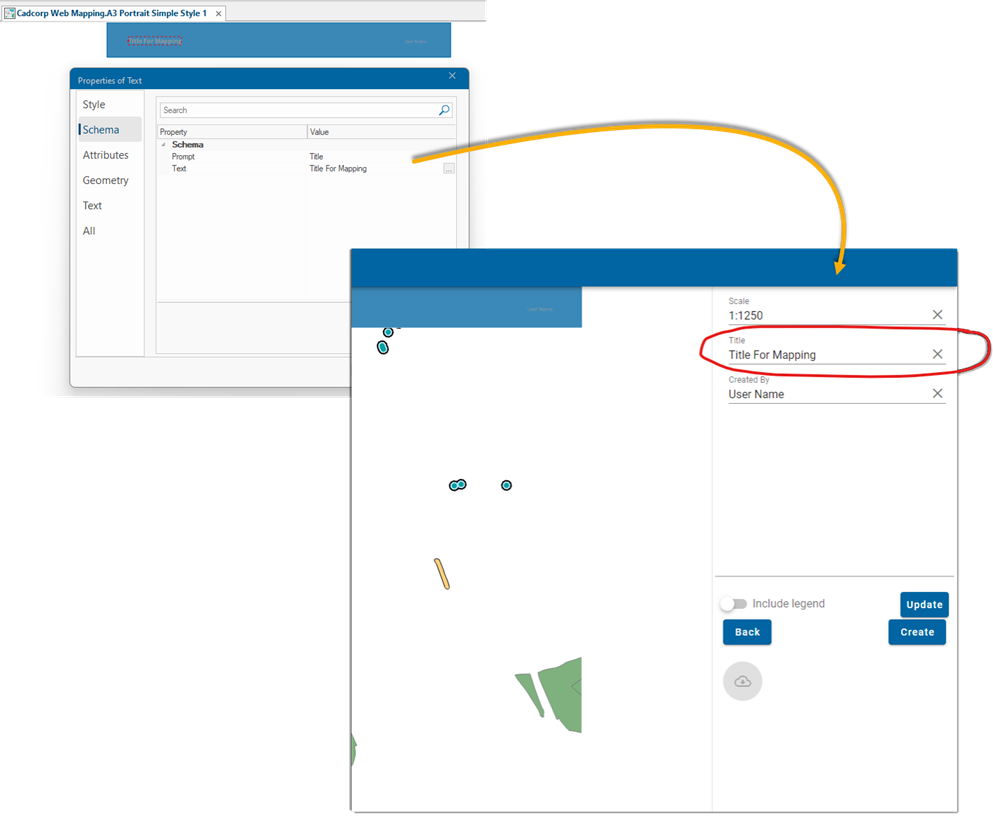
After creating a Print Template, create a point text item. (Create > Text > Point Text)
Right-click on the text box to open Properties.
Under Schema, select Prompt and add the text. This will be the name of the editable field. You can add default help text to the field which users can type over (e.g. Council Name, Title for Mapping etc). Enter this help text in the _text$ field.