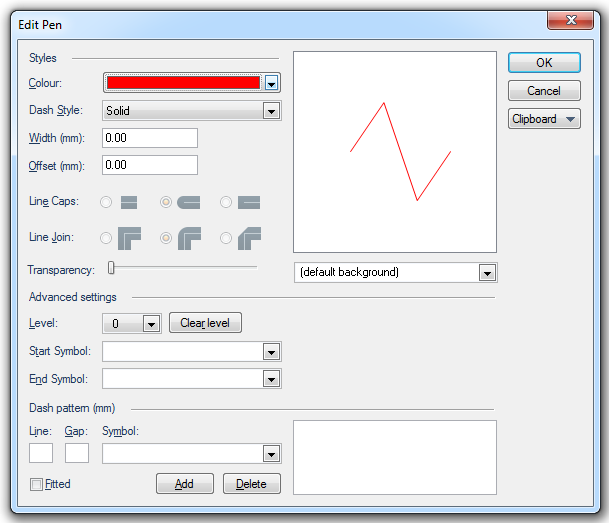
This page describes the parameters available in the Edit Pen dialog:
Style
Colour
Standard Windows colours. Use More Colours... to define additional colours.
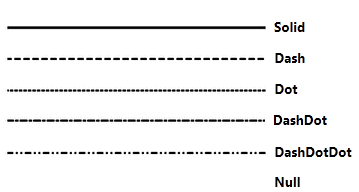
Dash style
There are six possible Pen styles to choose from (these are options provided by Windows). Null gives an invisible line. The other options give the following results:
Width (mm)
This is the width of the Pen in print (unless it is scaled up or down at the printing stage).
The width is specified in millimetres, and may be a decimal or a whole number. Unless you specify an offset (described below), the thickness is centered about a line drawn directly between the points you input.
The Pen width range is -300 to 300.
Offset
This option can be used where you have specified a width for a Pen. If you specify an offset, the resulting LineString item will not be drawn between the points you input, but If you combine the offset with the Pen width, you can create an offset which lies along the edge of a LineString item. To achieve this make the offset half of the Pen width:
You can use Reverse [Edit-Geometry] to reverse the direction of the LineString. This moves the offset to the other side of the LineString, and saves you having to define a Pen with a negative offset.
The Pen offset range is -300 to 300.
Line Caps
If a wide Pen is created you can choose whether to have square or round line caps.
Round line caps allow thick LineString items to be drawn faster and smoother.
Line Join
If a wide Pen is created you can choose whether to have acute, round or chamfered line joins.
Transparency
The Transparency slider provides adjustment of the Pen between fully transparent and fully opaque. The degree of transparency is from 0 to 255, with 0 being fully opaque and 255 fully transparent. The Edit Pen screen gives no numeric indication of transparency. If a numeric transparency value is required this can be set by changing the Pen transparency parameter in the Styles/Pen attributes in the ItemProperties Tab.
The following example shows a 5mm wide black Pen set to full transparency by the parameter:
"A":255:
{"Pen":{"Colour":{"R":0,"G":0,"B":0,"A":255},"Width":500,"RoundCaps":true}}
The equivalent Pen set to fully opaque would be:
{"Pen":{"Colour":{"R":0,"G":0,"B":0,"A":0},"Width":500,"RoundCaps":true}}
(default background)
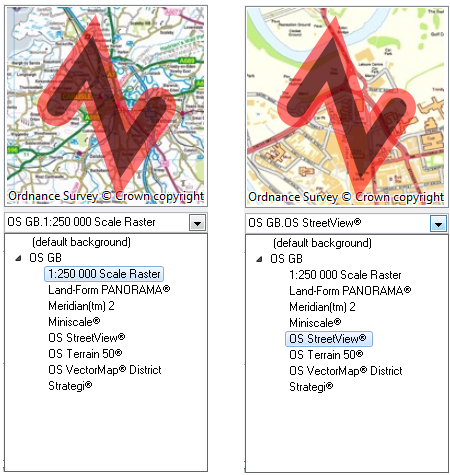
The (default background) drop-down allows you see how the pen will appear against a range of backgrounds, 1:250 000 Scale Raster and OS StreetView® are shown below as examples:
Note: A multi-level pen is shown against the backgrounds, the JSON for this Pen is:
{"Pen":[{"Pen":{"Colour":{"RGBA":[255,0,0,121]},"Width":400,"LineCap":"Round"}},{"Pen":{"Colour":{"RGBA":[0,0,0,121]},"Width":200,"LineCap":"Round"}}]}
Advanced Settings
Level
Every Pen is assigned a level between 0 and 255. The level of a Pen dictates the order in which it is drawn on the screen, level 0 is drawn first, then level 1, then level 2, etc. In this way pens on level 2 will overlay, and may obscure, pens on levels 0 and 1. It is this levels concept which enables Multi-level Pens to be created.
Note: The order in which Pens are created has no effect on the order in which they are drawn on the screen, this is strictly defined by the level number
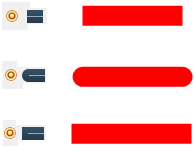
Symbols Start/End
Start and End symbols may be selected from the drop down lists.
This example shows a Pen with a circle "Start" and a square "End".
Preview Box
Select a background from the drop-down list to show the defined Pen pattern overlaying a sample background.
Dash pattern (mm) - You can define your own style of Pen using lines, gaps and symbols.
Line
Length of initial drawn section within the pattern.
Gap
Length of gap section within the pattern. A gap length of zero (0) is permitted.
Symbol
The Symbol to draw repeatedly along length of each line.
The above example shows that when you construct LineString items, the LineString items start halfway through the length of one LineString item segment, and the pattern is carried on around corners.
Fitted
This option causes the repeat pattern to be stretched or contracted as necessary to achieve an exact number of repeats along the LineString item. It will start and finish with a LineString segment half the length of the specified segment length.
Add button
Add the newly-defined Line, Gap and Symbol definition to the list of those available for use in defining Pens.
Delete button
Delete the selected Line, Gap and Symbol definition from the list of those available for use in defining Pens.
Clipboard
The Clipboard drop down options allow the parameters of one Pen to be copied and pasted into another. See Creating, Choosing and Editing Pens.
Note: When creating the new Pens (and Brushes) you may find that when you apply them to your data, they do not appear. This is because the scale of your map is inappropriate for the width of your new Pen. You may have to alter your dataset scale (using the Overlays dialog, Dataset tab) for the new Pen style to be visible. Remember that the dataset scale should be the same as the printing or viewing scale if the graphics are to be displayed as they were created.
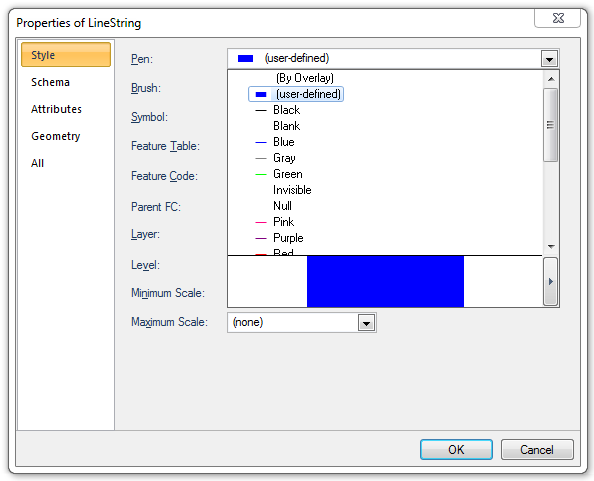
Any changes made to the entries in the Edit Pen screen will cause the Pen to be renamed to (user-defined) in the Pen drop down list:
Send comments on this topic.
Click to return to www.cadcorp.com
© Copyright 2000-2017 Computer Aided Development Corporation Limited (Cadcorp).