Coloursets
All grid items use graduated coloursets to define the values of their cells.
Each colourset consists of a number of colour-value pairs indicating which colour corresponds to which range of values.
Coloursets are named objects, stored in libraries. You can define your own coloursets and specify the colourset to be used by each grid.
Creating a colourset
Use one of the following methods to create the colourset initially:
- Using the local commands in the Libraries Control Bar, copy an existing colourset from the (standard) library and paste it into an editable library.
- Select the current library where the new colourset is to be stored, and select New Object… from its local menu. (Remember the standard library is read-only, you cannot add any objects to it).
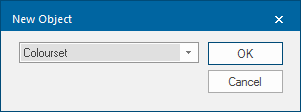
- In the New Object dialog, select Colourset from the drop-down and click OK.
- Click Pick Colour (this will become active when a colour-value pair is selected in the pane.) The Color dialog will be displayed, select a Basic colour or a Custom colour you have previously created one, or define a new custom colour.
- Click the Pick all Colours... button. The Pick Colours dialog will be displayed. Expand ColorBrewer, select a scheme and click OK.
- Set the Hue, Saturation, Luminosity and Transparency values:
| Option | Description | |
Hue (range 0 to 240) | Wavelength of the colour. This corresponds to a position in a rainbow of colours. The value changes the colours from red (at 0) to green to blue and back to red (at 240). | |
Saturation (range 0 to 240) | Purity of the colour. For example, pink is an unsaturated form of red. Primary colours are saturated, pastel colours are unsaturated. | |
Luminosity (range 0 to 240) | Brightness of the colour. Very dim colours become black. | |
Transparency (range 0 for fully opaque to 255 for fully transparent) | Sets the degree of transparency. Note: The Transparency value in the JSON is the inverse of the range 0 to 255 as entered in the Colourset dialog. For example: Entering 10 in the dialog will result in "A":245 in the code: {"Value":0,"Colour":{"HSL":[80,240,120],"A":10}}Entering 245 in the dialog will result in "A":10 in the code: {"Value":0,"Colour":{"HSL":[80,240,120],"A":245}} | |
Where you have three or more colour-value pairs, you may choose to let SIS Desktop 9 use graduated colours through the range. To achieve this select a colour for the first pair and a colour for the last pair: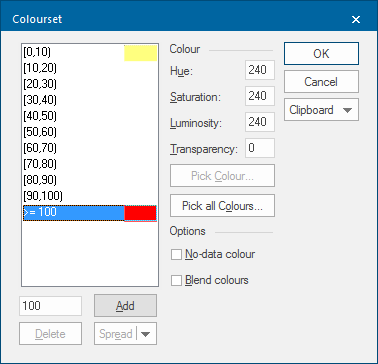
Highlight all the values you wish to be graduated: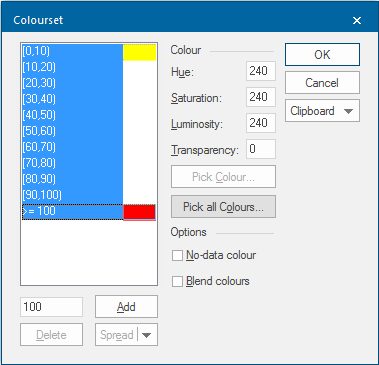
Click the Spread button: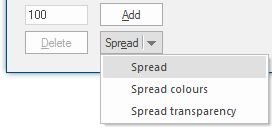
The Spread button offers you three options:
- Spread - spread the Hue, Saturation and Luminosity values for the colours AND the transparency values.
- Spread colours - spread just the Hue, Saturation and Luminosity values for the colours.
- Spread transparency - spread just the transparency values.
Select the required spread option.
To set no data colour, check the No-data colour tickbox to create a (no data) entry. Assign a colour to this (no data) value: value.png)
To blend colours
SIS Desktop 9 can blend colours for values that fall between colour-value pairs. To do this simply check the Blend colours tickbox.
This leads to smooth transitions between colours.
The Colourset dialog Clipboard function allows you to copy the JSON for the Colourset and paste it into another Colourset if required.
Assigning a colourset to a grid
To assign a colourset to a grid:
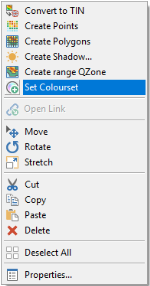
- Select the grid by clicking anywhere within or on its border.
- Right-click and select the local command Set Colourset:
- The Style the Grid dialog will be displayed.
- For full details of the entries available in the Style the Grid dialog see Scatter Grid.

Editing a colourset
To edit a colourset:
- In the Libraries Control Bar, select the colourset to edit.
- Choose Properties from the local menu.
- Make the required changes in the Colourset dialog.
- Click OK.
This should automatically refresh if you are working on a BDS dataset and if you have checked the Automatically refresh BDS datasets option in the Miscellaneous tab of the Options dialog: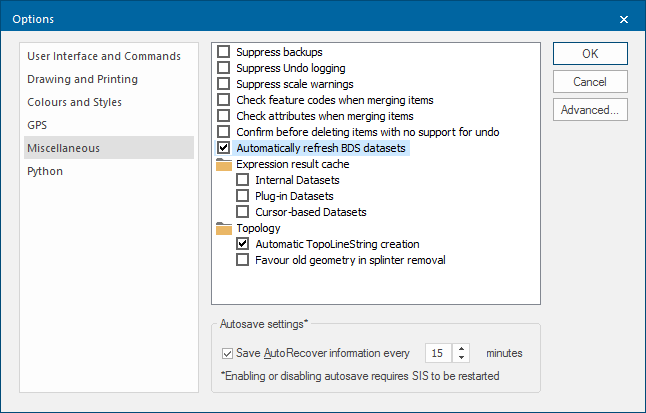
If you do not see your changes, do one of the following:
- select Home > Map > Regenerate
- select Home > Map > Redraw
- press the F5 key
Note: For details of User-defined Coloursets see User-defined Coloursets.