Adding attributes to items
To add attribute data to a single selected Item, use Properties (Home > Selection) or select Properties from the Map Window menu.
This opens the Properties of dialog: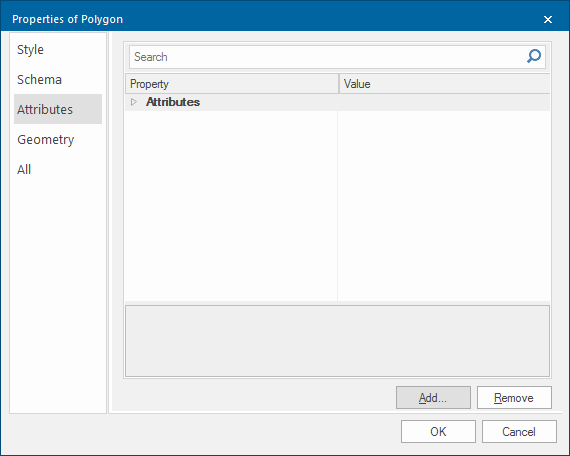
1. Select the Attributes tab.
2. Click the Add button to open the New Attribute dialog.![]()
3. Enter the attribute Name (this is what will appear in the properties Description column). The name can contain alphabetic or numeric characters (without spaces) but the first character must NOT be a number or an underscore.
4. Select the attribute Type.
5. Click OK.
Attribute data to multiple items
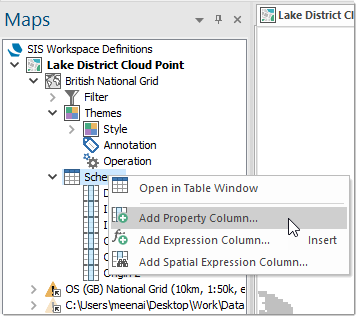
To add attribute data to multiple items, add the attribute name (e.g. "Street$") to the overlay Schema and then add the street name for each item in the Table Window like this:
You will now see the Pick Property dialog:
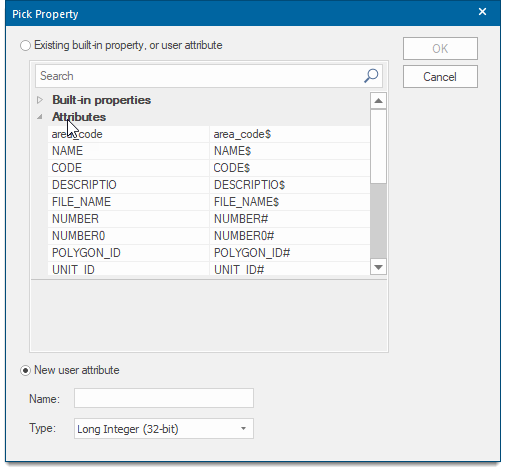
Select the New user attribute radio button.
Enter Street in the Name box and select String from the datatypes in the Type drop-down box.
Note: You can add the datatype symbol to the name; in this example it is a $ symbol for String (making the Name entry Street$). This will force the correct datatype to be displayed in the Type box.
- An attribute name can have any alphanumeric characters but the first character must not be a number.
- The first character should not be the "underscore" character to avoid confusion with system properties.
- The last character of the attribute name must be one of "$" (string property), "#" (floating point property), "&" (integer property)+ or "@" (date, Boolean, byte, short integer, long integer, unsigned and currency properties).
Click OK.
The property column called Street will be added to the Schema:
Delete the default schema columns if not required. To do this click the right-button on the first schema column that is not required and select Delete from the local menu; repeat for other columns if required.
The following screen shows an example of Street entries in a Map Window and the associated Table Window:
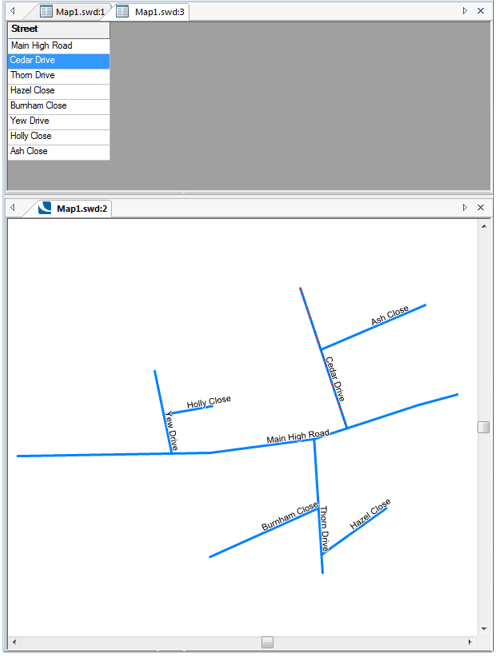
Table entries derived from other table values
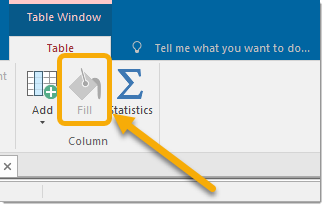
If a table column entry is to be derived from other table values use Fill Column (Table > Column) to display the Fill Column menu and input an expression to define the values.
For example if Main stock is to be added to Reserve stock to create totals in the Total stock column.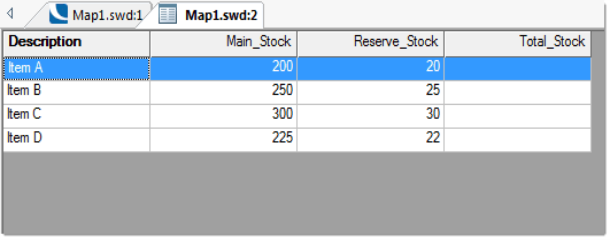
- In the Table Window tab click on the Fill Column button.
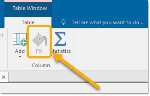
- From the displayed Fill Column, click the fx button.
- This opens the Expression Builder window:
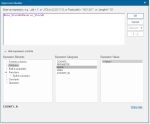

- Click on Attributes in the Expression Elements pane.
- The Main_Stock, Reserve_Stock and Total_Stock will be shown in the Expression Categories pane.
- Select Main_Stock to display in the main pane of the dialog, enter a '+' sign, select Reserve_Stock and click OK.
- The populated Fill Column dialog will be displayed:
- Click OK.
- The table will now be updated as shown with the Total_Stock column completed.
Column entries created this way will not be updated if any of the entries in the columns used in the expression are altered. To update the values the process must be repeated.