Classification
The Classification theme is used to apply Pen, Brush and Symbol settings to Items and optionally create labels based on multiple expression tests.
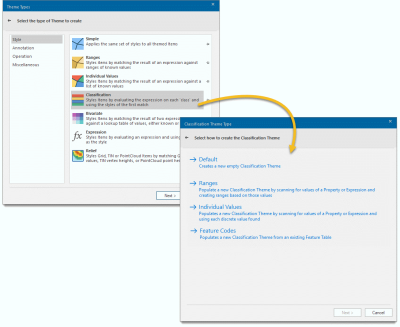
After choosing your overlay, click on the Classification icon in the Style tab to see all available methods.

1. Begin by selecting the Classification Values.
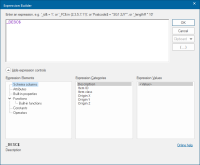
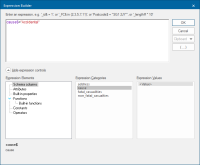
To do this, click Add; this opens the Expression Builder.
Note: The Add button is actually a drop-down menu with two options. Use Add to simply add a new expression. Use Add child to add a child expression to the selected classification value.
Enter an expression to be evaluated for the Classification Values. Use the tables below ( the Expression Categories, Values and Elements) to form your expression.
As an example consider a SIS Workspace Definition (SWD) that is to be themed to show causes of fires. Display the Expression Builder dialog and enter cause$="Accidental":
Repeat for:
- cause$="Deliberate"
- cause$="Malicious"
- cause$="Doubtful"
- cause$="Not known"
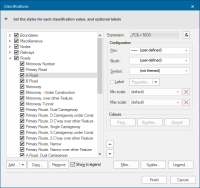
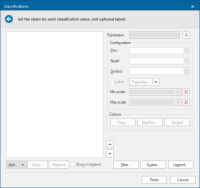
In the Classifications dialog set the configuration styles for each of the Classification Values:
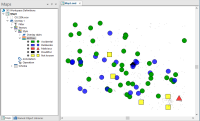
Map Window showing the Accidental, Deliberate, Malicious and Not known causes of fire.
2. Tick the Label checkbox to create a label for each of the individual Classification Values.
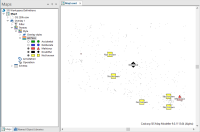
When Labels are enabled, the Properties button will become active. This process utilises the Labels Theme to create the labels. You can see the labels for the Malicious, Doubtful and Not known causes in the picture below:

The procedure and dialogs used to create a Classification Theme - Ranges are the same as those used for the Ranges theme.

The procedure and dialogs used to create a Classification Theme - Individual Values are the same as those used for the Individual Values theme.
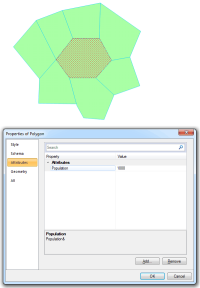
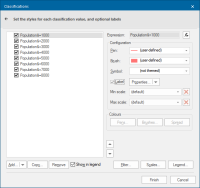
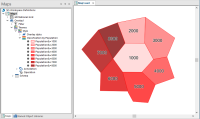
Consider a map containing a number of areas of Population in the range 1000 to 8000.
Each area has an Attribute called Population; in this case the selected Polygon has a Population value of 1000 as can be seen in the Attributes tab of the Properties of Polygon dialog:
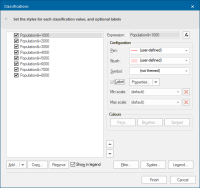
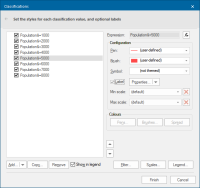
- Now add all the population values to the Classifications dialog (simply click the Add button to add each value).
- Right now the Styles (Pen, Brush and Symbol) will be inherited from the Overlay settings.
- You can begin setting these styles for each of the Classification Values. This can be done individually or the Pens and Brushes can set by one of the methods described in the following Colours section.
Displaying non-themed items
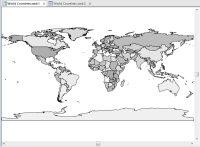
In some circumstances you may want to theme all the remaining items that are not already themed. This can be achieved by entering true in the Expression box for the required value, for example taking a World map:
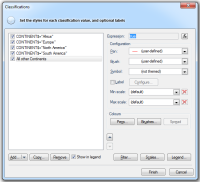
Add a Classification Theme, create Classification Values of Continents; Africa, Europe, North America and South America and set their Pen and Brush styles.
Create a final Classification Value, in this example, All other Continents, and enter true in the Expression Builder dialog:
Note: Ensure the Classification Value with true is at the end of the Classification Values list or it will overlay the other values in the Map Window.
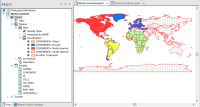
Click Finish.
The display will now be:
Colours
This section describes the Pens, Brushes and Spread buttons in the Colours section of the Classifications dialog.
Pens/Brushes
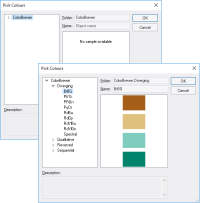
Click Pens or Brushes to display the Pick Colours dialog:
Select the colour scheme from the ColorBrewer range of meaningful color schemes for thematic maps, these are most usually used for choropleth maps. The number of colours displayed in each range in the Pick Colours dialog will correspond to the number of Classification Values.
ColorBrewer includes 36 basic schemes with different numbers of classes for over 250 possible versions. Each scheme has CMYK, RGB, Hex, Lab, and AV3 (HSV) specs for the colours.
Spread
Spread allows you to specify a colour range over selected values to your own requirement. Select the first Classification Value to be used in the range and set the Pen/Brush to be used for that value:
Select the last Classification Value to be used in the range and set the Pen/Brush to be used for that value:
Select all Classification Values in the range and click Spread:
A range between the first and last Classification Values will be automatically assigned:
Label
Check the Label tickbox to create a label for the individual values in the Classification theme. When this tickbox is checked the Properties drop-down will become active.
Select the value in the left-hand pane to be labelled and click Label > Properties.
This opens the Label Styles dialog.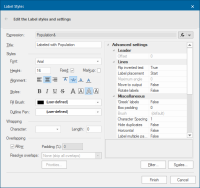
TIP: This is the same dialog used for the Labels Theme.
Entries made for each of the Classification Values will be maintained for that value and can be edited.
Click Finish when complete.
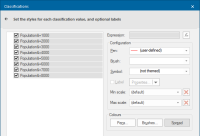
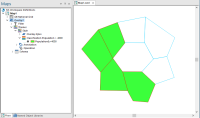
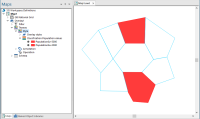
More examples of Population values:
Classification by Population greater than 4000:
Classification by Population equal to 5000 and Population equal to 2000:
Filter, Scale and Legend
Click here for Classification Theme properties.
_thumb_200_0.png)
