Printing custom icons to PDF
Any custom icons added to WebMap need to be set up specifically so they are printed on a PDF file.
Editing the SWD
- Open CadcorpSIS Desktop and create a blank map.
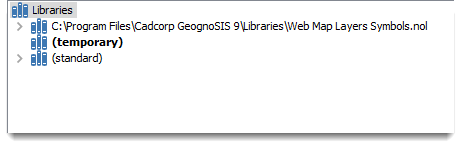
- Go to View and check the Libraries box. The Libraries tab will open in the pane on the left.
- Open your GeognoSIS Libraries folder and find the Web Map Layers Symbols.nol file.(usually in C:\Program Files\Cadcorp GeognoSIS 9).
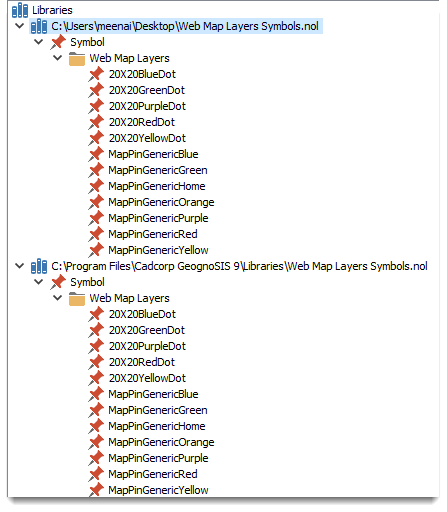
- Drag this file over to SIS Desktop and drop it in either the map window or the top ribbon (you should see the pointer change to a + sign when it is droppable). Now the .nol file will appear in the Libraries tab.
- Right click the Libraries text at the top level of this tree and click New Library. Save it somewhere as Web Map Layers Symbols.nol (alternatively, call it something else and rename it later on). It should now appear in the Libraries tree and be blank.
- Expand the .nol file brought in from the GeognoSIS folder, copy the Symbol subfolder (CTRL+C or right-click Copy) and paste it into the newly created blank NOL. Ensure that both of these NOLs now have exactly the same contents. The GeognoSIS NOL can now be removed from this menu.
-
Now create your custom icon. (See Add Icons).
Useful tips when creating custom icons.
Editing the IIS
- Change the identity of your application pool before uploading the icon.
To do this, open IIS manager, then (a.) Application Pools from the tree on the left. Find your instance of WebMap (b.) and right-click to open Advanced Settings. Click the three dots (c.) next to NetworkService (against Identity). Switch to Custom Account (d.) and enter your credentials. Now click OK (e.) and restart the Application Pool.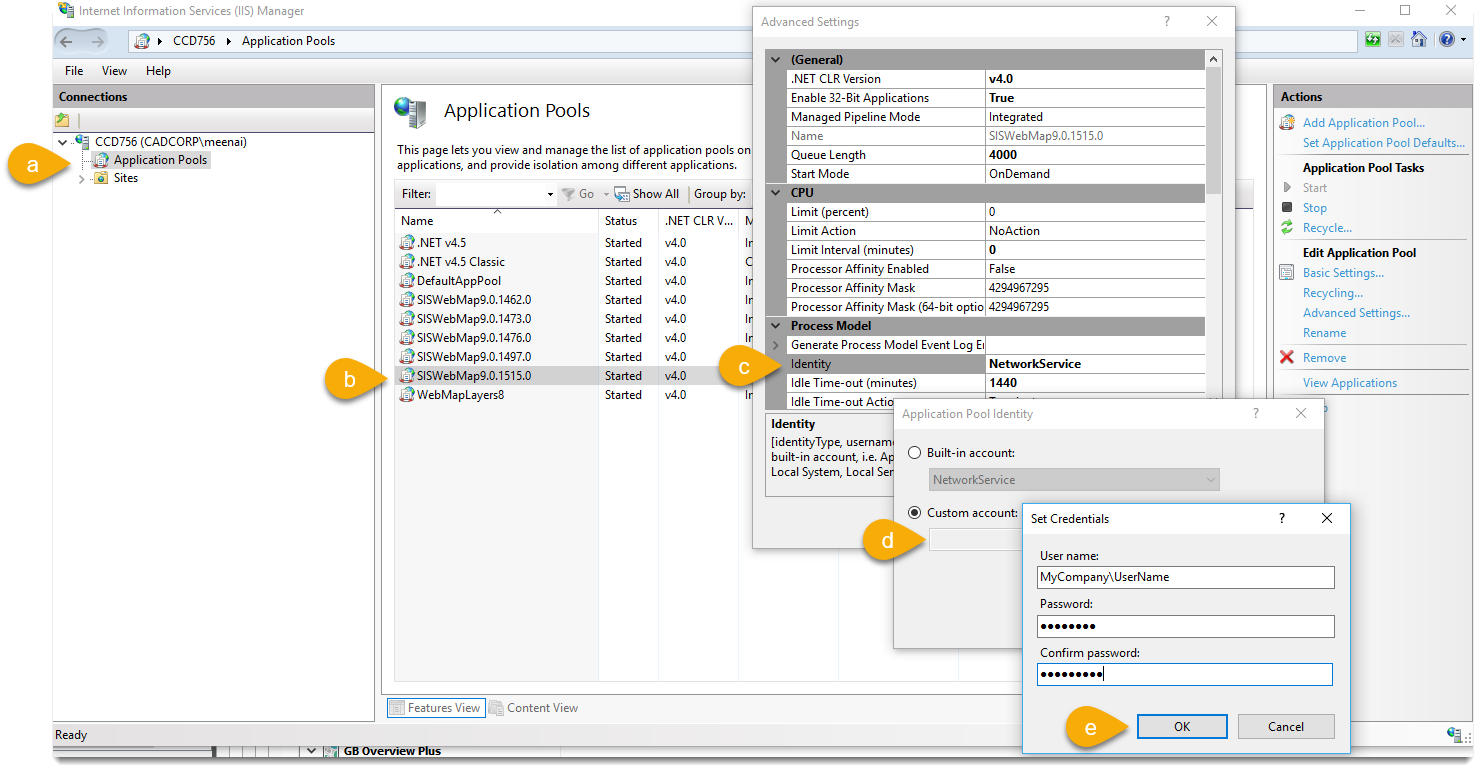
- Change the identity of your application pool before uploading the icon.