Creating a new server instance
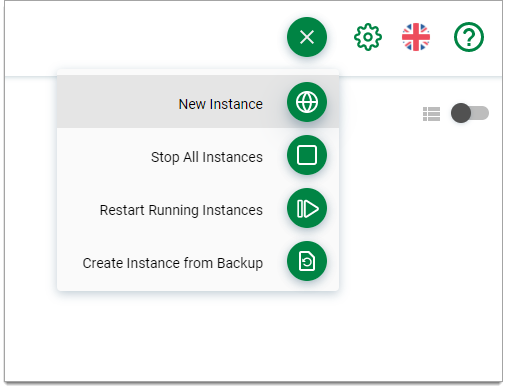
- Click the action button on the home page and select New Instance.

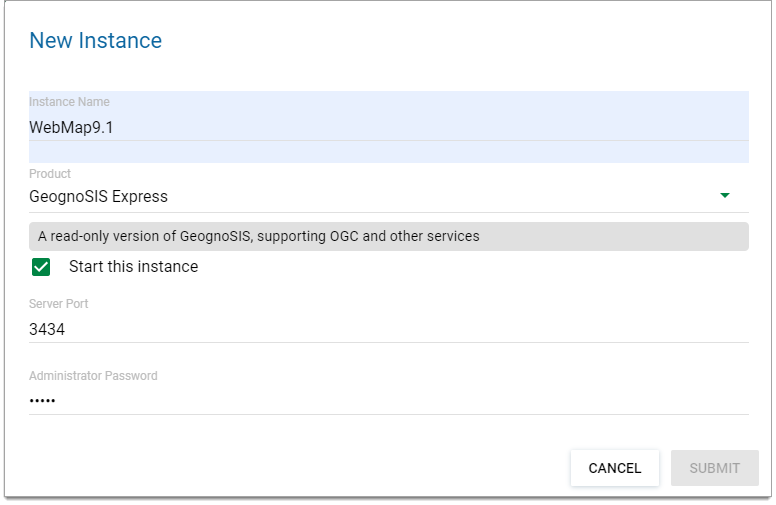
- Name your instance. We recommend assigning a unique, descriptive name (ideally include the instance’s port number. For eg, an instance for WMTS of Ordnance Survey data running on port 4554 can be named WMTS_OS_4554).
- Select which product you are using (GeognoSIS, GeognoSIS Express, GeognoSIS Developer)
- Enable Start this Instance to automatically begin running the instance once created.
- Assign the instance a unique port number which GeognoSIS listens to. This is different to an Administration instance seen during installation.
- GeognoSIS Manager automatically prevents you from creating instances with port numbers that are already in use. See here
 for well-known port numbers.
 - If necessary provide an Administrator password. The password may be needed when administering the instance using the /admin section of the HTTP API (e.g. using Postman / RESTclient etc.). Only admin level accounts can administer an instance.
- If you disable anonymous authentication on an instance (Instance Properties > Security), you will be prompted for credentials to use the non-admin part of the HTTP API (e.g. serving tiles). You can use any account that GeognoSIS knows about (these are seen in the Users section in G Mgr).
- Point to the location of the product licence.
- Click SUBMIT to create the instance.
