Installation using a Network Licence
Network licensing is used to maintain a central store of licences that are used by network users concurrently up to a defined limit.
A Network Licence Server is used to manage and control access to the licences.
You will need:
A licence file to install and run the Network Licence Server. Simply add the licence file supplied by Cadcorp to the licence service using WLMADMIN. (See also Adding Licences to a Network Server).
Note: We recommend using a static IP address for a network licence server.
- Download the Licensing Kit from https://cadcorp.com/support/support-tools/

- Unzip the contents.
- Select a suitable machine (one that is accessible to all machines requiring network licensing.)
- This machine should also match the lock code provided for the licences.
- If using a dongle, install the latest Sentinel SuperPro drivers. Else continue to step 6.
- Browse in the Licensing Kit to \Network Licence Server and copy this entire folder to: C:\Program Files(x86)\SafeNet Sentinel\Network Licence Server. You may need to physically create this folder.
- Open the folder and locate loadls.exe. Double-click to run this .EXE.
- Use the Add button on the form to initiate the service.
- As the service is started, check any anti-virus software or firewalls are not preventing the service from broadcasting.
- The licence service defaults to UDP 5093, this will need to be open bi-directional within the firewall.
- The Network Licence Server is now running but will not be broadcasting any licences.
- Use WLMADMIN to add the licences to licence service (see Adding Licences to a Network Server.)
Note: The latest drivers can be found in the Licensing Kit: Gemalto Sentinel Drivers\Sentinel Protection Installer 7.*.*.exe or download them from the Sentinel website  Ensure you select the latest version of the ‘Sentinel Protection Installer’.
Ensure you use the latest version of the Network Licence Server with Cadcorp SIS 9 products. To upgrade an existing Network Licence Server, download the Licensing Kit Locate the \Network Licence Server folder and use these to replace the files in your current Network Licence Server.
- Begin by stopping the current service.
- To do this, open Windows
 > Services and select the Sentinel RMS Licence manager.
- Click Action > Properties to determine the location for the file; this is seen as a path to the executable.

- Navigate to the folder and click on LOADSLS.EXE to remove the current service.

- Open the previously downloaded licence kit. Copy the contents of the folder "Network Licence service" into the folder for the current licence service. This should overwrite the older version.
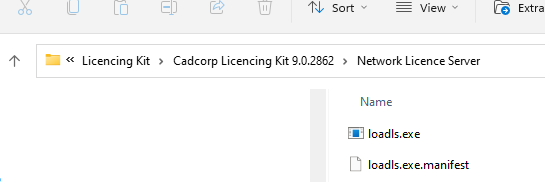
- Simply run LOADLS.EXE to install the new licence service.
You may see a warning about files still being in use. To solve this issue, create a folder to hold the contents of the new licence service. Now copy the file 'lservrc' (this is the licence file) from the old folder to the new folder. Run LSLOADS.EXE to install the new service.
Use the WlmAdmin.exe tool (available in the Licensing Kit  supplied by Cadcorp) to add the network licence to a network server.
- Open the WlmAdmin.exe tool.
- Expand the tree to display the required licence server. We recommend using EDIT > DEFINED servers rather than Sub-net servers.

- Right click on the server to access the local menu. Select Add Feature > From a File > To Server and its File.
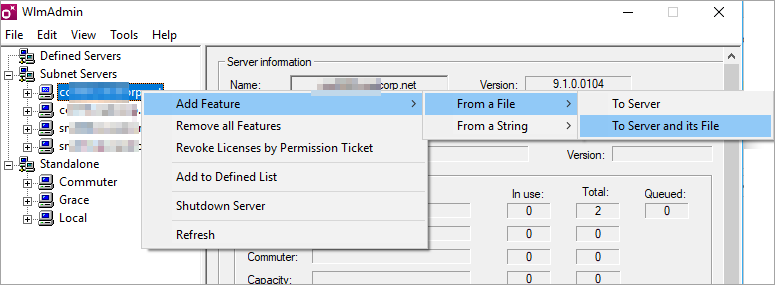
This method adds licences to the licence server file; if the server is restarted, the licences are simply reloaded back onto the server. If you choose /To Server option, the licence will only be available during the current session; it should be added again if the server is restarted.
- Browse to the location of the licence file to be added to the server. Select the licence file and click Open.
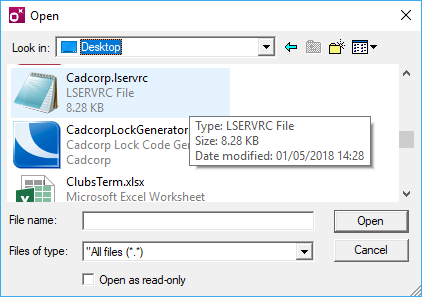
Note: The licence is not checked for validity; ensure you manually confirm the correct licence file is installed.
After setting up the Licence Server, begin installing Cadcorp SIS Desktop 9.1 on the client machines. Follow the standard installation procedure for SIS Desktop.
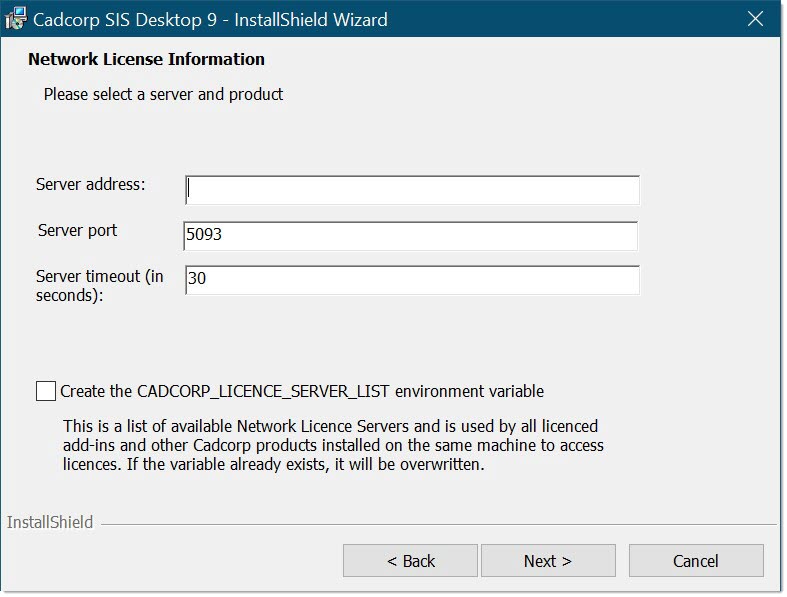
When prompted for a licence choice, select Network from the drop-down menu. Click Next.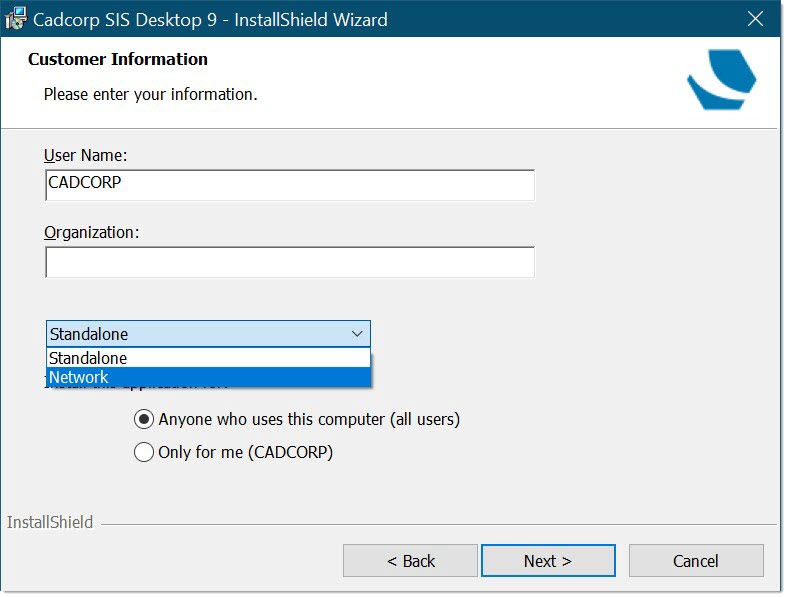
In the next window, enter the details of the Network Licence Server.
You do not need a locally attached dongle or a licence file for client installations.
- Server name (or IP address) – Enter the machine name or IP address of the server on which the network licence is installed.
- Server port – Enter the port number on which this client will communicate with the network licence server. The default port number is 5093.
- Server timeout (in seconds) – Enter the required time-out interval for all direct application/licence server communication. The default time-out value is 30 seconds.
Important: The Gemalto Tools are hardcoded to port 5093. If this port is changed, Gemalto tools may become unusable.
The example below shows where Cadcorp SIS Desktop 9.1 will use the Network Licence Server installed on the server with an IP Address of 10.0.0.240:
"C:\Program Files\Cadcorp SIS\Cadcorp.SIS.Loader.exe"
Cadcorp.SIS.exe --Product:SISDesktop --SentinelRMSServerList:10.0.0.240
The machine name or IP Address can be used as below:
"C:\Program Files\Cadcorp SIS\Cadcorp.SIS.Loader.exe"
Cadcorp.SIS.exe --Product:SISDesktop --SentinelRMSServerList:licenceserver3
Installing Add-ins
Now that SIS Desktop 9.1 has been successfully installed, you can opt to include other add-ins to enhance the desktop GIS experience.
See here  for more information.
