Fire Query
Fire Query is an enhanced form of the Query tool. This tool has been developed exclusively to meet the needs of fire and emergency services.
Fire Query helps to query and analyse past incident data available from a fire service. The data is usually in the form of dedicated datasets that include eastings and northings, incident type, incident date, station grounds etc.
TIP: See this in action on WebMap User Help 
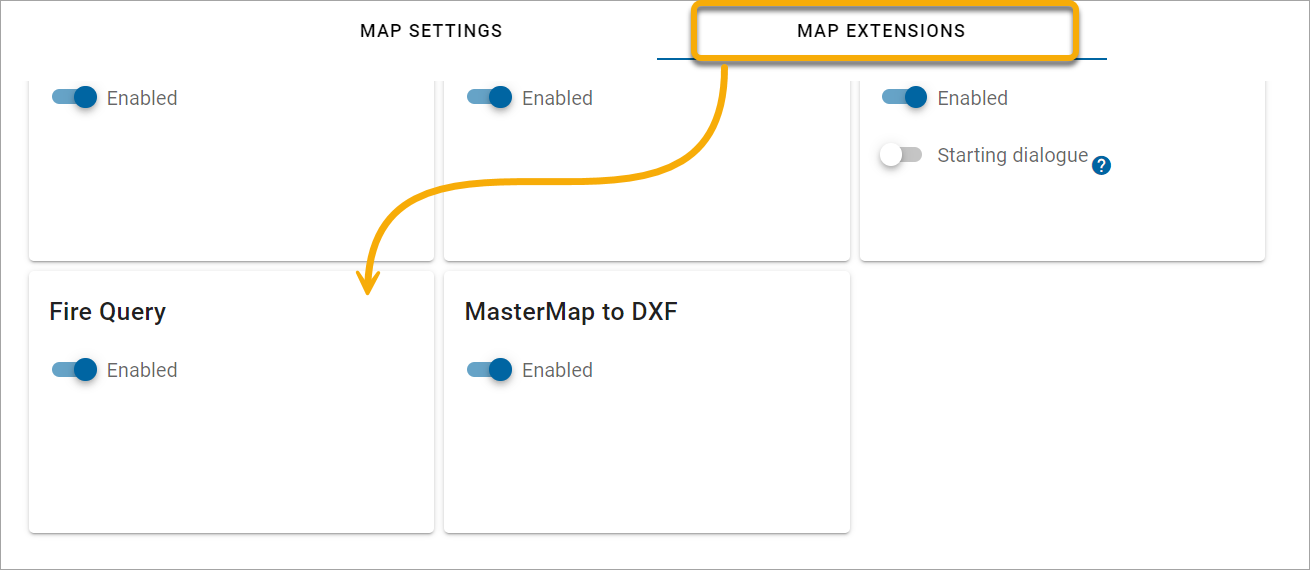
Begin by enabling the Fire Query option for your users. On your map click Settings > Map Extensions > Fire Query.
Now go back to the map and select Configuration > Fire Query.
Select the relevant incident type and other attributes. Click Save.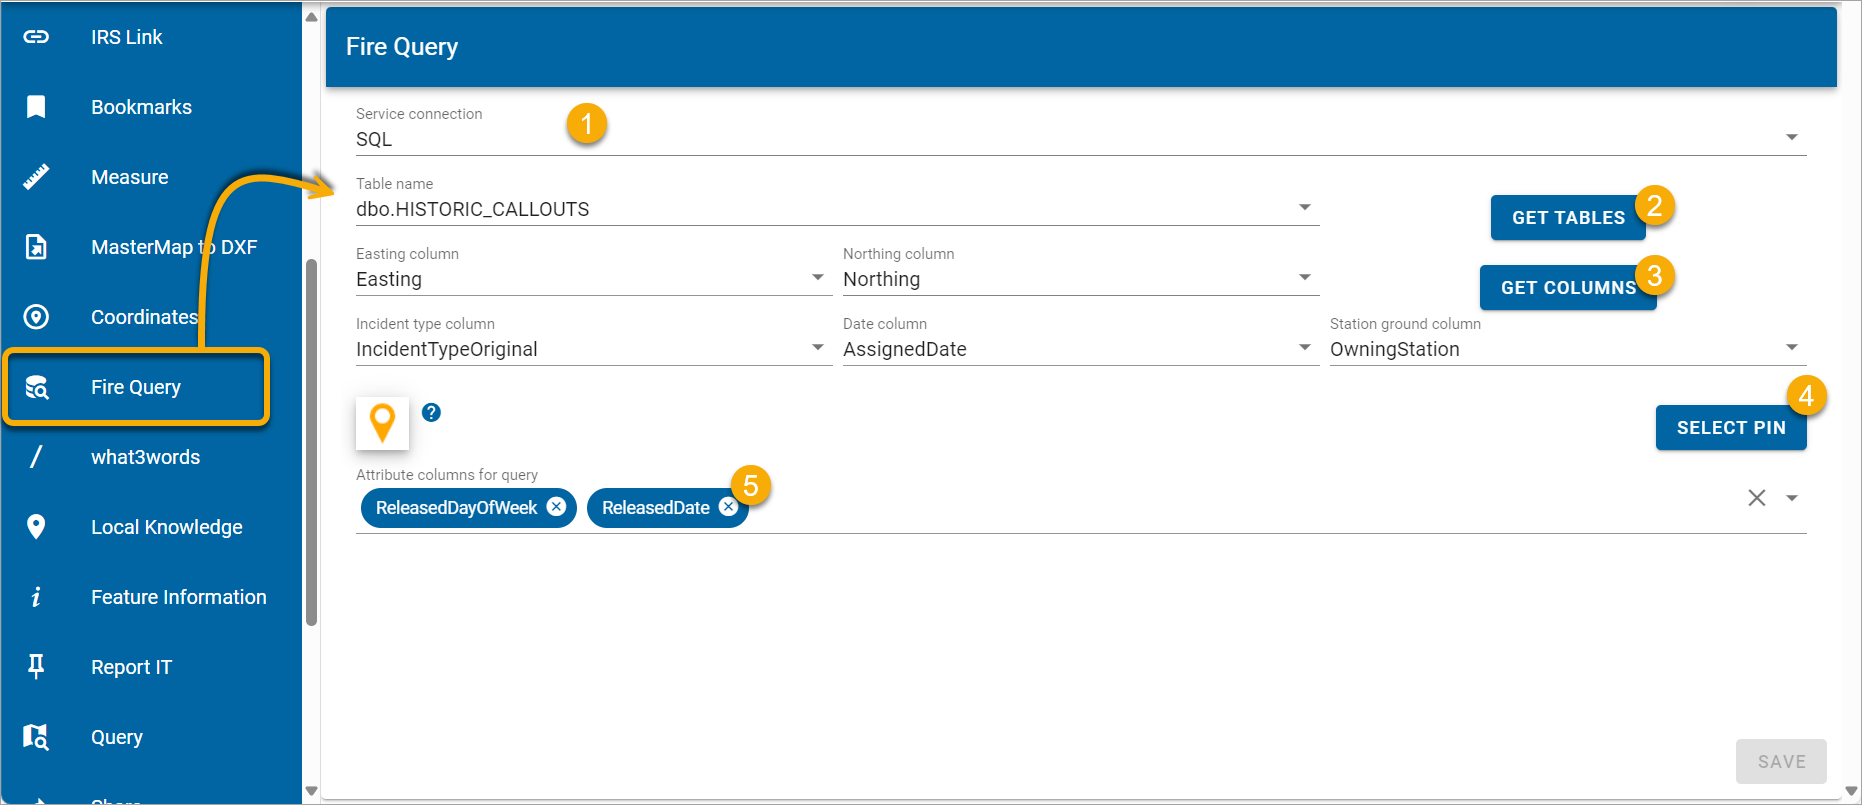
- Select the right connection from the drop-down menu. Service connections are database connections defined in Quick Access.
- Click GET TABLES and select an available table.
- Click GET COLUMNS and select the relevant ones for Easting, Northing, Incident Type, Date and Station.
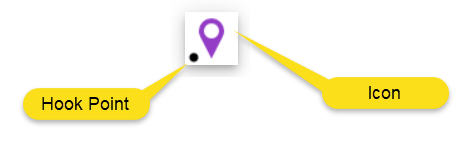
- Click SELECT PIN to choose an image to use for query results. Remember to set the hook point for the icon. Click anywhere inside the icon image to see a black dot; this is the hook point. The hook point "anchors" the icon at the exact location and stops the map pin from shifting freely around the map at different resolutions. It is also known as an offset, because it moves the location icon horizontally or vertically from the center of the location. This is done so the icon does not obscure the name of the location.
- Select one or more Attribute Columns from the scrollable list of attributes – these allow the user to select any available attributes to include in the query.