TINs, or Triangulated Irregular Networks, are three-dimensional planar items. A TIN is made up of many triangular surfaces which connect adjacent points containing height attributes. Each surface contains graduated height values, or a slope, thus contour and/or flow themes can be superimposed on TINs. Greater detail is obtained by using smaller triangles.
TINs can be created in one of the following ways:
This command creates a strip or fan of connected triangles. Double-clicking finishes one fan and allows you to start a new one.
Existing items can be used to form the basis of a TIN. Triangular surfaces are created with their edges connecting the origin points of the selected items.
If you are joining items in 3D space, e.g. point items which have a Z value (height), the result is a 3D TIN.

The example below shows the TIN items further enhanced by the application of a Relief theme:
You can generate a Relief theme using Add Theme [Home-Map]).
The Theme Overlay dialog will be displayed.
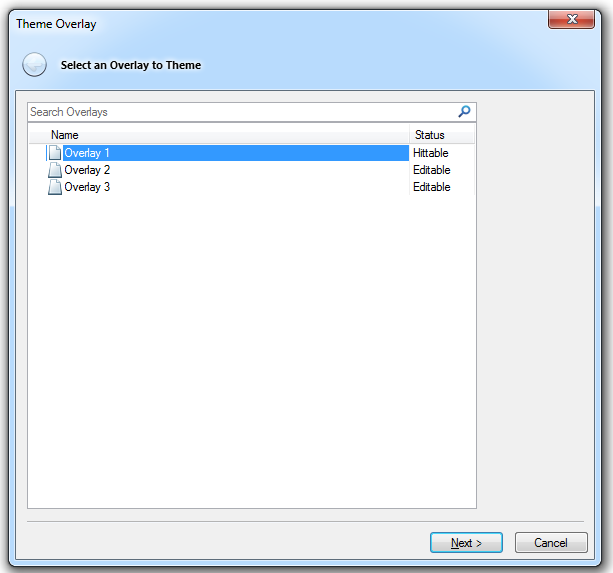
Select the required overlay and click Next.
The Theme Types dialog will be displayed:

In the Theme Types dialog select Relief and click Next.
See the Relief theme topic for full details of creating a Relief theme.
Grid items can be used to create a TIN. TINs have two advantages over Grids:

Tolerance
When converting a grid to a TIN, SIS tries to use as few triangles as possible, because this saves memory and takes less time to draw the 3D image.
The result is large triangles covering lots of grid points. These large triangles are accurate at their corners, but may deviate in the interiors of the triangles. There are two ways of ensuring accuracy within the triangles:
The first method will provide more accurate data initially; the second method will make any subsequent contours added to the display smoother.
Troubleshooting If you view your TIN in 3D you may find it does not look as you would expect. Lowering the exaggeration to less than 1 may correct this.
Send comments on this topic.
Click to return to www.cadcorp.com
© Copyright 2000-2017 Computer Aided Development Corporation Limited (Cadcorp).