 Relief Relief
Location: Theme Types dialog > Style tab > Relief
Availability: Map Modeller, Map Editor, Map Manager, Map Express
The Relief theme styles Grid items, assigning different colours to different Grid values. When the Grid is a Digital Terrain Model (DTM), the colours can represent ranges of heights.
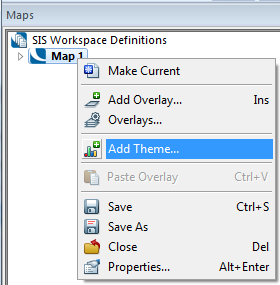
Click Add Theme [Home-Map] or highlight the SIS Workspace Definition (SWD) in the Maps Control Bar and select Add Theme...
If the SWD contains more than one overlay the Theme Overlay dialog will be displayed.
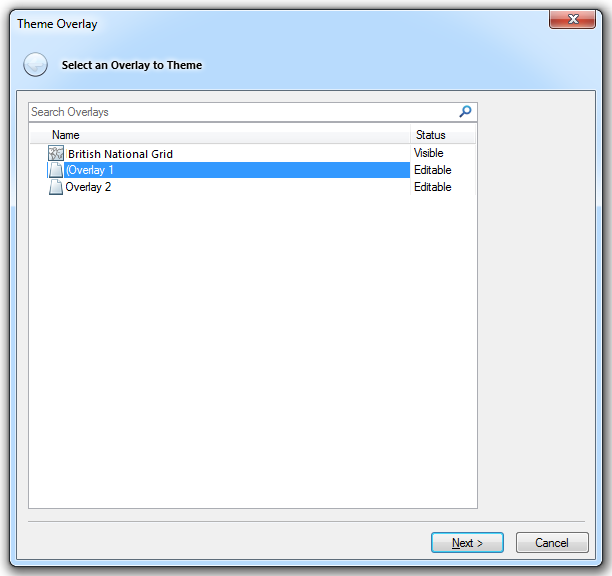
Either double-click the overlay to theme or select it and click Next.
The Theme Types dialog will now be displayed:
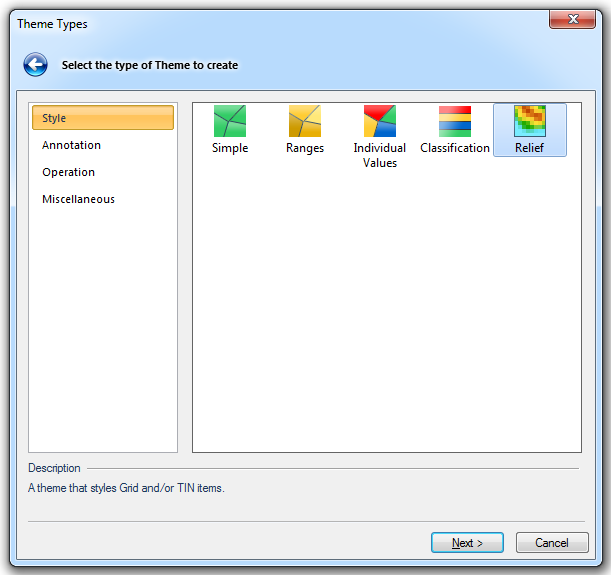
Go to the Style tab and either double click the Relief icon or select it and click Next.
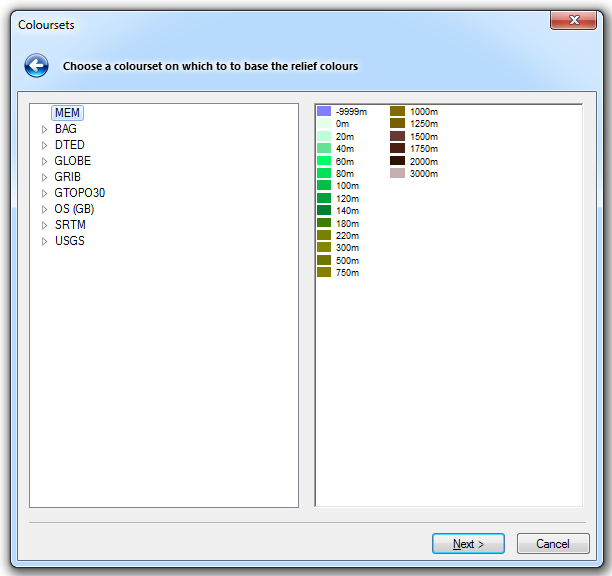
The Coloursets dialog will now be displayed:
The Relief theme can be used on a DTM:
If the overlay has not been selected the Theme Overlay dialog will be displayed so that you can select the overlay containing the DTM, click Next to display the Theme Types dialog.
In the Theme Types dialog select Relief and click Next.
The Coloursets dialog will be displayed. Choose an appropriate colourset to indicate the heights.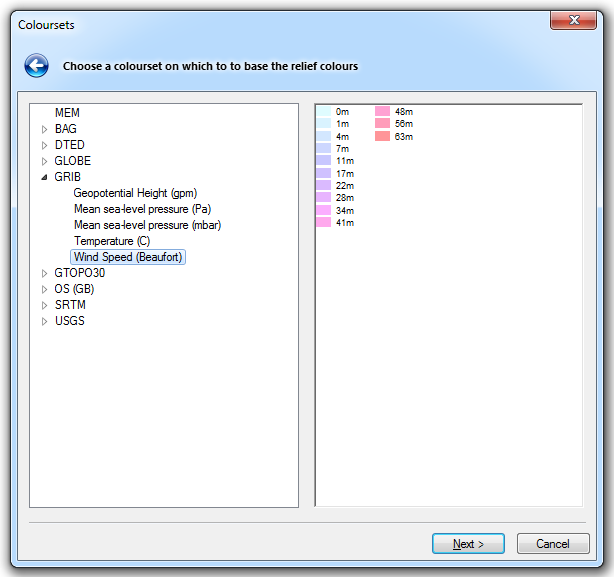
Click Next.
The Relief Styles dialog will be displayed: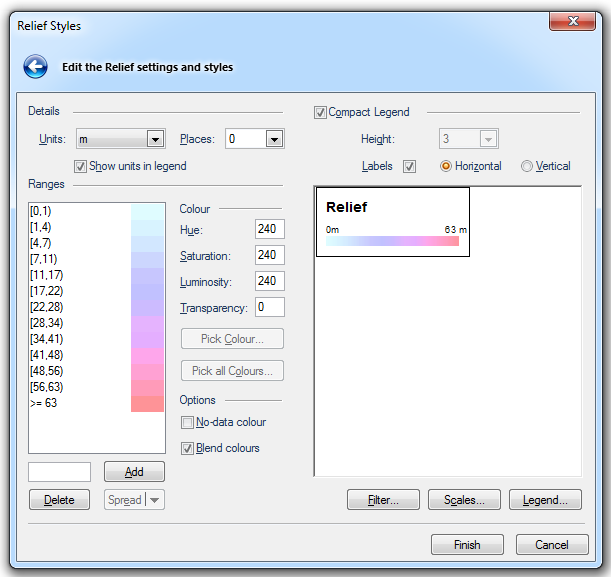
Details
Units
The units to display in the theme legend.
Places
The number of decimal places to display in the theme legend.
Show units in legend
Check this tickbox if you wish to include the chosen units in the theme legend.
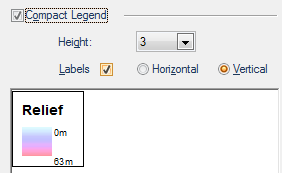
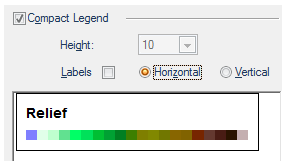
Compact Legend
By checking the Compact Legend tickbox and checking or unchecking the Labels tickbox, and selecting the Horizontal or Vertical radio buttons, the display can be with or without the values being shown and in vertical or horizontal orientation.
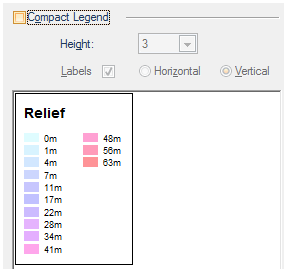
Check the Compact Legend tickbox to show the legend in compact form:
As it will appear in the Maps Control Bar:
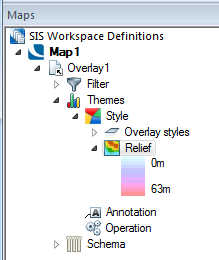
Compact Legend tickbox checked
As it will appear in the Maps Control Bar:
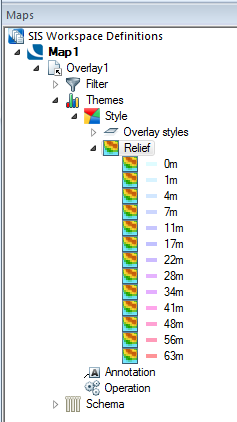
Compact Legend tickbox unchecked
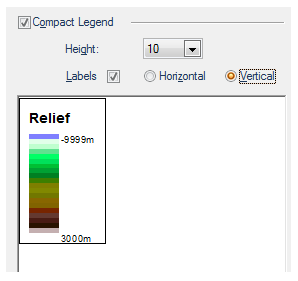
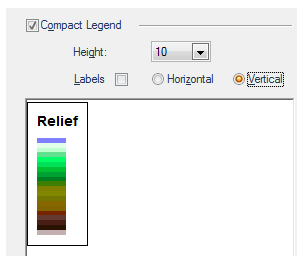
Height
This drop-down box is active when the Vertical radio button is selected. This is a sizing factor for the vertical display. The range of numbers available depends on the number of values in the theme.
Labels - Horizontal/Vertical
The Labels setting controls whether the labels are displayed alongside the legend.
The Horizontal/Vertical setting controls the orientation of the legend.
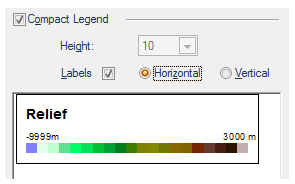
Labels tickbox checked
Horizontal selected
Labels tickbox checked
Vertical selected
Labels tickbox unchecked
Horizontal selected
Labels tickbox unchecked
Vertical selected
Ranges
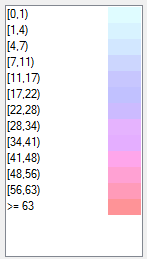
This pane shows the colours that are defined in the colourset. The colours are shown as pairs in a colour-value range.
Colour
Hue (range 0-240)
The wavelength of the colour. This corresponds to a position in a rainbow of colours.
Saturation (range 0-240)
The purity of the colour. For example, pink is an unsaturated form of red. Primary colours are saturated, pastel colours are unsaturated.
Luminosity (range 0-240)
The brightness of the colour. Very dim colours become black.
Transparency (range 0-255)
The degree of transparency, 0 being fully opaque and 255 being fully transparent.
Options
No data colour
Coloursets store a 'nodata' colour. This allows reordering of the HLS (Hue, Lightness, Saturation) controls into the more commonly used HSL (Hue, Saturation and Luminosity) order, and enables the New value - Add button when viewing a read-only Colour-set.
Blend colours
Check this tickbox if you wish to blend and smooth colours for values that fall between colour-value pairs. Choosing this option leads to smooth transitions between colours.
Add
This option allows colour-value pairs to be added to the colour-value list. Enter the value to be added in the text box and click Add.
For example in a list of colour-values:
(100,120)
(120,140)
(140,160)
(160,180)
adding a value of 150 would result in new colour-value pairs being added to the list:
(100,120)
(120,140)
(140.150)
(150,160)
(160,180)
Delete
Deletes a selected colour-value pair. Select the colour-value pair for deletion and click Delete. The lower range value will automatically change to include the deleted range.
Spread
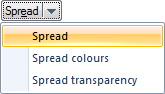
Spread
This option combines both the Spread colours and Spread transparency functions.
Spread colours
Where you have three or more colour-value pairs, you may choose to let SIS use graduated colours through the range. This is achieved by selecting a colour for the first colour-value pair, selecting a colour for the last colour-value pair, highlighting all the values for which you want the colour graduated, and then clicking the Spread colours button.
Spread transparency
This option will spread graduated levels of transparency across the range of selected colour-value pairs.

Click here for a description of the functions of these three buttons.
Click here for Relief Theme properties.
Send comments on this topic.
Click to return to www.cadcorp.com
© Copyright 2000-2017 Computer Aided Development Corporation Limited (Cadcorp).