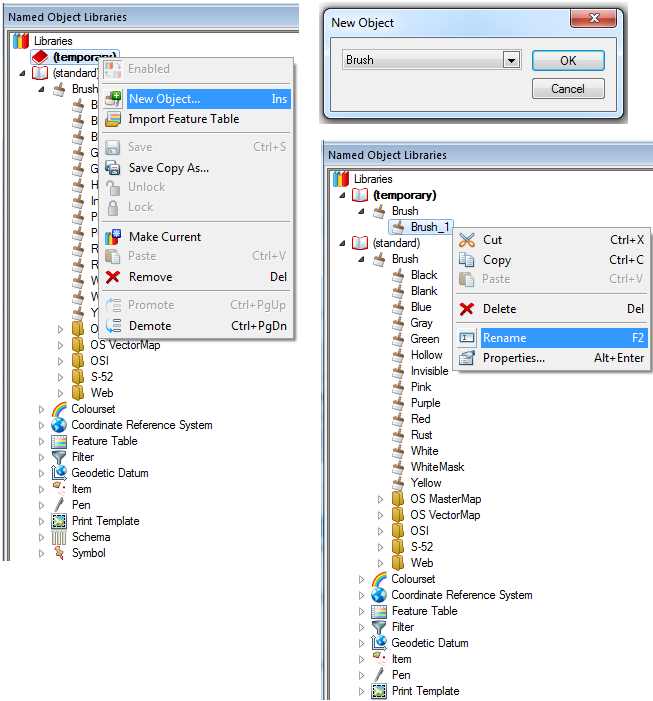
To create a new Brush right-click on the library where the new Brush is to be stored, and select New Object from the local menu. Select Brush from the New Object dialog drop-down box and click OK. The new Brush, which will be in the form Brush_1, can then be renamed as required.
In this example the new Brush is renamed to MyNewBrush.
To edit the properties of MyNewBrush select Properties... from the Libraries Control Bar local menu. The Edit Brush dialog will be displayed:

See 'Edit Brush' Dialog Parameters for full details of the available Brush parameters.
If the new Brush is to be based on an existing Brush copy the source Brush from the standard library, or a New Library, as appropriate and paste it into an editable library and rename as required.
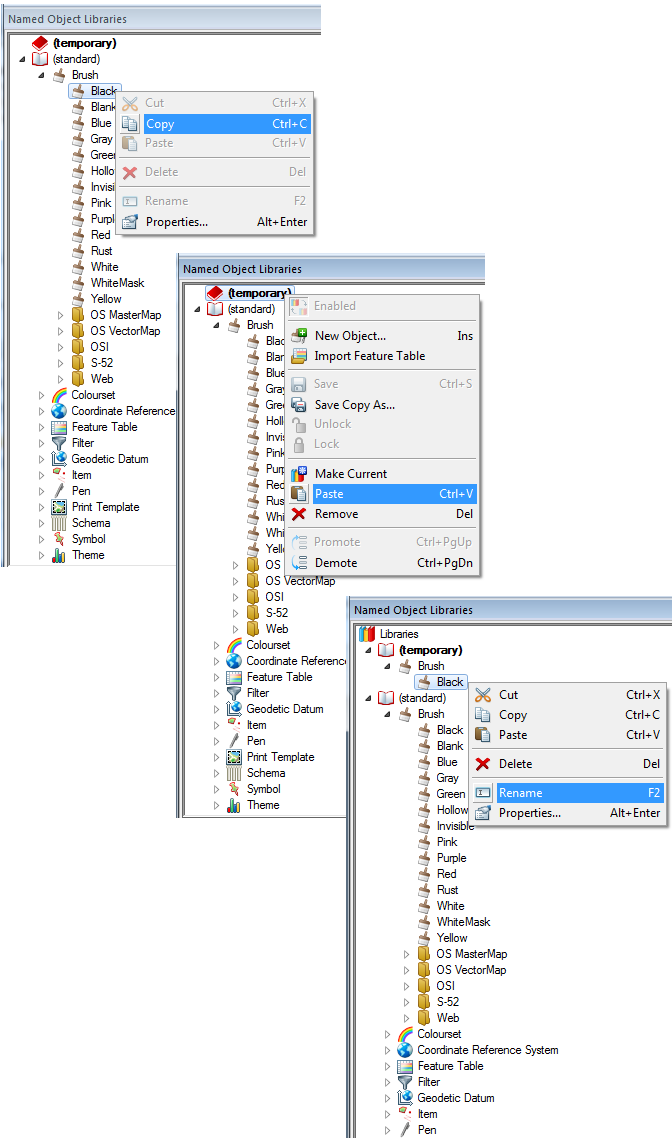
The copied Brush may now be edited by selecting Properties... from the Libraries Control Bar local menu, as described above in Creating a new Brush.
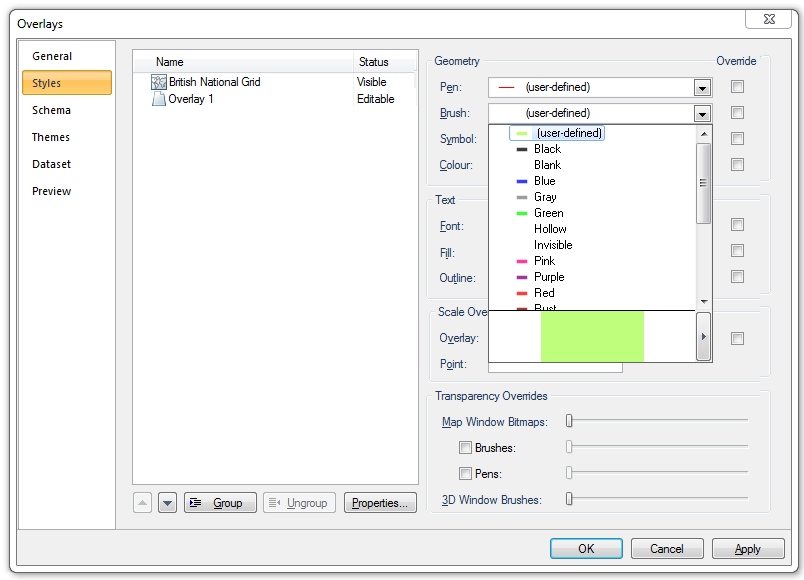
Each overlay is automatically assigned a Brush, called the overlay Brush (By Overlay). When graphic items are drawn, if the Item Properties tab, Styles - BrushValue is (By Overlay), the graphics are filled by the Brush assigned to the overlay on which they reside.
To change the overlay Brush:
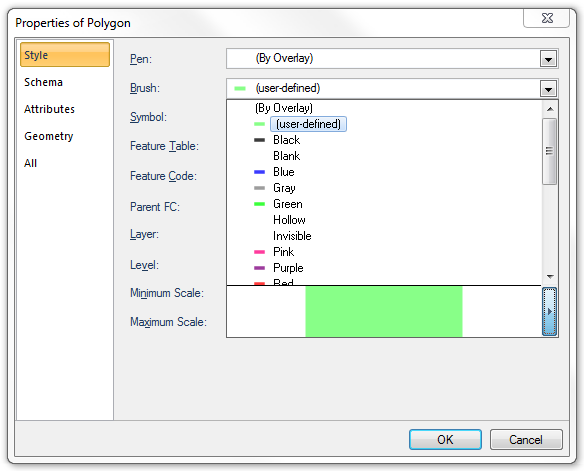
To change or edit the Brush used by an Item, select the Polygon item and select either Properties [Home-Selection] or Properties... in the Map Window. The Properties of Polygon dialog will be displayed:
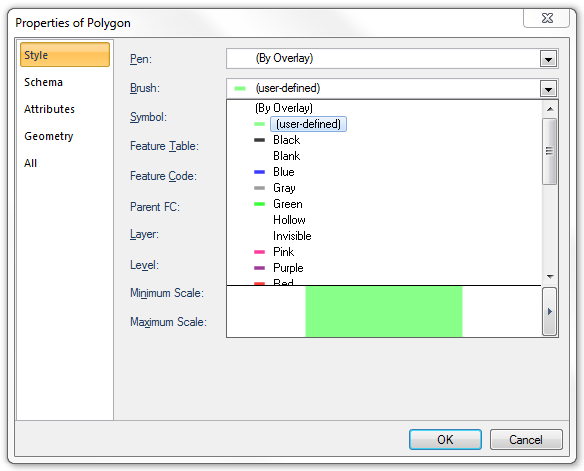
Select the Style tab, this contains a Brush drop-down list. Drop down this control to see a list of available named Brush objects. You will also see "(By Overlay)" at the top of the list. Choose "(By Overlay)" to make the item fill using its overlay Brush. If the current Brush is user-defined then you will also see "(user-defined)" in the list.
To edit a Brush object, choose one of the Brush objects in the list, including "(user-defined)", and click on the right-arrow button at the bottom of the list.
The Edit Brush dialog is displayed:
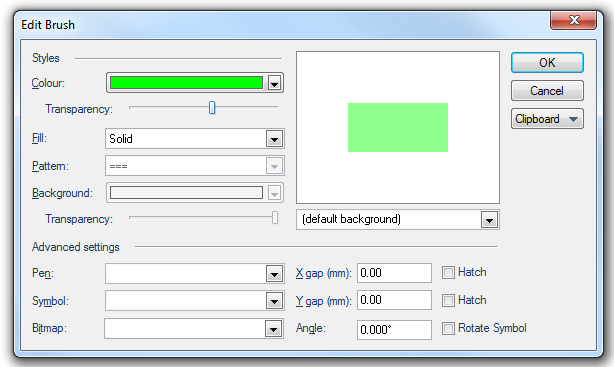
You can edit the Brush object to be either Solid, or one of the fill patterns; Hollow, Hatch, Pattern. The diagram in the top-right of the Edit Brush screen shows a sample of the fill that will be produced with the current Brush settings.
You can also specify degrees of transparency for foreground colour. Background colour and transparency are available when using Hatch fill. See 'Edit Brush' dialog Parameters for full details of all the available Brush parameters.
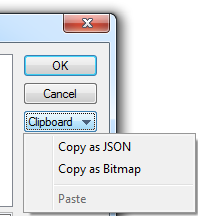
The Edit Brush - Clipboard drop down box allows you to:
Send comments on this topic.
Click to return to www.cadcorp.com
© Copyright 2000-2017 Computer Aided Development Corporation Limited (Cadcorp).