.png) Rectangle
Rectangle.png) Rectangle
Rectangle
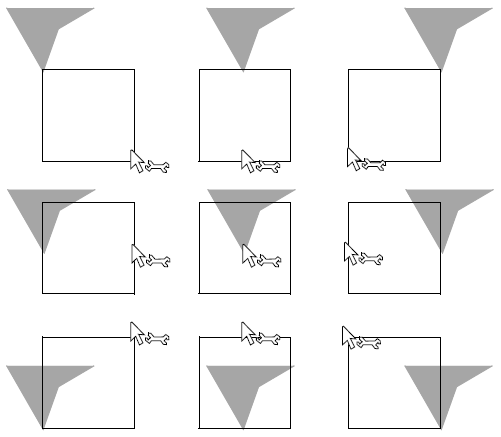
Rectangle creates a rectangular Polygon item, giving the opportunity to specify the dimensions if required.
To create a rectangular LineString item, first create the rectangular Polygon item, then select it and use Unfill [Create-Edit].
When you select Rectangle the following Rectangle dialog is displayed:
.gif)
Force X equal to Y
if set to True the rectangle will be forced to be drawn as a square.
if set to False the rectangle is not forced to be drawn as a square.
Note: Holding down the Shift key when drawing the rectangle with this parameter set to False will override the setting and force a square.
X size
Forces the X size to the dimensions entered. Defaults to Use snaps
Y size
Forces the Y size to the dimensions entered. Defaults to Use snaps
Rectangles are always drawn parallel to the X and Y axes, so if you have rotated the axes, the rectangle will be aligned with their new orientation. Once you have drawn a rectangle it will not be affected by subsequent changes in the axes.

You can either input one value (X size or Y size), and use a screen snap for the other, or you can define both the X size and Y size values, as described here:
.gif)


If you want to change the rectangle size, change the X size and Y size values in the Rectangle dialog. If you want to create a rectangle using snapped positions, remove the X size and Y size entries to leave them blank.
Top of page
Click to return to www.cadcorp.com
© Copyright 2000-2017 Computer Aided Development Corporation Limited (Cadcorp).