- GeognoSIS URL
- GeognoSIS Source Folder
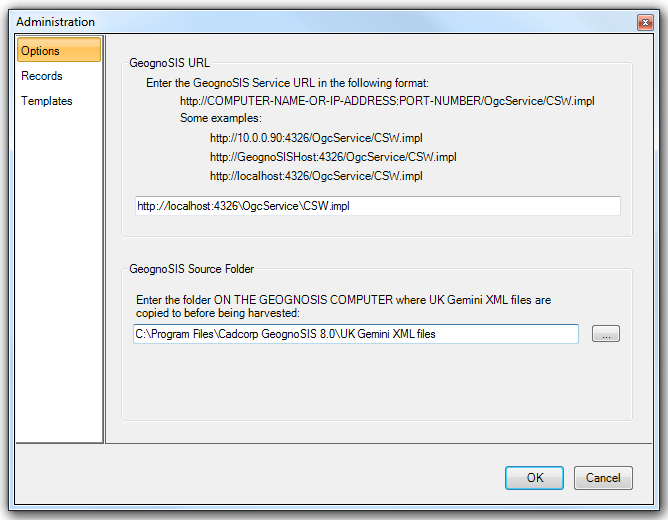
The GeognoSIS URL is the address of the GeognoSIS server and is defined like this:
http://[machine name].[domain]:[port number]/OgcService/CSW.impl
e.g. http:// CSUPP959.cadcorp.net:4326/OgcService/CSW.impl.
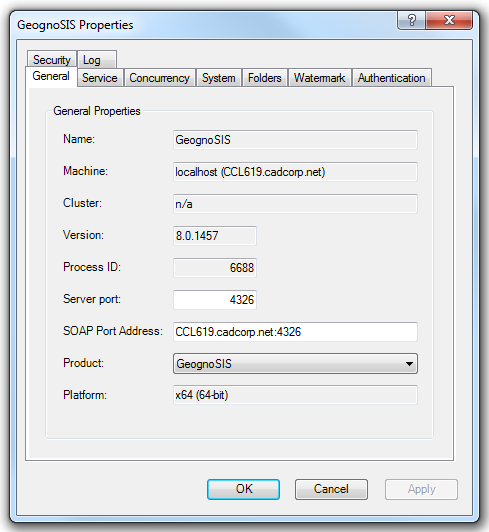
The URL is used to identify the server. The :4326 may change and is the port number used for the instance created in GeognoSIS. This can be found by looking at the Properties of the GeognoSIS instance:
The GeognoSIS Source Folder is defined on the GeognoSIS server and is where Gemini files for import can be copied. This is required to ensure that GeognoSIS has direct access to the required files and that the reading of the file for import is not impeded by network or user permissions. This should be defined using a UNC path name.
You will be directed to the Administration options to set this information if you haven’t already done so.
-
Go to Applications - Harvest You will see the following warning message:
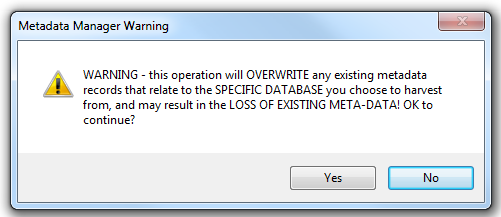
This serves as a reminder that a harvest operation is powerful and will overwrite any existing metadata records that have been either harvested or created from tables within the database you wish to harvest.
A harvest is used to initially create a metadata record for each table in a defined database.
It can also be used to add metadata records to an existing metadata repository from a new database source.
So you can harvest the data from PostGIS database P1 to create metadata records for each of the tables in database P1. If they then want to harvest the data from a different PostGIS, Oracle or SQL Server 2008 database (P2, O1 or S1), then they can perform another harvest from each of these databases and new metadata records will be created alongside those previously created from database P1.
However, if you choose to harvest PostGIS database P1 again, then all metadata records created by the previous harvest of P1, will be overwritten. All other records that are linked back to database P1 will also be overwritten. Only metadata records linked back to other databases will be unaffected by a subsequent harvest of P1.
It is also possible to harvest OGC Web Mapping Servers (WMS) and OGC Web Feature Servers (WFS) using the GeognoSIS Manager. Any WMS or WFS metadata records harvested by GeognoSIS Manager will be added to the metadata repository.
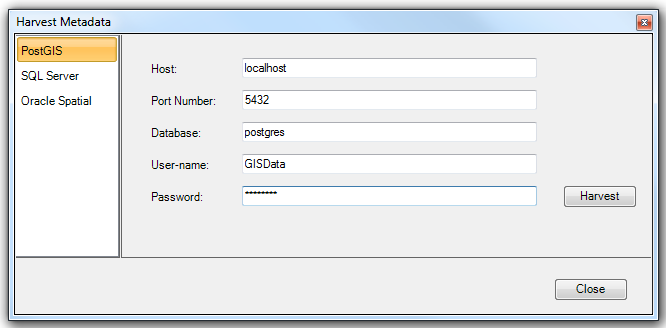
- Choose the correct database type (Oracle, PostGIS or Microsoft SQL Server) and enter the database connection details for the database you want to harvest. The Metadata Manager will only harvest tables which are owned by the user entered in this dialog. You may need to use an administrative user and password to ensure that you harvest all of the tables you require.
You will be notified when the harvest is complete:
Press the View All Records button to display all of the records in the metadata repository.
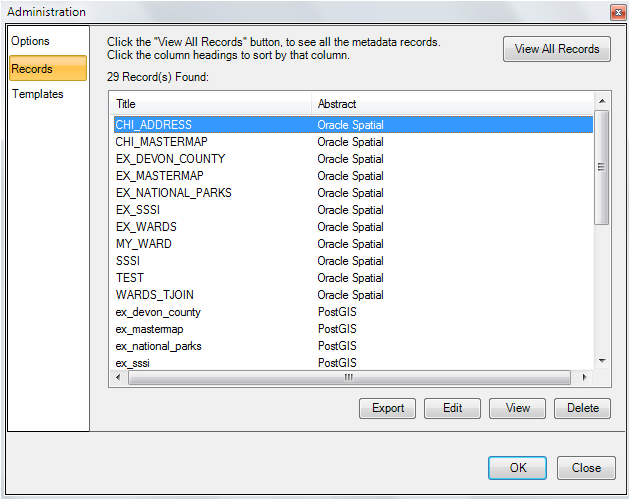
From this dialog you can also Export, Edit, View and Delete one or multiple Metadata records.
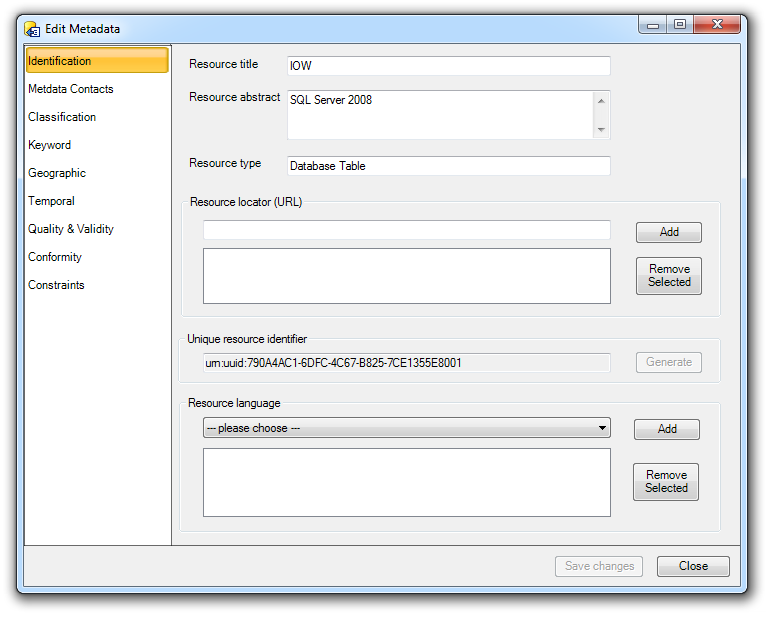
The Save Changes button can be used at any time during the edit process. You may move between panels and use the Save Changes to update all changes made during your edit session. You do not need to Save Changes on every panel, although this is often good practice.
Use the right mouse button on an overlay created from a database table to display the context sensitive options to View or Edit the metadata record.
The metadata fields are described, where possible, in the interface, but to ensure that your metadata is as accurate as possible, it is recommended that the Gemini 2.1 specification is used for reference. This is available from:
http://location.defra.gov.uk/wp-content/uploads/2010/09/GEMINI2_1_published.pdf