Note: The licence is not checked for validity, it is therefore essential to ensure the correct licence file is installed.
Network licensing is also known as concurrent licensing.
To use network licensing, you will need to install a network licence server on an appropriate machine. This does not need to be a server, but must be accessible at all times by PCs that will rely on it for licensing.
You should install and licence the network server first.
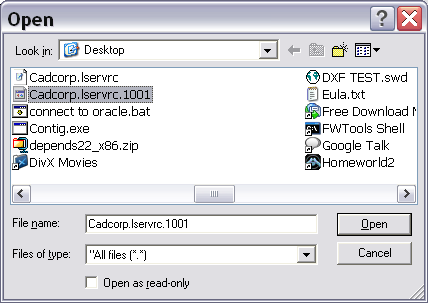
The network licence file cadcorp.lservrc.nnnn (where nnnn is a four digit number, this example uses “1000”) is provided by Cadcorp in an email.
The dongle should be attached to the network server machine.
This network licence file should be added to a network server (see below).
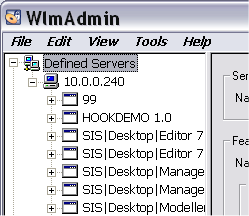
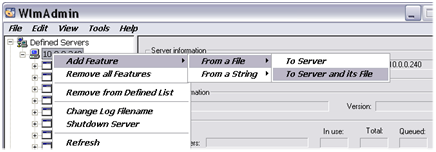
Use the WlmAdmin.exe tool, supplied by Cadcorp, to add the network licence to a network server.
Once the Licence Server has been installed, you can install SIS on the client machines. You do not need a locally attached dongle or a licence file for the client installations.
Note: It is necessary that you have Administrator privileges to install SIS. If you do not have these privileges you will be prompted during the installation procedure.
Note: If you are installing a SIS Service Release Upgrade it is not necessary to uninstall your existing installation. You can run the installation procedure over an existing installation and it will upgrade the version you are running.
Follow the instructions for Standalone Licensing until you reach the Customer Information screen:
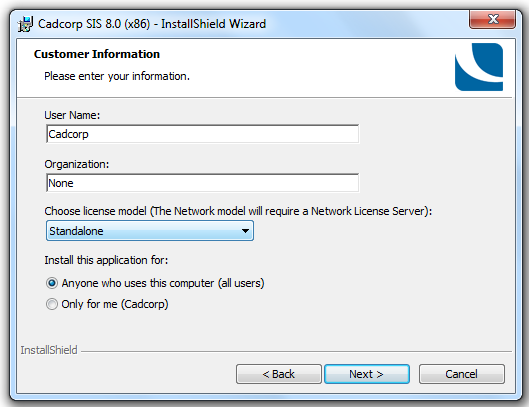
In this screen select the Network licence option:
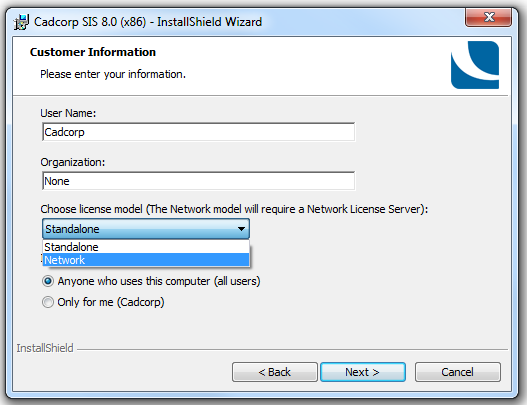
Click Next.
The Network License Information Screen will be displayed:
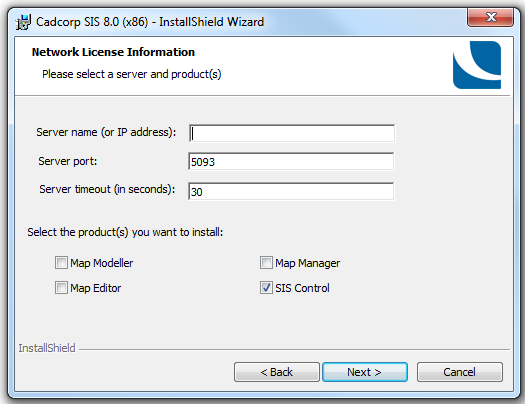
Server name (or IP address) – Enter the machine name or IP address of the server on which the network licence is installed.
Server port – Enter the port number on which this client will communicate with the network licence server. The default port number is 5093.
Server timeout (in seconds) – Enter the required time-out interval for all direct application/licence server communication. The default time-out value is 30 seconds.
Select the product(s) you want to install – Check the tick box for the product(s) you are installing. Make sure that the product(s) you are installing are available on the chosen network server.
Click Next.
The Destination Folder and Advanced Options screen will be displayed:
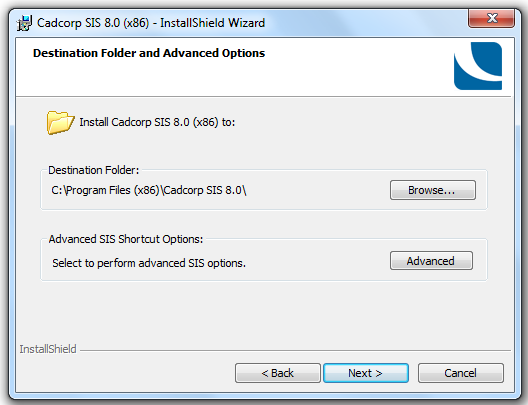
The default destination folder is C:\Program Files (x86)\Cadcorp SIS 8.0. If an alternative folder is required click Browse to display the Select Target Folder screen, and navigate to the required target folder.
Note: For 64-bit SIS installations the default destination folder is C:\Program Files\Cadcorp SIS 8.0.
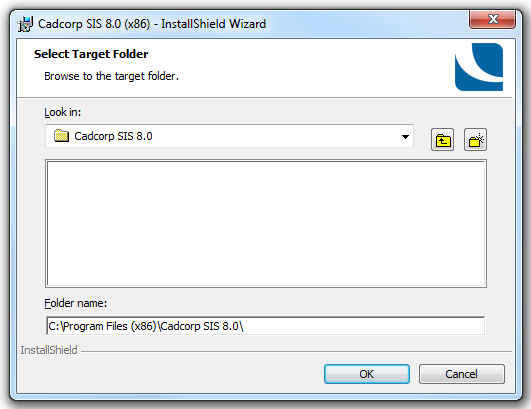
Browse to and select the required target folder and click OK to return to the Destination Folder and Advanced Options screen.
If you wish to configure additional shortcut options click the Destination Folder and Advanced Options screen Advanced button.
The Advanced SIS Shortcut Configuration screen will be displayed:
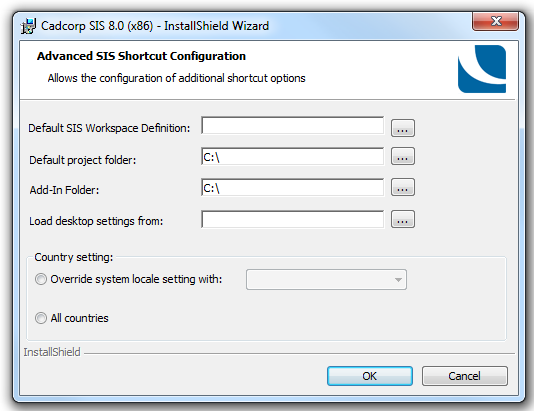
Default SIS Workspace Definition – Click the ... button and navigate to the SIS Workspace Definition (SWD) to be loaded at start-up. Select the SWD and click OK to return to this screen. See the SIS Workspace Definition (SWD) topic.
Default project folder – Click the ... button and navigate to the folder to be used as the default project folder Select the folder and click OK to return to this screen. See the Project Folder topic.
Add-In Folder – Click the ... button and navigate to the target folder for Add-Ins. Select the folder and click OK to return to this screen. See the Applications tab-Add-Ins topic.
Load desktop settings from – Loads any desktop settings contained in the Options database. This database is typically located in C:\Users\username\AppData\Local\Cadcorp SIS\8.0\Map Modeller.
This option can be used if you have an Options database already installed, perhaps from a previous SIS installation. In this case click the ... button and navigate to the required Options.db file and click Open. The location of the selected Options.db file will now be shown in the Load desktop settings from text box.
Country setting
Override system locale setting with - Select the radio buitton and choose the required country from the drop-down box.
All countries - Select the radio button for all countries.
Click OK to return to the Destination Folder and Advanced Options screen.
Click Next on the Destination Folder and Advanced Options screen.
The Setup Type screen will be displayed:
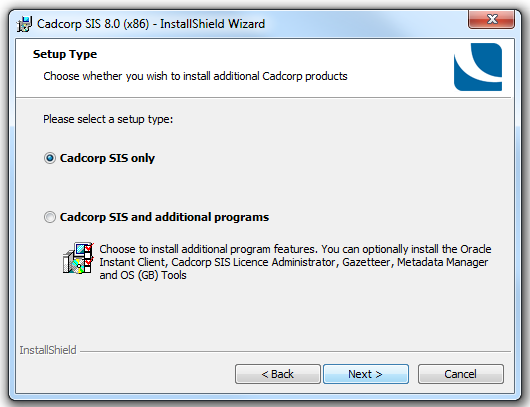
Select either:
Cadcorp SIS only to install only SIS.
Cadcorp SIS and additional programs to install additional programs, these can be any, or all, of the following:
Click Next.
The next screen to be shown will depend on the selection made in the Setup Type screen:
If the Cadcorp SIS only option is selected the Display Space Requirements screen will be shown.
If the Cadcorp SIS and additional programs option is selected the Custom Setup screen will be shown:
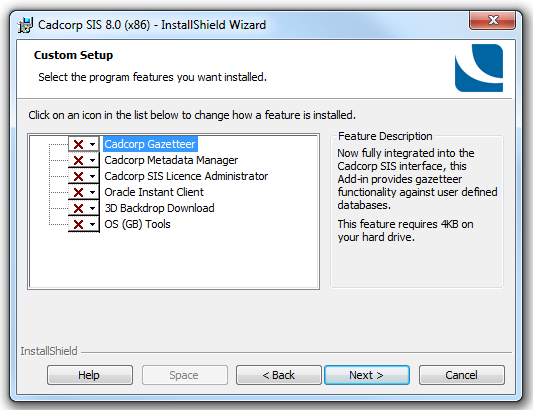
Cadcorp Gazetteer:

Now fully integrated into the SIS interface, this Add-in provides gazetteer functionality against user defined databases.
This feature requires 940KB on your hard drive.
Cadcorp Metadata Manager:
Allows you to manage, create and edit metadata from within SIS. This feature requires access to a GeognoSIS instance running an OGC Catalogue Service.
This feature requires 2276KB on your hard drive.
Cadcorp SIS 8.0:
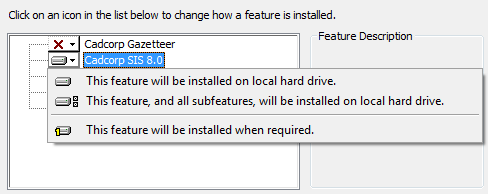
This feature requires 692MB on your hard drive.
Cadcorp SIS Licence Administrator:
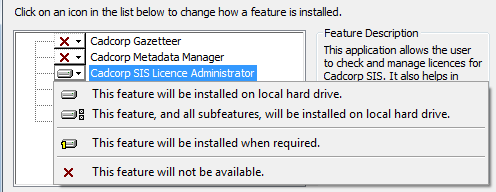
This application allows you to check and manage licences for SIS. It also helps in identifying the reason for licence failures.
This feature requires 2668KB on your hard drive.
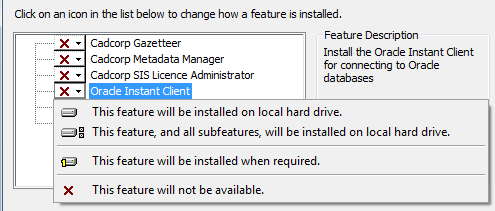
Install the Oracle Instant Client for connecting to Oracle databases.
This feature requires 11MB on your hard drive.
3D Downloader:
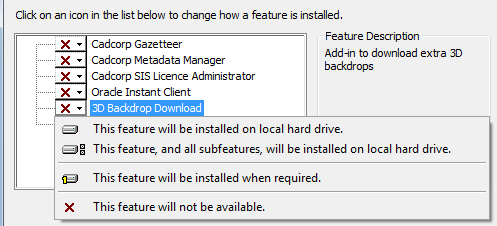
An add-in to download extra 3D backdrops.
This feature requires 228KB on your hard drive.
OS (GB) Tools:
 Tools.png)
OS (GB) Tools comprises OS OpenData Manager, OS VectorMap Manager, OS MasterMap Manager and OS Network Manager.
This feature requires 6376KB on your hard drive.
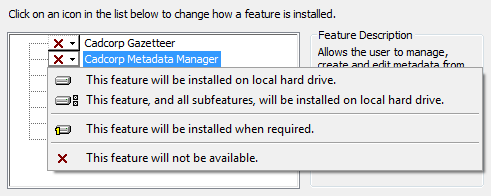
Each of the above options have the following installation alternatives:
This feature will be installed on local hard drive - will be completely installed to the local hard drive.
This feature, and all subfeatures, will be installed on local hard drive - will have any subfeatures installed to the local hard drive.
This feature will be installed when required - will be installed on first use.
This feature will not be available - will not be installed. this option does not apply to the Cadcorp SIS 8.0 installation option.
A further option
This feature, and all subfeatures, will be installed to run from the network to allow the feature to run from the network will be displayed if the feature supports this option.
The amount of disk space required on the hard drive for each feature is shown in the Feature Description pane to assist with the installation decision.
If you change your mind about a Custom Setup click Back to return to the Custom Setup screen.
Click Space on the Custom Setup screen to display the Display Space Requirements screen to show the available space on your system and the total space required for all the selections you have made in the Custom Setup screen:
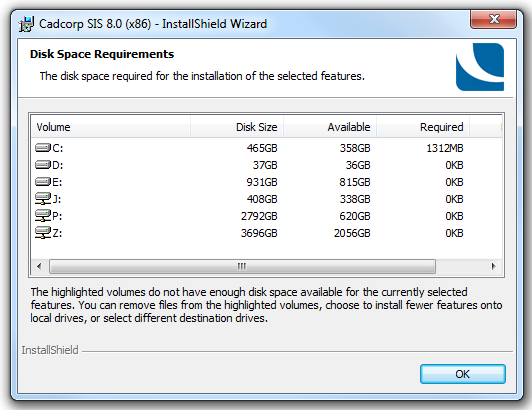
If you do not have sufficient disk space the volume will be highlighted to warn you.
Click Help on the Custom Setup screen to display the Custom Setup Tips screen:
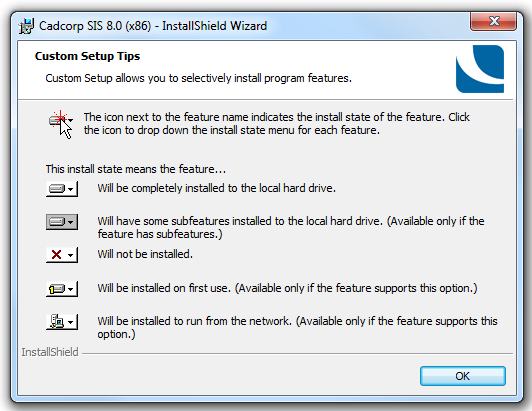
This screen reiterates the meanings of the installation options. If you are satisfied with the selections you have made click OK to return control to the Custom Setup screen.
Note: These installations can be changed after SIS installation by going to Control Panel > Uninstall or change a program, selecting Cadcorp SIS 8.0 with the right-button and choosing Modify from the local menu.
Click OK on the Custom Setup screen.
The SIS in Python screen will now be displayed:

This screen gives you the following options for the installation of Python:
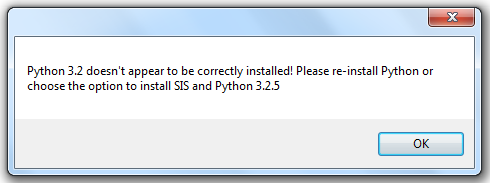
See Python Overview for details of Python.
Select the required option in the SIS in Python screen and click Next.
The Ready to Install the Program screen will be displayed:
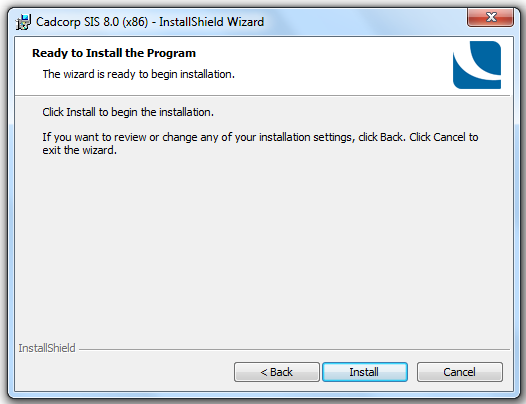
Click Install.

A green bar will show the progress of the installation.
On completion the InstallShield Wizard Completed screen will be displayed:
Click Finish to exit the InstallShield Wizard.
Send comments on this topic.
Click to return to www.cadcorp.com
© Copyright 2000-2017 Computer Aided Development Corporation Limited (Cadcorp).