Inspecting the Feature Tables
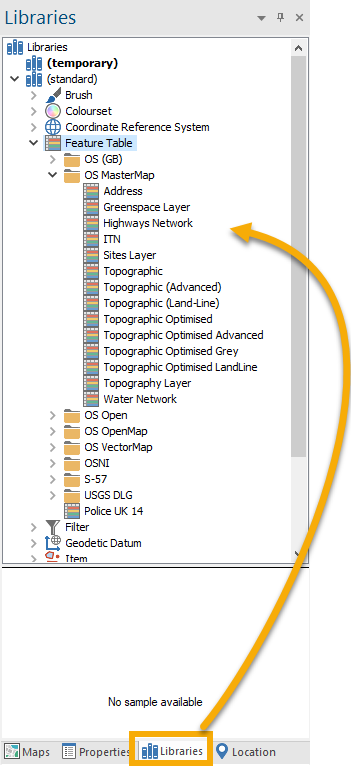
SIS feature tables are named objects, stored in libraries. You can inspect the libraries in the Libraries Control Bar to see what feature tables they contain.
The (standard) library contains all the feature tables supplied with Cadcorp SIS Desktop. These are read-only (but you can also create your own editable feature tables).
You can examine the details of each feature code in a feature table by selecting a feature table and selecting Properties from its local menu:
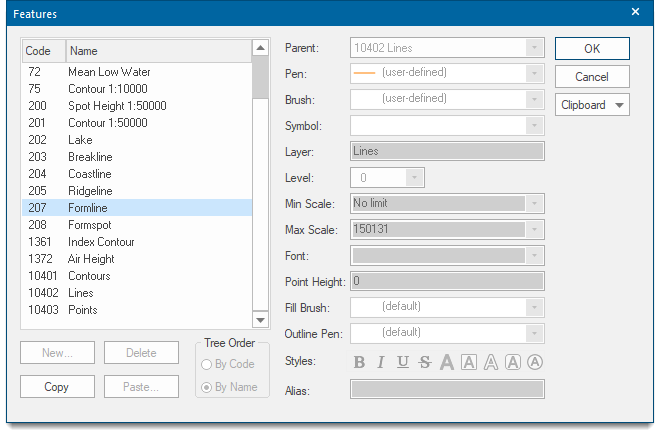
The Features dialog will be displayed. The feature table can be sorted by code or by description by clicking on the headers.
Remember this feature table is view-only. To use buttons and options, simply make a copy of the feature table and paste into the temporary or current library.
| Option | Description | |
|
Parent |
The parent feature code lets you arrange feature codes in a tree. If this entry is empty, then the chosen feature code is put at the top of the tree. |
|
|
Pen/Brush |
The pen/brush to use for items with the chosen feature code. To view or edit the pen/brush, drop-down the combo-box list and press the right arrow at the bottom. You can also copy and paste the pen/brush specification in JSON or XML. See Creating, Choosing and Editing Pens and Creating, Choosing and Editing Brushes for Clipboard functions. |
|
|
Symbol |
The symbol to use for Point items with the chosen feature code. Note: Feature table symbols should conform to the level requirements as described in the Symbols and levels section of Creating Points and placing Symbols. |
|
|
Layer |
An optional Layer name to apply to feature items. |
|
|
Level |
The Level to use for items with the chosen feature code. |
|
|
Min/Max Scale |
The minimum/maximum scale at which feature items will be visible. See here for examples. |
|
|
Font |
The font to use for Text items with the chosen feature code. |
|
|
Point Height |
The Point Height override to use for Text items with the chosen feature code. If you enter 0, then the feature code will not override the Text items' height. |
|
|
Fill Brush (used for simple text) |
In the drop-down box select the required brush. Brush colour, fill, pattern, transparency and the normal advanced settings are available. Implicit brushes may also be defined. The facility of copying and pasting the brush specification in JSON or XML is also available from the Clipboard function of the Edit Brush dialog. |
|
|
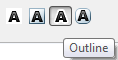
Outline Pen |
This box is not available for simple text. This field will become active if the Outline Text A button is selected: |
|
|
Alias |
Cursor-based Datasets support Feature Table feature code aliases. This means they can use a column containing non-numeric data or numeric data that does not fit the valid range for feature codes. It does this by comparing the values against the feature code alias instead of the feature code itself. |
|
Other available options
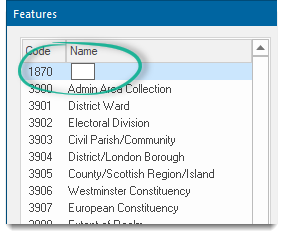
New: Creates a new feature code with default values. Enter a new feature code and click OK.
You can see your new code in the Features table. Click in the Name blue area and enter the feature code name.
Delete : Removes the current feature code from the feature table.
Copy: Copies the current feature code settings to the clipboard in JSON.
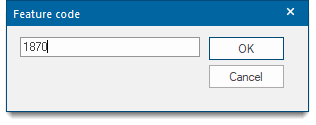
Paste: Pastes the copied clipboard settings with a new feature code. The Feature code dialog will be displayed to enable you to enter the new code to paste the settings into.
Tree Order
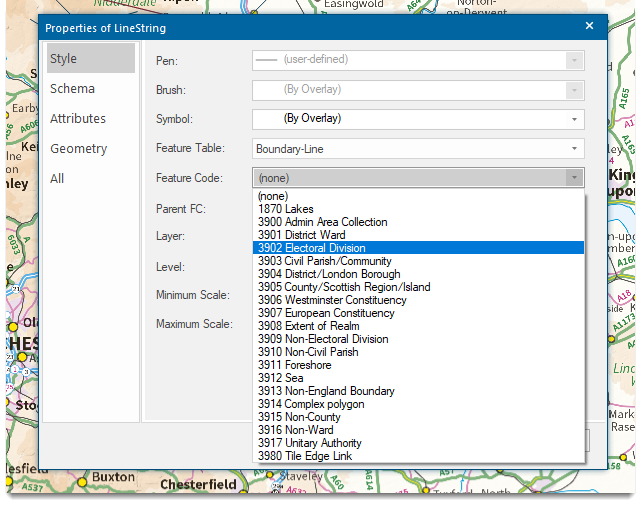
By Code
Select this radio button if you wish the features codes to be listed by code numbers in the Feature Code drop-down list of the appropriate Properties of .... dialog , for example:
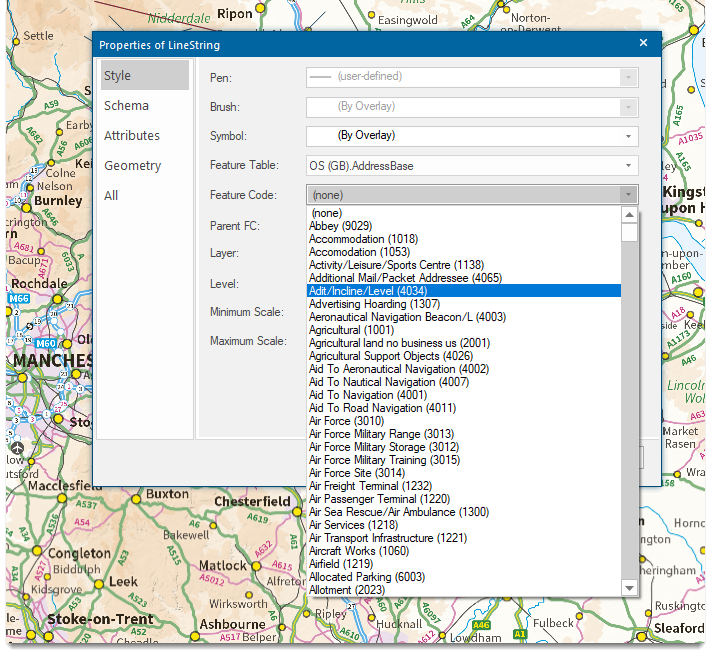
By Name
Select this radio button if you wish the features codes to be listed by name in the Feature Code drop-down list of the appropriate Properties of .... dialog , for example:
The Features dialog - Clipboard drop down box allows you to copy the currently selected feature code settings from the current feature table and paste them into second and subsequent feature tables. If the parameters are to be changed select Copy as JSON and paste them into a JSON editor. Edit the parameters as required, copy them from the editor, and use the Clipboard - Paste function to paste them into a new feature table.
Note: When using Oracle, PostGIS or Microsoft SQL Sever spatial databases the number of feature table items must be the same as the number of feature codes, i.e. all feature types present in the dataset must have corresponding feature codes in the feature table.
Example of feature code settings:
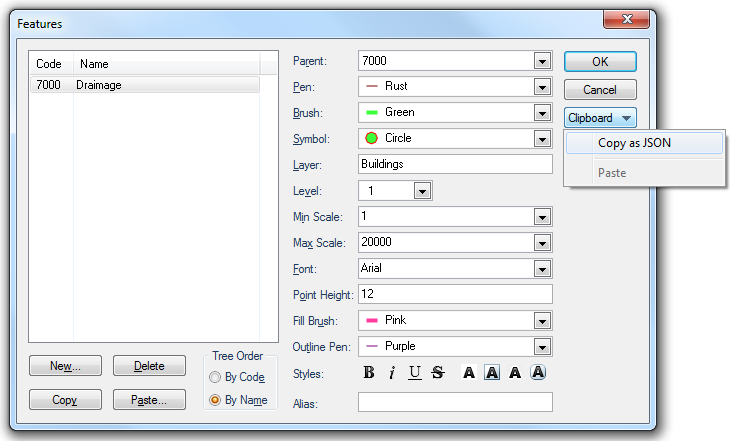
In this simplified example, all items with feature code 7000 (Drainage) are on a layer called Buildings and will be displayed only between the scales of 1:1 (No limit) and 1:20000.
The JSON for the above example: