General (Overlays)
Use Search to find an overlay from a list. This is particularly useful when scrolling through a long list of overlays.

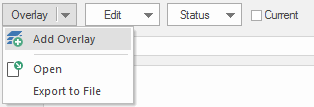
Click Add Overlay to see the different types of available overlays.
Note: See Overlay Types for a description of the overlays available from the Overlay Types dialog.
Open allows you to select and open a Cadcorp SIS Overlay File (*.ovl).
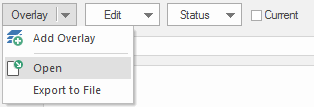
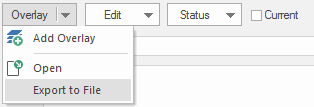
Export To allows you to save the overlay as a Cadcorp SIS Overlay File (*.ovl).
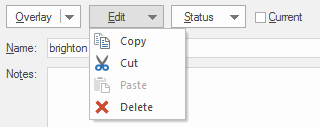
Copy: Select the overlay and click Copy to copy it to the clipboard.
Cut: Select the overlay and click Cut to remove from preview and move it to the clipboard.
Paste: After cutting or copying select the destination SWD (or the same SWD), open its Overlays dialog and click Paste to paste the overlay. Alternatively the copied overlay can be pasted into the destination SWD in the Maps Control Bar using the local menu.
Delete: Removes the selected overlay from the SWD.
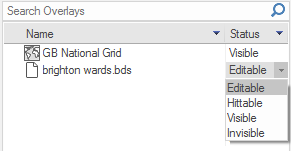
Set the selected overlay’s status to one of the available options.
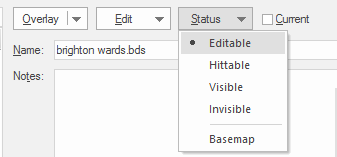
| Option | Description | |
| Editable |
Full access to add, modify and delete information. Applicable only to user datasets (BDS files, internal datasets and editable geometry overlays).
|
|
| Hittable |
The ability to snap the cursor onto graphics to measure, query, trace and copy data. Data cannot be added, moved or deleted. |
|
| Visible |
Graphics appear on screen but cannot be queried (snapped to). The image is purely a backdrop. |
|
| Invisible |
No graphics appear on screen. This is useful for temporarily excluding information from the view. |
|
| Base Map | This option sets the overlay to Basemap status see Basemap (Overlay Status) for an explanation of this setting. | |
Note: The overlay status can also be set by selecting the overlay in the centre pane and choosing the status from the drop-down list.
This is the overlay name. If several overlays reference the same dataset, you can enter different names here to distinguish them.
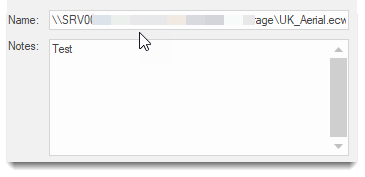
Note: Enter any notes to be stored with the overlay. Text entered here will automatically line wrap so that each line fits in the viewable window, allowing the text to be read from top to bottom without any horizontal scrolling.

Click Group/Ungroup to group or ungroup selected overlays.
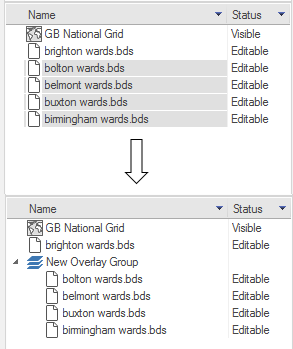
See also Grouping overlays for a full explanation of overlay grouping.
Select an overlay and click  to display the Overlay dialog which shows properties and their values.
Note: A complete list of all overlay properties and their possible values is aailable here > Overlay Properties .
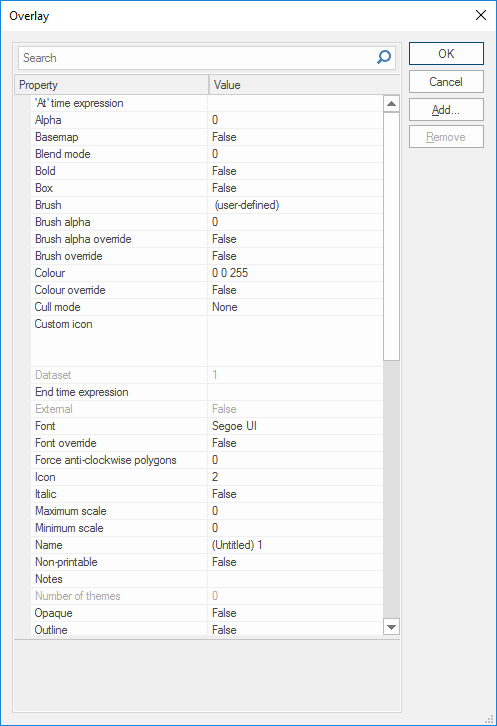
To remove an attribute highlight it and click Remove.
To add an attribute click Add to open the New Attribute dialog:
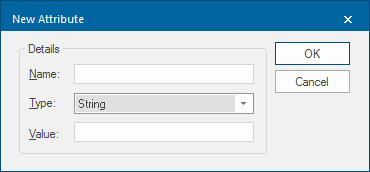
Enter the attribute Name, select the Type from the drop-down box and enter the attribute Value.
Click OK on the New Attribute dialog to return to the Overlay dialog and click OK.
Note: See also Attribute Data for information on adding attributes to overlays and Attribute Data Type-Overview for an explanation of the different attribute types.
Using Search in the Overlay dialog:
Enter a letter in the search bar to display all properties containing that letter or letters.
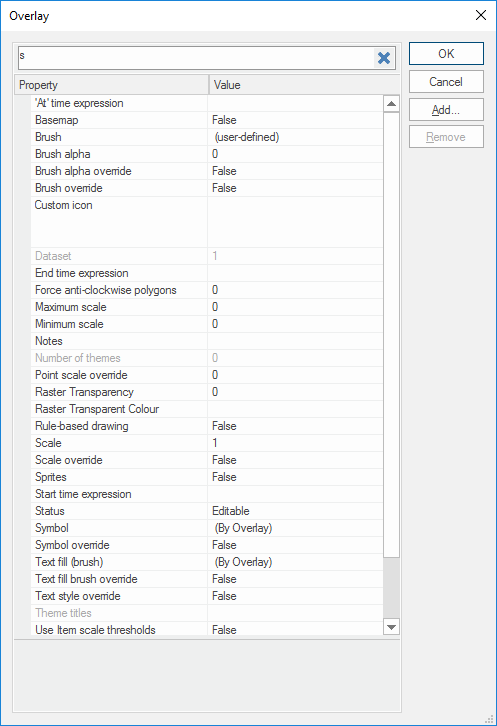
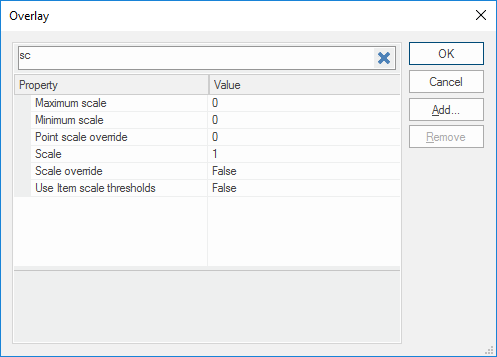
Add subsequent letters to narrow the returned properties.

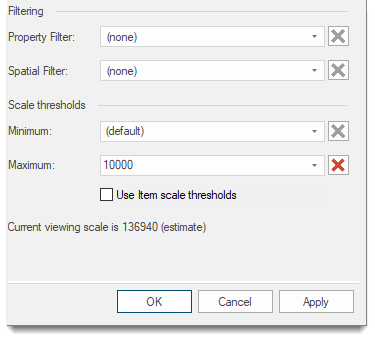
.png) will become active if a Property Filter or a Spatial Filter is set, clicking
will become active if a Property Filter or a Spatial Filter is set, clicking