button (100).gif) Point (Creates Text item) Point (Creates Text item)
Point (Creates Text item) Point (Creates Text item)
Point creates a Text item, which may consist of one or more lines of text. Select the command, then type the required text into the dialog, use Enter to start a new line. When you have finished, click on OK, then click on a point on the screen where you want to locate the text. This point then becomes the current alignment point, and the Text item is justified both horizontally and vertically about the alignment point. You can then either enter a second point to rotate the Text item, or press Enter.
The size of the Text item is determined by its "Point" height, and its dataset scale. The Point height is a size on paper, and will be familiar to Word Processor users. Most graphics in a dataset correspond to the real world, and not to paper (e.g. roads). Since SIS must draw real-world graphics and Text into the same window, it needs to know the scale of the dataset. If SIS thinks that the scale of the dataset is inappropriate, then SIS will suggest a dataset scale. If you later change the dataset scale, then all the Text will appear to change size.
If you want to permanently fix the size of the text relative to real-world graphics, then use Box (Box Text).
To edit Point text select the text and use the local Properties command, Text tab. See Editing Text.
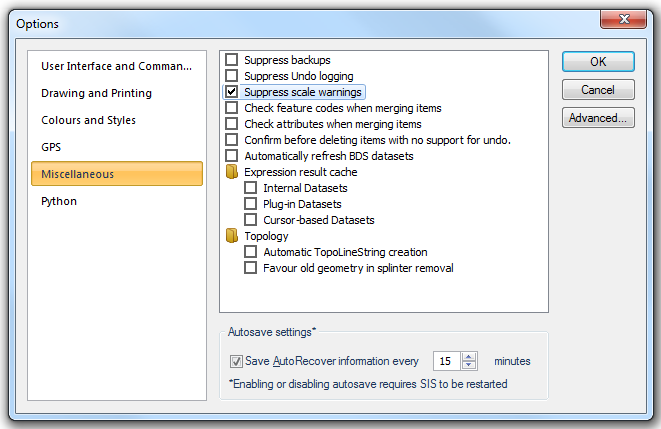
When creating Point text, SIS normally warns you if the dataset scale is inappropriate and gives you the opportunity to change it. (This is most likely to happen when you are constructing Point text on an internal dataset, because these take an initial dataset scale of 1 when they are created.)
If you do not wish to see the scale warning, check the Options dialog, Miscellaneous tab, Suppress scale warnings tickbox.
Point text always appears at the same size (its point size). If you change the dataset scale, the size of the point text will change. Dataset scale does not affect other text types, such as Box (Box Text), Label (Box Label) and Line (Line Text).
Point text with a fixed screen height remains the same height (in pixels) on the screen, no matter how much you zoom in or out. Fixed height text (or “zoom independent text”) is useful in such circumstances as labelling a KeyMap, or labelling symbols.
To make your Point text fixed height, use a negative value in the Height (pts) box. For example, a value of -10 would produce text at point height 10, irrespective of dataset scale.
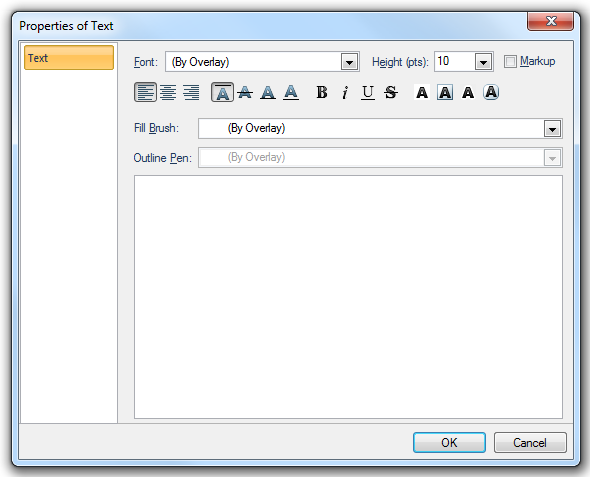
Font
Select the font to apply to the text from the drop-down box.
Height (pts)
Select the text height in points.
Text height is set in point sizes, the same as text in word-processing. There are 72 points to the inch. One point is approximately 0.01389 inches, or 0.353 millimetres.
The Markup option allows a single text item to have multiple states, e.g. Bold, Italic, etc., and/or multiple colours; and/or multiple fonts.
These states are:
*bold* Therefore *This is bold text* will display: This is bold text _italic_ Therefore _This is italic_ will display: This is italic ^superscript^ Therefore *Area = 25^2^* will display: Area = 252 (bold and superscript) ~subscript~ Therefore ~This is subscript~ will display: This is subscript -strikeout- Therefore -This is strikeout- will display: strikeout
Note: The font size cannot be changed using Markup.
Multiple text colours in a text item:
The code to set text colour is:
%{fill:#RGB values} text to be coloured%
The following line:
This is%{fill:#00AA00} green% and this is%{fill:#0000FF} blue% text
will display as:
This is green and this is blue text
Multiple fonts in a text item:
The code to set a font is:
%{font-family:FontName}
The following line:
This font is %{font-family:Castellar} Castellar% whereas this font is *_%{font-family:Times}Times in bold italic%_*.
will display as:
This font is Castellar whereas this font is Times in bold italic.
Defining Outline text:
The code to set Outline text is:
%{fill:Fill Brush colour; outline:Outline Pen colour}required text%
The following line:
%{fill:#FF0000; outline:#0000FF}red fill blue outline%
will display as:

Escape characters
Characters can be "escaped" (i.e. have their markup meaning ignored) by prefixing with a \
The following line:
*This text is bold* but \*this text isn't (it has an asterisk before and after it instead)\*
would display as:
This text is bold but *this text isn't (it has an asterisk before and after it instead)*
Justification: Left, Centre or Right
Set the text justification as required.
Vertical alignment:Top, Middle, Baseline or Bottom
Set the text vertical alignment as required.
Bold, Italic, Underline, Strikethrough
Any combination of Bold, Italic, Underlined and Strikethrough can be selected.
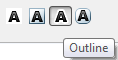
Opaque, Box, Outline, Rounded rectangle
Any combination of Opaque, Box, Outline (if creating Outline Text) and Rounded rectangle can be selected.
Fill Brush
Select the required brush to set the text colour. Brush colour, fill, pattern, transparency and the normal advanced settings are available.
Implicit brushes may also be defined. The facility of copying and pasting the brush specification in JSON is also available.
Outline Pen
Not available for simple text. This field will become active if the Outline text A button is selected:
Preview pane
Type in the required text, use the syntax as described in Markup if required, press Enter for a new line. You can also paste text into this box using the Ctrl+C/Ctrl+V key combination, or Paste on the local menu.
Point text characters can be rendered upright individually by setting the _text_upright& flag to True. This allows you to rotate the text, but to keep the characters horizontal, giving a step effect. The _text_upright& flag defaults to False (the setting to be used in the vast majority of cases). This property can be accessed from the Properties of Text dialog All tab, accessed from the text item's local menu.
Examples showing the effect of Upright False and True settings:
Top of page
Click to return to www.cadcorp.com
© Copyright 2000-2017 Computer Aided Development Corporation Limited (Cadcorp).